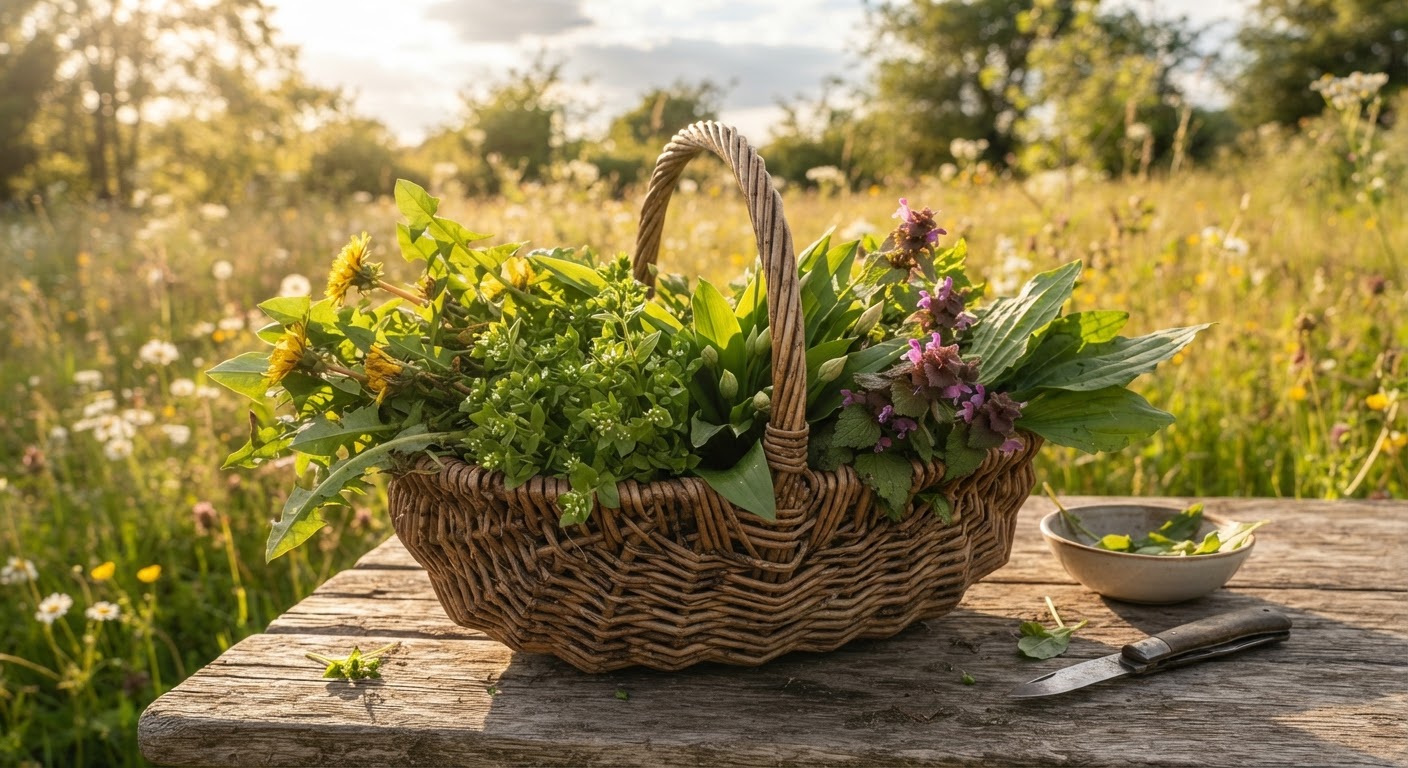
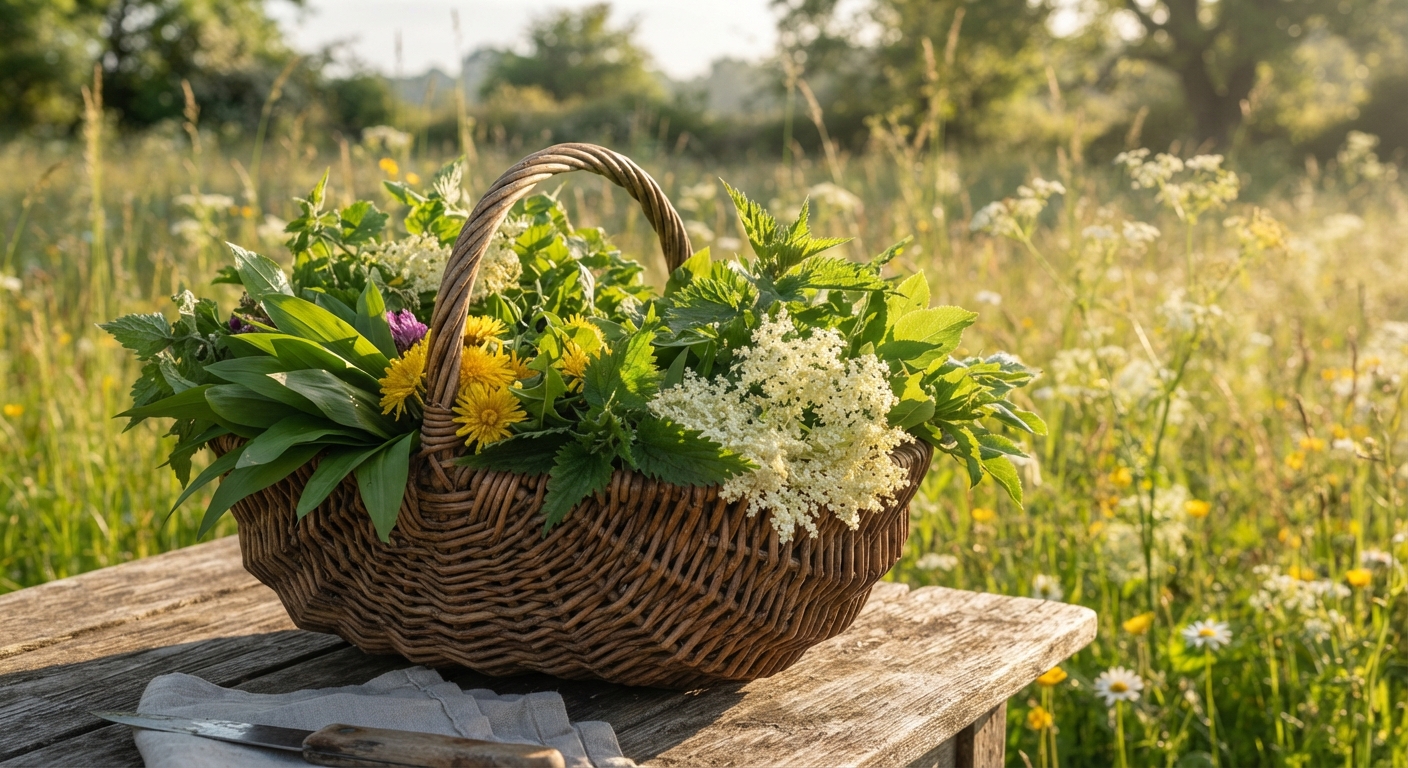
Wild Medicinal and Food Plants: Build Your First Harvest-to-Remedy Kit
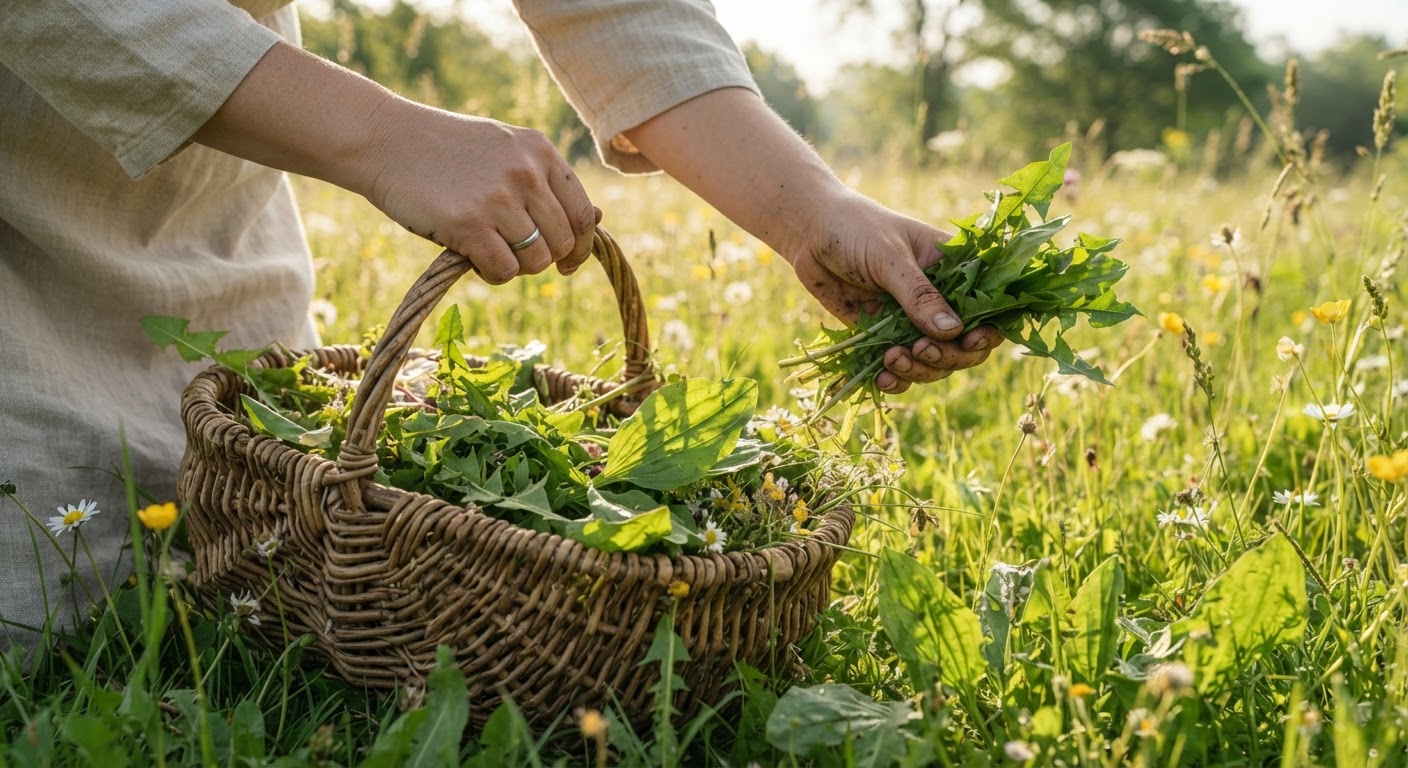
Stand at the edge of any meadow in late spring and you are standing in a grocery store and a pharmacy at the same time. The yellow dots in the grass are dinner. The ribbed leaves by the path are a bandage. The patch of green that stung your ankle last week is, once blanched, one of the most nutrient-dense greens on the planet.
Most beginners miss all of it — not because the plants are rare, but because they are looking for one thing at a time. They come out with a salad mindset and walk past the medicine. Or they come out hunting remedies and end up hungry. Then they go home, read two different books, and learn the same plant twice under two different names.
This guide fixes that by giving you a system instead of a list. You will pick three plants — not thirty — and learn them from the ground up: how to confirm them, when to take them, how to turn them into food, how to turn them into simple preparations, and how to store both without ruining either. By the end you will have something more useful than knowledge: a shelf. Jars of dried leaf, a bottle of tincture, a bag of blanched greens in the freezer, and a notebook that tells you exactly what you did and when.
Two ground rules before we start, and I mean these literally. Never eat or use a plant you cannot identify with certainty — not “probably,” not “it looks like.” And nothing in this guide is medical advice. Wild plants can support everyday wellbeing, but they are not a substitute for a doctor, a diagnosis, or a prescription. If something is genuinely wrong with your body, go get it looked at.
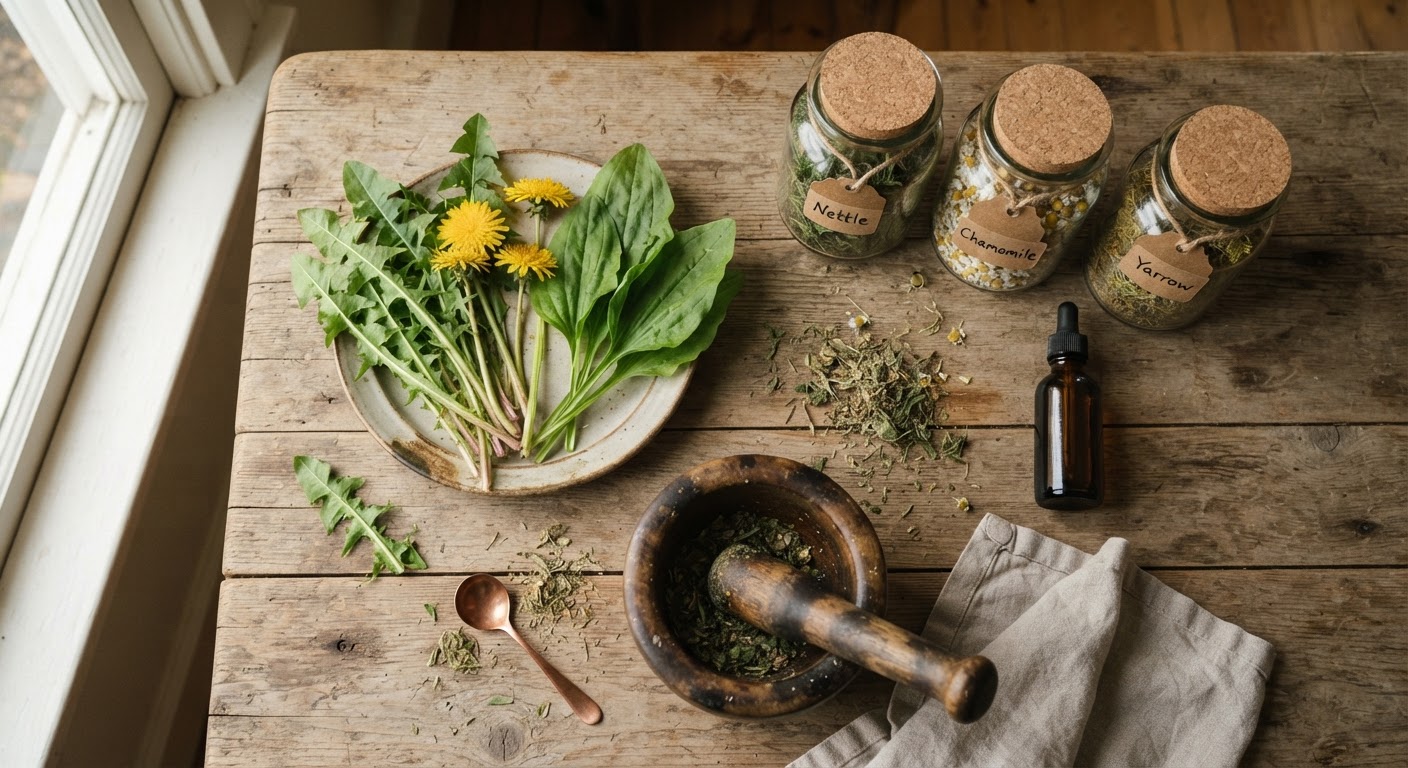
Why Learning Food and Medicine Together Is Faster, Not Harder
The instinct is to split the work: study edible plants first, then come back for the herbal stuff later. In practice, that doubles your study time for half the payoff.
Here is what actually happens when you learn a plant as both. You do the identification work once — leaf arrangement, stem shape, smell, habitat, lookalikes — and that same work protects you whether the plant ends up in a frying pan or a mason jar. Same harvest window, same clean-site rules, same lookalike to avoid. One plant, one set of risks, two sets of uses. The split only becomes useful at one specific point: deciding what to do with what you picked.
The three buckets every plant falls into
Before you harvest anything for medicine, sort it:
- Food. Safe and pleasant in kitchen amounts. Dandelion leaf, chickweed, purslane, mallow.
- Food-medicine. Fine as food in normal amounts, and traditionally used in small, deliberate preparations. Dandelion root, plantain, nettle, linden flower.
- Medicine-only. Real traditional use, but not something you eat by the bowl. Foxglove, tansy, wormwood, pokeroot. These belong to trained hands and, honestly, to people who have been at this for years.
Most foraging accidents come from a plant sliding from bucket three into bucket one because someone read “medicinal” and heard “healthy.” A medicine-only plant is not a superfood. It is a drug with leaves.
Step 1: Pick Three Plants You Will Actually Master
Three is not an arbitrary number. Three is what a normal person can hold in their head through a full season, including the lookalikes, the harvest windows, and the difference between the leaf you eat and the root you simmer.
Here is the trio I put in front of every beginner, in this order: dandelion, broadleaf plantain, stinging nettle. All three are widespread, all three are dual-purpose, and each one teaches a different skill — whole-plant use, topical use, and processing something that fights back.
Dandelion (Taraxacum officinale) — the whole-plant pantry
Dandelion is the plant that proves the point. Every part is useful, and each part has its own season and its own job.
Confirming it: a rosette of deeply toothed leaves with lobes pointing backward toward the base, a hollow stem with a single flower head, milky sap when you snap the stem, and a taproot that goes down like a carrot.
Lookalikes worth knowing: cat’s ear and hawkweed have similar flowers, but their leaves are hairy and the lobes sit differently. Neither is dangerous, which is exactly why beginners get sloppy. The real lesson is that “not poisonous” is not the same as “identified.”
Food job: young spring leaves, blanched 60–90 seconds to knock down the bitterness, then sautéed with garlic or chopped into soup. The root, dug in autumn, can be sliced, dried, roasted until deep brown, and ground as a coffee substitute. The flowers make fritters and a decent syrup.
Remedy job: the root is traditionally prepared as a decoction — a simmered preparation — and used as a bitter tonic before meals. The leaf is traditionally used as a gentle infusion. Both are diuretic, which is the reason for the most common dandelion mistake: drinking a lot of it while dehydrated on a hike. Wrong tool, wrong day.
Broadleaf plantain (Plantago major) — the poultice plant
If dandelion is the pantry, plantain is the first-aid kit. It grows in compacted soil, in gravel, in lawn edges, in the crack of a driveway — places where nothing else wants to live.
Confirming it: broad oval leaves in a flat rosette, and the giveaway is the venation. Every vein runs parallel from base to tip and stays raised on the underside, so the leaf looks ribbed like a canoe. Flowers sit on a thin leafless spike rising from the center. Snap a leaf and you get stringy fibers along the veins.
Lookalikes worth knowing: young hosta leaves look broad and ribbed, but hosta leaves are larger, glossier, and the veins do not run the full length in the same tight parallel pattern. Lily of the valley is the one to be careful about in flower arrangements, not in lawns. If a “plantain” has a stem with leaves on it, it is not plantain — plantain leaves all come from the base.
Food job: the youngest leaves, before the veins turn tough, blanched and treated like spinach. Older leaves get fibrous fast, so most foragers use them in soup where texture matters less. The seeds can be gathered green and lightly toasted.
Remedy job: this is the classic fresh poultice plant. A leaf chewed or crushed until the juices release, laid on a scratch, a sting, or a splinter site, is one of the oldest field remedies there is. It is also taken as an infusion, traditionally for throat and gut soothing. Note the word “soothing” — it is not an antibiotic, and a dirty wound still needs washing and real medical care.
Stinging nettle (Urtica dioica) — the one that fights back
Nettle is the plant that teaches processing. You cannot be casual with it. That is the point.
Confirming it: opposite leaves with serrated edges, a square stem, and hairs that sting on contact. The leaves are heart-shaped at the base and taper to a point. Nettle grows in dense patches in rich, disturbed soil — the kind of ground near old barns and riverbanks.
Lookalikes worth knowing: white dead-nettle and henbit look similar and have square stems too, but they have no sting and their flowers are showy and lipped. Those are edible and harmless, but they are not nettle, and mistaking them costs you the medicine you came for.
Food job: blanch 60 seconds and the sting is gone — the formic acid and histamine break down with heat. From there it is a straight spinach swap: soup, pesto, frittata, saag-style curry. Nettle is genuinely one of the most nutrient-dense greens you can pick for free, high in iron, calcium, and vitamins A and K.
Remedy job: the leaf infusion is the standard preparation, traditionally used as a general tonic and for joint comfort. Nettle root is a separate preparation with a separate traditional use. Harvest with gloves, process with gloves, and do not drink nettle tea in large amounts if you are on diuretics or blood pressure medication without asking a professional first.
| Plant | Confident ID markers | Lookalike to rule out | Best harvest window | Food part | Remedy part |
|---|---|---|---|---|---|
| Dandelion | Backward-pointing leaf lobes, hollow single-head stem, milky sap, deep taproot | Cat’s ear, hawkweed (not toxic, but not dandelion) | Leaves: early spring. Root: late autumn | Young leaves, flowers, roasted root | Root decoction, leaf infusion |
| Broadleaf plantain | Flat rosette, parallel raised veins base-to-tip, leafless flower spike | Young hosta (larger, glossier); any “plantain” with a leafy stem | Late spring to early summer, before veins toughen | Young leaves, green seeds | Fresh poultice, leaf infusion |
| Stinging nettle | Opposite serrated leaves, square stem, stinging hairs | White dead-nettle, henbit (no sting, harmless) | Spring, before flowering | Blanched leaves | Leaf infusion, root preparation |
Step 2: Learn Four Preparation Families, Not Forty Recipes
A recipe collection is a trap. It makes you dependent on someone else’s instructions and useless the moment the plant is different. Four preparation families cover almost everything a beginner will ever do, and once you understand what each one extracts, you can improvise safely.
The logic underneath all of them is simple: different plant compounds dissolve in different liquids. Water pulls out sugars, bitter compounds, mucilage, and most vitamins. Alcohol pulls out resins, alkaloids, and aromatic oils that water leaves behind. Fat pulls out fat-soluble compounds. Heat breaks down some things and releases others. Choose the liquid, choose the effect.
| Method | What it pulls out | Best for | Realistic shelf life | Beginner difficulty |
|---|---|---|---|---|
| Fresh or blanched | Everything, intact | Greens, flowers, immediate meals | 3–5 days fridge; 8–12 months frozen | Easy |
| Infusion (hot water, covered) | Water-soluble compounds, aromatics | Leaves and flowers | 24 hours fridge; drink fresh | Easy |
| Decoction (gentle simmer) | Tough water-soluble compounds | Roots, bark, seeds | 2–3 days fridge | Easy |
| Tincture (alcohol) | Resins, alkaloids, aromatics | Roots, leaves, long-term storage | 3–5 years | Medium |
| Poultice or compress | Local, direct contact | Fresh leaves, skin issues, stings | Use immediately | Easy |
| Infused oil or salve | Fat-soluble compounds | Dried leaves and flowers, skin use | 6–12 months | Medium |
How each one actually works in practice
Infusion. Roughly a handful of fresh leaf or a tablespoon of dried leaf per cup. Water just off the boil, poured over, lid on, ten to fifteen minutes. The lid is not decoration — the aromatic oils you want are volatile, and an open cup lets them leave. Strain and drink the same day. This is the everyday preparation, and for most people it is the only one they need.
Decoction. Roots and seeds are dense, so they need heat and time: chop small, cover with cold water, bring up, simmer gently fifteen to twenty minutes, then strain. Dandelion root prepared this way is earthy and bitter — that bitterness is the active point, not a flaw to fix with honey, though a little honey is allowed.
Tincture. A clean jar, dried or freshly wilted plant material chopped fine, covered with high-proof alcohol — plain vodka around 40% is the standard beginner choice, and flavored vodka is a waste of a good plant. Roughly one part plant to five parts alcohol by weight is a sane starting ratio. Seal, keep in a dark cupboard, shake once a day, strain after four to six weeks through cloth, bottle in amber glass, label. Dosage for tinctures is measured in drops, which is exactly why beginners should not start here.
Poultice. The oldest method and the least precise. Chew the leaf if you are in the field and have nothing else, or crush it with a little water, apply directly, cover with a cloth. Change it every few hours. Use it on clean skin, not on an open, dirty wound — a plant poultice on a dirty cut is a great way to trap bacteria.
Infused oil. Only ever with dried plant material, because water in fresh plant material makes oil go rancid and mold. Cover dried herb with olive or sunflower oil, keep warm for two to three weeks (a sunny windowsill or a yogurt maker works), strain, refrigerate. Fresh-plant oil infusions are how people end up with botulism scares and moldy jars.
Step 3: The Harvest-to-Remedy Workflow
This is the part nobody teaches, and it is the difference between a hobby and a habit. Seven steps, in order, every time.
- Scout the site before you scout the plant. Clean ground first: no roadside within about 30 meters, no sprayed lawn, no dog-walking path, no industrial edge, nothing downhill from agriculture. A perfect plant on contaminated ground is not a food or a medicine — it is a risk with leaves.
- Confirm the identification with three features plus one independent check. Three features that all point to the same plant, then a field guide, a second pair of eyes, or an app. If the three features do not line up, you do not have an identification, you have a guess. Walk away from guesses.
- Harvest at the right hour. Mid-morning, after the dew has dried but before the heat of the day. Wet plants mold in the bag; hot, wilted plants lose aromatics before you get them home.
- Take a fraction, leave the patch. Ten to twenty percent of any stand, never the last plant in a spot, never a root unless you are deliberately harvesting root. This is not sentimentality — it is how the patch is still there next year.
- Clean and sort the same hour. Cold water, shake out insects, discard anything browned or chewed. Then split the batch immediately into “food tonight” and “medicine later.” If you leave everything in one bag, the food wilts while you decide.
- Process the same day. Drying, blanching, tincturing — all of it starts losing quality the moment the plant is picked. A pile of nettles on the counter overnight is a pile of slime by morning.
- Label like your memory depends on it, because it does. Plant name, part, date, location, method, and ratio. Masking tape and a sharpie. Six months from now you will not remember which jar was the spring nettle and which was the autumn one, and the difference matters.
Step 4: Build the Shelf, and Store It Like It Matters
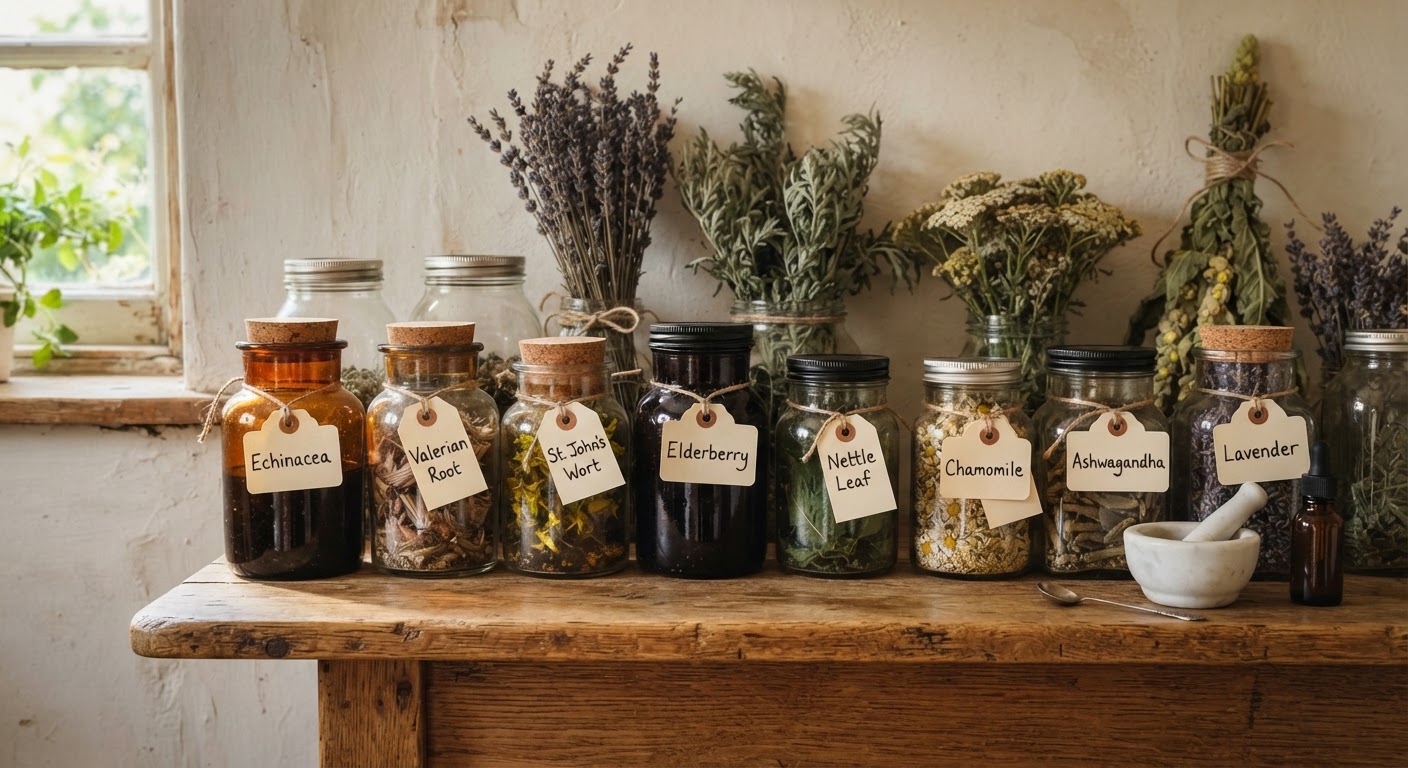
A harvest is only worth what survives the week. Storage is where most beginners lose their work — dried herbs that went moldy in a sealed jar, tinctures left in sunlight, frozen greens turned to mush.
| Form | Container | Conditions | Realistic shelf life | Spoilage signs |
|---|---|---|---|---|
| Dried leaf and flower | Paper bag to dry, then glass jar | Dark, dry, airtight, room temperature | 9–12 months | Smells like hay or dust; crumbles to powder |
| Dried root | Glass jar, whole pieces | Dark, dry, airtight | 12–18 months | Soft spots, musty smell, insect dust |
| Tincture | Amber glass with dropper | Dark cupboard, no fridge needed | 3–5 years | Cloudiness, off smell, leaking seal |
| Infused oil | Dark glass, small bottles | Refrigerator | 6–12 months | Rancid smell, cloudy sediment |
| Blanched greens | Freezer bag, squeezed flat | Freezer, blanched first | 8–12 months | Freezer burn, mushy texture on thaw |
| Oxymel (honey + vinegar) | Glass jar, non-metal lid | Cool cupboard | 6–12 months | Fermentation bubbles after week two, mold on surface |
Three storage details that save entire harvests:
- The snap test. A properly dried leaf snaps and cracks. A leaf that bends is still holding water and will mold inside a sealed jar. When in doubt, leave it out another two days.
- Dry in the dark. Sunlight bleaches color and breaks down the compounds you harvested for. A paper bag in a dark closet beats a sunny windowsill every time.
- Small jars over big ones. Every time you open a big jar you exchange its dry air for humid room air. Store in quantities you will use in a month.
Step 5: Use Your Kit Like a Beginner, Not a Believer
The most useful sentence in this whole article: start smaller than you think you need to.
- Taste first, dose second. A small taste of a new plant, then wait a few hours. Then a small cup of infusion, then wait a day. Reactions to plants are individual — the person who wrote the book is not your body.
- Patch test anything topical. A little on the inner forearm, twenty-four hours, before you cover a rash with it.
- Keep a two-week ceiling on daily use. Most traditional preparations were seasonal, not permanent. Two weeks on, then a break, is a reasonable beginner pattern.
- Respect the contraindication list. Pregnancy and nursing, blood thinners, blood pressure medication, thyroid medication, diabetes medication, and children under twelve are all situations where you ask a professional before you use anything — including “just tea.”
- Know the stop signs. Stomach upset, a new rash, a headache, dizziness, or any change that arrives after you started a preparation means stop and reassess. Plants are not neutral just because they are natural.
- Never treat a red flag at home. Chest pain, a spreading infection, a deep wound, a fever that will not quit, a child who is lethargic — those are hospital problems, not plant problems.
The mindset shift that keeps people safe is this: you are not replacing medicine, you are adding a small, careful layer of traditional practice to an otherwise normal life. The moment a jar of tincture starts feeling like a substitute for a doctor, put the jar down.
Step 6: Your First Thirty Days
A plan beats enthusiasm, because enthusiasm fades around day four.
Week one — identify only. Walk the same route three times, photograph the trio, confirm each plant and note the lookalikes you actually saw. Pick nothing. This week feels slow and it is the most important one.
Week two — food. Harvest a modest amount of each. Blanch and eat them in three separate simple dishes, so you learn what each tastes like alone before mixing anything.
Week three — dry and infuse. Dry a batch of each leaf. Start one single-plant tincture, not a blend — a blend teaches you nothing when something goes wrong. Make one infusion and drink it.
Week four — topical and review. Make a fresh plantain poultice on a clean scratch. Strain the tincture if timing lines up. Then answer one honest question: which plant do I actually know now? Usually it is one, not three. One plant known properly beats three known halfway.
Pro Tips From Years in the Field
- Photograph every harvest with a coin for scale. It sounds fussy until you are trying to remember whether those leaves were two centimeters or six.
- Harvest into paper, not plastic. Plastic bags turn fresh greens into soup in about two hours in warm weather.
- Do not blend plants in your first tinctures. Single-plant preparations let you learn what each one does, and let you troubleshoot when something goes wrong.
- Buy the cheap vodka. 40% plain vodka is a perfectly good menstruum. Save the good stuff for drinking.
- The smell test catches what the eye misses. Crush a leaf. Dandelion smells faintly bitter and green, plantain smells like cut grass and mushroom, nettle smells sharp and green. A wrong smell is a reason to stop.
- Keep a “what went wrong” page in your notebook. The moldy jar, the over-dried root, the batch you harvested too late. Your mistakes are better teachers than any guide, including this one.
FAQ
What is the difference between an infusion and a decoction, and does it really matter? An infusion is hot water poured over soft plant material — leaves and flowers — and left to steep covered. A decoction is a gentle simmer for tougher material — roots, bark, seeds. It matters because the wrong method either under-extracts or destroys what you wanted. Simmering delicate leaves for twenty minutes gives you bitter water and no aromatics.
Can I make tinctures with normal supermarket vodka? Yes, plain 40% vodka is the standard beginner option. Avoid flavored or sweetened spirits, and avoid anything under about 35% — too little alcohol to preserve the preparation properly. Label the ABV on the jar along with everything else.
How clean does a plant need to be before I use it as medicine? Cleaner than for food, not less. Rinse thoroughly, discard anything with insect damage or browning, and never use plant material from a roadside, a sprayed lawn, or a dog path — for a tincture those contaminants get concentrated, not diluted.
What should I do with my very first harvest? Eat some of it. That sounds like a joke and it is not. The first harvest should teach you what the plant tastes like, how it cooks, and how your body responds. Turning your first batch into a tincture you are scared to open teaches you almost nothing.
How long do home-dried wild herbs actually last? Nine to twelve months for leaves and flowers stored dark, dry, and airtight; twelve to eighteen months for roots. After that they are not dangerous, just weak. If a jar smells like hay instead of the plant, it is tea-flavored dust and time to compost it.
Is any of this safe for children? That is a conversation for your pediatrician, not a blog. Children metabolize differently and dose by body weight, and “it’s just a plant” has never been a safety argument. Keep your preparations labeled, out of reach, and treat them the way you treat any other household substance.
The Shelf That Feeds You and Fixes You
Three plants. Four preparation methods. One notebook. That is the entire starter kit, and it will carry you through a whole year of learning before you need to add anything to it.
The reason this works is that wild medicinal and food plants were never two separate hobbies — they were one walk with two baskets, and the plants themselves never cared which basket you brought. Learn the identification once, respect the line between food and medicine, prepare with intention, store like it matters, and dose like a beginner. That is the whole craft, and the rest is repetition.
The one thing that still trips people up is confidence in the moment: you are standing over a plant, the field guide is at home, and the difference between “dinner” and “a bad afternoon” is a leaf detail you cannot quite remember. That is exactly the gap Edible Plant Identifier was built to close. Point your camera at a leaf and it gives you a probable match with identification notes and lookalike warnings — so you can check your instinct before you pick, not after. It works offline, which matters most in the places where the plants actually grow.
It will not replace a field guide, an expert, or your own judgment. Nothing should. But it is a good second opinion to have in your pocket when the meadow is quiet and the signal is gone.