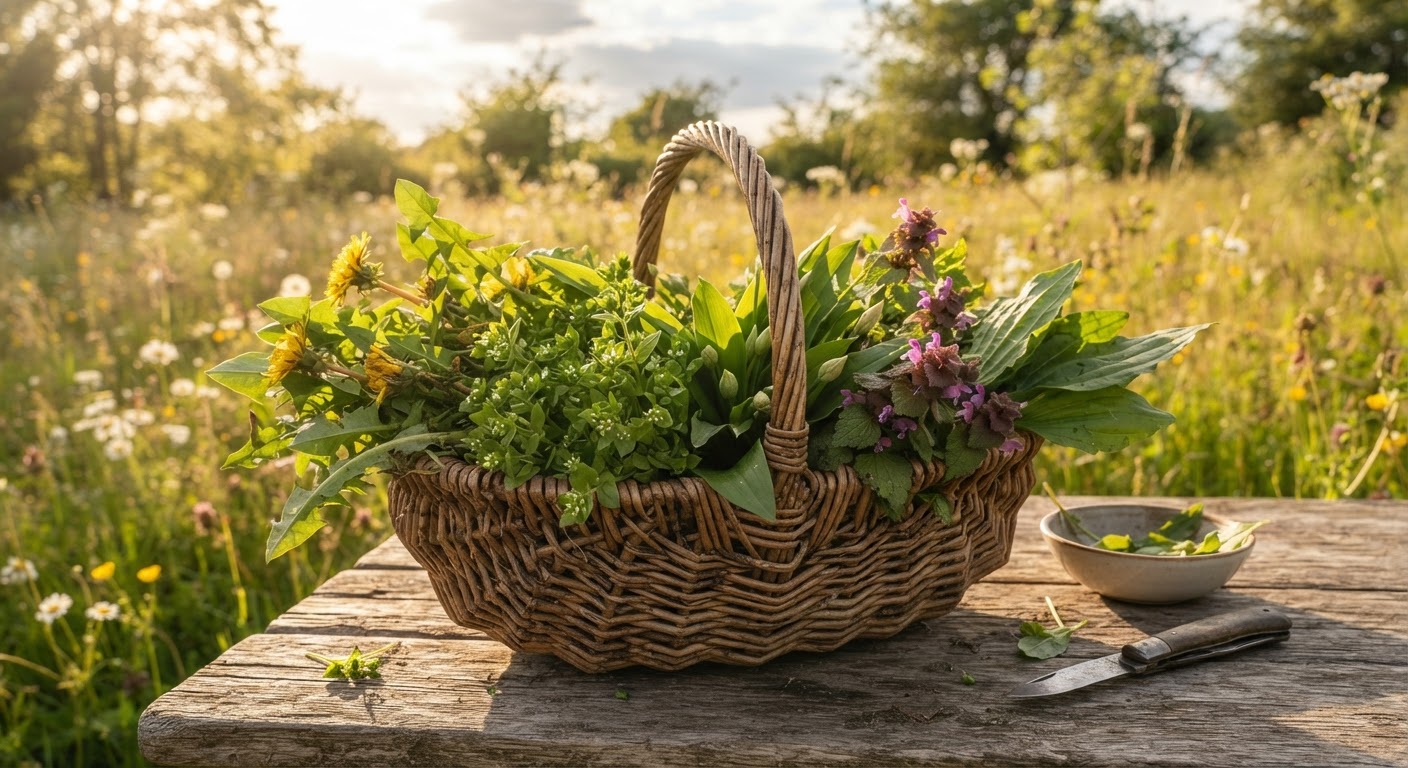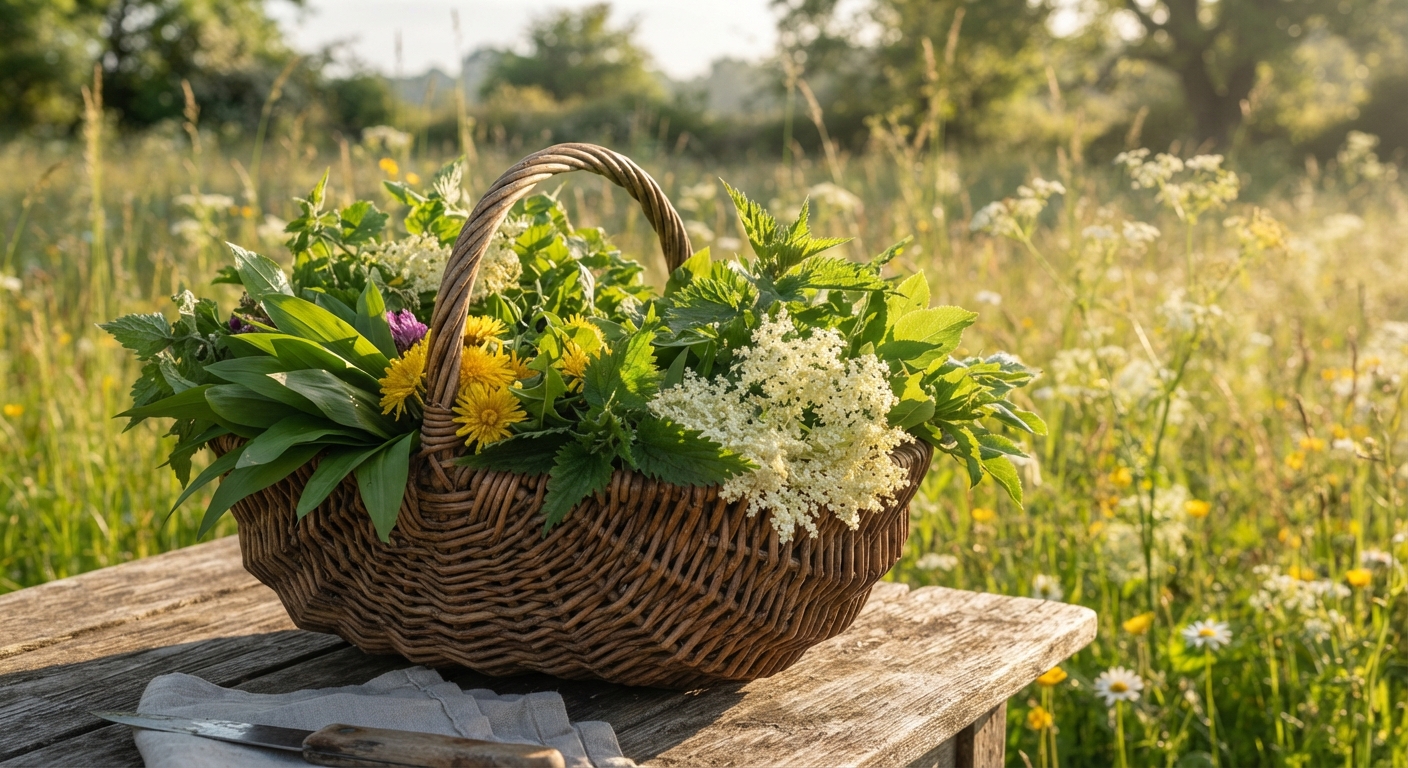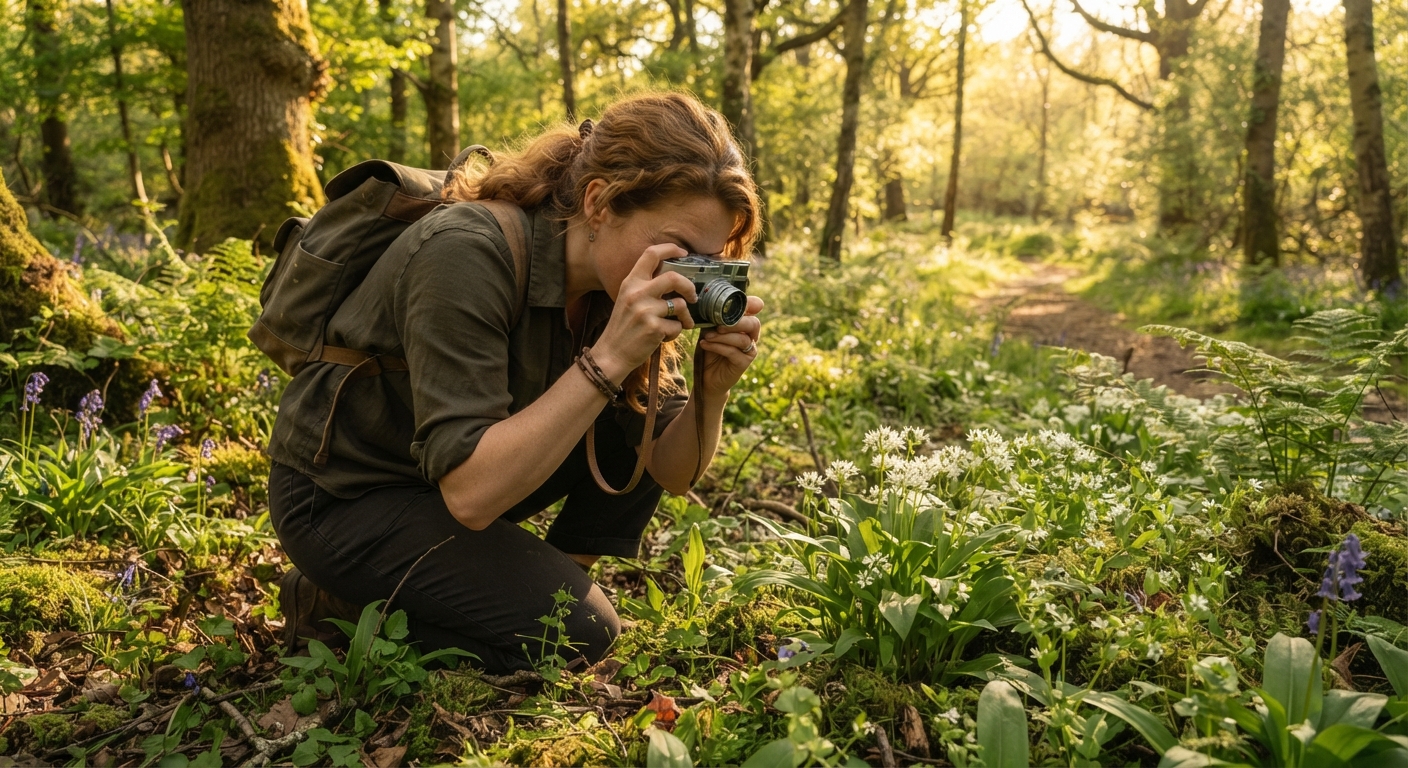
Scroll through any foraging hashtag on Instagram and you’ll spot the pattern within seconds. A hand holding a blurry dandelion against a harsh noon sky. A purslane plant shot from standing height, looking like a green smudge on brown dirt. Chickweed that could be mistaken for any of thirty other ground-cover plants because the photo captures none of what makes chickweed identifiable. Technically, these are pictures of edible wild plants. Functionally, they’re useless — for identification, for sharing knowledge, and for the simple pleasure of looking at something beautiful.
This isn’t about becoming a professional photographer. It’s about recognizing that how you photograph wild plants changes how people see them. A well-shot foraging photo doesn’t just look nicer — it’s actually more useful. Someone trying to learn plant identification from your photo needs to see texture, color gradation, leaf venation, stem structure. A flat, overexposed snap from a phone camera gives them none of that.
The vintage film aesthetic — warm tones, soft grain, gentle highlight roll-off, muted greens — happens to be one of the most forgiving and evocative styles for botanical photography. It flatters the organic textures of wild plants in a way that sterile, hyper-sharp digital photos often don’t. And you don’t need a film camera to achieve it. Most of what makes a photo look “vintage” can be done with a phone and some thoughtful technique.
This guide walks through the entire process: what gear actually matters, how to compose in the field when you’re crouching in mud with mosquitoes swarming your neck, which wild plants photograph best, and how to edit your way to that timeless film look without spending hours in Lightroom.
Why Vintage Aesthetics Work So Well for Wild Plant Photography
Before getting into the how, it’s worth understanding the why. Vintage film aesthetics aren’t just trendy — they solve specific problems that wild plant photography faces.
The green problem. Digital phone cameras, especially in default auto mode, process green foliage aggressively. They boost saturation, sharpen edges to the point of looking crunchy, and crush shadow detail in the darker parts of plants. The result is a neon-green, artificial-looking image that makes every plant look like it was grown in a lab. Film emulsions — and the presets that simulate them — handle greens with more restraint. They desaturate slightly, add warmth, and preserve tonal transitions between light and shadow on a leaf’s surface.
The texture problem. Wild plants are all about texture: the fuzzy underside of a mullein leaf, the glossy surface of garlic mustard, the veined translucence of wood sorrel petals. Digital sharpening flattens texture; film grain enhances it. That subtle, organic grain pattern — whether it’s real film or a well-applied digital overlay — makes plant surfaces feel tactile. Your viewer can almost feel the leaf.
The context problem. Foraging happens in forests, fields, hedgerows — places with dappled light, mixed backgrounds, and visual chaos. A clinical, high-contrast photo pulls the plant out of its environment. A vintage aesthetic keeps the plant in context while making the entire scene feel intentional. Warm tones suggest early morning foraging. Cool, muted tones suggest overcast woodland walks. Both tell a story that a standard snapshot can’t.
The emotional hook. People connect with stories, not data sheets. A photo of purslane that looks like a botanical specimen card is informative. A photo of purslane that looks like a memory — warm light, soft colors, the feeling of a summer afternoon — is engaging. Engagement means people stop scrolling, read your caption, and maybe remember what purslane looks like. That’s the entire goal.
The Gear You Actually Need (And What You Can Skip)
There’s an entire industry built on convincing you that better photos require better cameras. For the specific task of photographing wild plants with a vintage aesthetic, the gear conversation is simpler than you’d think.
| Gear | What It Does for Plant Photography | Worth Buying? | Budget-Friendly Alternative |
|---|---|---|---|
| Smartphone (recent model) | Handles 90% of plant photography needs; wide-angle lens is ideal for environmental plant shots; portrait mode for close-ups | You already own it | Any phone from the last 4 years |
| Clip-on macro lens ($15-30) | Captures leaf textures, flower details, stem hairs — the features that make plant ID photos definitive | Yes — best cost-to-value ratio of any gear | Magnifying glass held against phone lens (seriously) |
| Dedicated camera (DSLR/mirrorless) | Better dynamic range, interchangeable lenses, genuine shallow depth of field for subject isolation | Only if you already own one | Not needed for 95% of foraging photos |
| 50mm f/1.8 prime lens | The “nifty fifty” — natural perspective, beautiful background blur, great for plant portraits | Yes, if you have a camera body | Phone portrait mode approximates this |
| Tripod | Sharpness in low light (forests, dawn/dusk foraging); necessary for focus stacking tiny plants | Maybe — for serious documentation | Bean bag or backpack as improvised stabilizer |
| Reflector/diffuser | Controls harsh sunlight; essential for midday foraging when you can’t wait for golden hour | Yes — cheap and transformative | White piece of paper or thin white fabric |
| Vintage film camera | Authentic film look without digital simulation; different creative constraints force better composition | No — for the aesthetic only | Any of the digital methods discussed below |
| ND filter | Lets you shoot wide open in sunlight for that dreamy, shallow depth of field film look | Nice to have, not essential | Wait for softer light instead |
The honest summary: if you have a phone from 2022 or later and a $20 clip-on macro lens, you have everything you need. Everything else is refinement, not requirement.
Step-by-Step: Capturing the Vintage Film Look in the Field
The vintage aesthetic isn’t just an editing trick applied after the fact. It starts with how you shoot. These six steps build on each other — skip one and the final result won’t quite land.
Step 1: Chase Soft Light, Not More Light
The single most important thing you can do for a film-like photo: stop shooting in direct midday sun.
Film handles highlights by rolling them off gradually — bright areas transition smoothly to white rather than clipping abruptly. Digital sensors (especially phone sensors) clip highlights harshly. When you shoot in soft light — overcast skies, open shade, the hour after sunrise or before sunset — you give your digital sensor conditions it can handle gracefully. The result, even before editing, already has that gentle, film-like quality.
What this means in practice: If you find a patch of chickweed at 1 PM on a bright day, step into the shade of a nearby tree. Not in deep shadow — just out of the direct sun. The difference in the photo will be dramatic, and no amount of editing can rescue a photo shot in harsh overhead light the way simply moving six feet can.
Step 2: Get Low. Then Get Lower.
The number one mistake in plant photography — foraging or otherwise — is shooting from standing height. You’re five or six feet above a plant that’s six inches tall. The angle flattens the plant, loses all texture, and communicates nothing about what the plant actually looks like from a forager’s perspective.
Kneel. Then lie down. Your lens should be at the plant’s level or slightly below it. This does two things: it shows the plant the way you actually see it when you’re foraging, and it pulls the background further away, creating natural separation between subject and surroundings.
For plants like wood sorrel that grow low to the ground, put your phone on the ground and tilt it up slightly. The resulting perspective — looking up at the plant against a sky or distant backdrop — immediately reads as intentional and film-like.
Step 3: Give the Plant Room to Breathe
A common foraging photo: the plant fills 90% of the frame, cropped tight so you can “see the details.” But identification details don’t require tight framing, and tight framing kills the vintage aesthetic. Film-era photographers composed with breathing room.
Frame the plant so it occupies roughly 40-60% of the image. The remaining space should show something of the environment — a patch of moss, a fallen leaf, the texture of the forest floor. This environmental context is what transforms a plant photo from “specimen documentation” to “sense of place.”
Step 4: Find the One Defining Detail
Every wild edible plant has a tell — the one visual feature that distinguishes it from lookalikes. Purslane has succulent, paddle-shaped leaves with a reddish stem. Wood sorrel has three heart-shaped leaflets with a distinct crease. Garlic mustard has kidney-shaped basal leaves with scalloped edges and a garlic scent when crushed.
Your photo should capture that tell. Not as the only thing in the frame — refer back to Step 3 — but as the visual anchor that gives the image purpose. A macro shot of purslane’s fleshy leaves against a blurred background of sidewalk cracks tells you everything you need to know about the plant and the context in which you’ll find it.
Step 5: Stabilize or Shoot Twice
Film grain looks intentional and beautiful. Motion blur looks like a mistake.
In forest light — the kind of soft, filtered light that produces the best vintage-style plant photos — your shutter speed drops. Phones compensate by boosting ISO, which introduces ugly digital noise, not the pleasant grain you’re after. Brace your phone against a tree trunk, your knee, or a backpack. Take three shots in rapid succession; statistically, one will be sharper than the others.
Step 6: Underexpose Slightly
Here’s a counterintuitive tip: for a film-like look, aim for slightly underexposed rather than perfectly exposed. Not dark — just a third to half a stop under what your auto-exposure would choose.
Why this works: film negatives retain highlight detail but lose shadow detail gracefully into deep, rich blacks. Digital sensors do the opposite — they clip highlights mercilessly but can recover shadow detail. By underexposing slightly, you protect your highlights (which digital handles poorly) and can lift the shadows in editing. The resulting image has the highlight behavior of film with the shadow flexibility of digital.
The 5 Best Wild Edible Plants to Photograph (With Vintage Film Aesthetic)
Some plants simply photograph better than others. Texture, color contrast, leaf shape, and how the plant interacts with light all play into the final image. These five wild edibles consistently produce the most striking vintage-style photos.
| Plant | Photogenic Quality | Best Season for Photos | Ideal Light | Shot You Shouldn’t Miss | Editing Vibe |
|---|---|---|---|---|---|
| Wood Sorrel (Oxalis spp.) | Heart-shaped leaflets, delicate white/pink flowers, folds up at night (bonus photo opportunity) | Spring through Fall | Soft overcast — the white flowers blow out in direct sun | Close-up of the three heart-shaped leaves against moss, shot from ground level | Fuji Superia — cool greens, crisp whites, slight magenta cast |
| Purslane (Portulaca oleracea) | Succulent texture, red-green color contrast, spreading growth pattern, tiny yellow flowers | Summer | Late afternoon warm light — brings out the red in the stems | Macro of water droplets on the fleshy leaves after rain | Kodak Gold — warm, golden tones, slight red push |
| Dandelion (Taraxacum officinale) | Iconic silhouette, seed head (photogenic in any light), jagged leaf texture, bright yellow bloom | Spring (flowers), Fall (seed heads) | Backlit — dandelion seed heads glow against dark backgrounds | Seed head backlit by morning sun, half the seeds blown away | Kodak Portra 400 — warm, pastel, gentle contrast |
| Stinging Nettle (Urtica dioica) | Intricate leaf venation, serrated edges, fine stinging hairs (macro gold), vivid green | Spring | Diffused woodland light — nettles grow in partial shade naturally | Top-down flat lay of young nettle tops before cooking | Ilford HP5 (black and white) — the texture and venation read stronger without color |
| Chickweed (Stellaria media) | Tiny star-shaped white flowers, delicate trailing stems, bright apple-green color, fine single line of hairs on stem | Spring & Fall | Morning light with dew — the tiny flowers sparkle | Extreme macro of the split-petal flowers (they look like 10 petals but are actually 5 deeply cleft) | Fuji Pro 400H — soft pastels, muted greens, slight cyan shift in shadows |
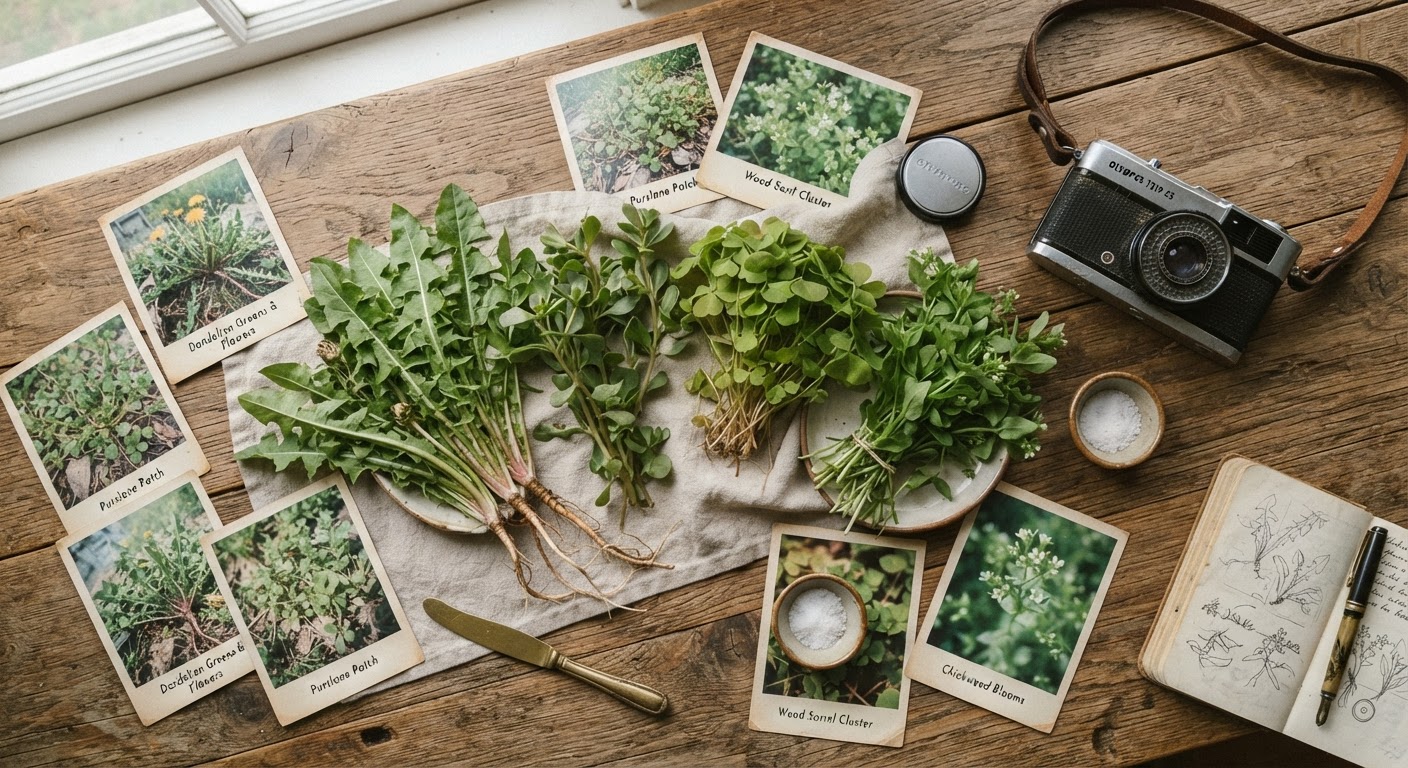
These aren’t the only photogenic wild edibles — lamb’s quarters with its silvery leaf undersides, elderflower umbels against a blue sky, and the architectural seed heads of wild carrot all produce stunning images. But start with these five and you’ll build a portfolio of foraging photos that look intentional, not accidental.
Composition Rules That Actually Work in the Field
Composition theory is easy to recite and hard to apply when you’re crouched in wet grass with a plant that’s smaller than your thumb. Here are the rules worth remembering in those conditions — stripped of art-school language and tested in actual foraging situations.
The Rule of Thirds, Applied to Plants
Place the plant’s most important feature — the flower, the identifying leaf, the seed head — on one of the four intersection points of a tic-tac-toe grid overlaid on your frame. Most phone cameras can display this grid in settings. Turn it on and leave it on.
For a dandelion seed head: place the center of the seed head on the upper-left intersection, with the stem running diagonally toward the lower-right. The empty space on the right can catch backlit bokeh from distant foliage. This is a fundamentally different image than a centered seed head against a blank sky — and it takes exactly zero additional effort once the grid is enabled.
Leading Lines From the Ground Up
Wild plants grow in lines even when they don’t mean to. A fallen branch, a deer trail, the edge of a stream bank — these create natural lines that lead the viewer’s eye through the frame. Position your subject plant where these lines converge or terminate.
A patch of wild garlic growing along a fallen log: shoot along the length of the log, with the garlic plants in the foreground and the log’s mossy surface drawing the eye deeper into the woods. The plant is the subject, but the log gives the image depth.
Negative Space Is Not Wasted Space
Digital photography makes people nervous about empty areas in a frame. Film photographers embraced them. A single purslane plant in the lower third of a frame, with the rest of the image showing sun-baked sidewalk cracks, tells a more complete story than a tight crop. The negative space communicates where the plant grows, what conditions it tolerates, and — crucially for identification — its growth habit.
The “Look Again” Detail
Every good plant photo should contain one thing that rewards a second look. A tiny insect on a leaf. A single water droplet. The faint shadow of a leaf texture on the ground beneath the plant. These aren’t the subject — they’re the surprise. They create the kind of visual depth that film photography was known for, where a print revealed new details every time you studied it.
Editing Recipes: Digital Filters That Mimic Classic Film Stocks
The editing step is where most of the vintage aesthetic comes together. You don’t need Lightroom expertise or expensive presets. These recipes target a consistent film look using only the tools available in free phone editing apps like Snapseed, VSCO, or the built-in editor on recent iPhones.
Recipe 1: Kodak Portra 400 (Warm, Pastel, Gentle)
This is your default for warm-light foraging photos — golden hour dandelions, backlit nettle leaves, wild garlic in afternoon sun.
- Warmth: +8 to +12
- Contrast: -15 to -20
- Saturation: -5 to -10 (pull greens specifically if you can)
- Highlights: -25 to -35 (this is the key to the Portra look)
- Shadows: +10 to +15 (lift the blacks slightly for that pastel quality)
- Grain: Add subtle grain — 15-20 on a 0-100 scale
- Vignette: -10 to -15, feathered wide
Recipe 2: Fuji Superia 400 (Cool Greens, Clean Whites, Slight Magenta)
Best for: wood sorrel in overcast light, chickweed with morning dew, any plant in soft woodland conditions.
- Warmth: -3 to -5 (slight cool shift)
- Tint: +5 to +8 toward magenta
- Contrast: -10
- Saturation: -8
- Highlights: -20
- Shadows: -5
- Grain: 20-25
- Vignette: -8
Recipe 3: Kodak Gold 200 (Warm, Saturated, Golden Cast)
Best for: purslane, late summer plants, anything shot in direct warm light where you want the colors to pop but still feel analog.
- Warmth: +15 to +20
- Contrast: -5
- Saturation: +5 (yes, slight increase — Gold is punchy)
- Highlights: -15
- Shadows: +8
- Grain: 25-30
- Vignette: -12
Recipe 4: Ilford HP5 (Black and White, Textural, High Contrast Grain)
Best for: plant textures, leaf venation, nettle hairs, bark, roots, seed heads — anything where color isn’t adding information.
- Convert to black and white first
- Contrast: +10 to +20
- Highlights: -10
- Shadows: -5
- Grain: 35-40 (lean into it)
- Vignette: -20 (stronger than color recipes)
The One Edit That Changes Everything
Regardless of which recipe you choose, there’s a single slider that makes the biggest difference between “digital photo with a filter” and “convincing film look”: the highlight reduction. Digital sensors produce harsh, clinical highlight clipping. Film rolls highlights off gradually, producing a smooth, almost glowing transition to white. Dropping highlights by 20-35 points in any editing app replicates this behavior. If you only do one edit, do this one.
Pro Tips: Lessons From Hundreds of Foraging Photo Walks
These are the things you figure out after taking a lot of bad photos in good places. File them under “wish someone had told me earlier.”
Carry a Small Spray Bottle
A fine mist of water on a plant creates instant dew — and dew droplets scattered across leaf surfaces and spider webs transform a standard plant photo into something atmospheric. This works on any plant, any time of day, and the bottle weighs almost nothing. The tiny droplets also catch backlight beautifully, creating natural bokeh points.
Photograph the Plant at Every Stage
A single photo of a mature dandelion flower is fine. A triptych showing the closed bud, the full yellow bloom, and the seed head from the same angle, same background — that’s a story. Foragers need to identify plants across their entire lifecycle, and vintage-style sequence photos are exponentially more useful (and more beautiful) than single-stage documentation.
Use Your Hand for Scale — Intentionally
A hand holding a plant is the most common foraging photo cliché. It’s also genuinely useful for showing scale. The trick is to make it look deliberate: hand positioned naturally (not awkwardly stretched toward the lens), plant held at a distance that keeps it in focus with the background, fingers relaxed. Think “offering the plant to the viewer” rather than “gripping it for dear life.”
Shoot Through Things
Place a leaf, a blade of grass, or a flower stem close to your lens — so close it’s completely out of focus. This creates a wash of soft color across part of the frame, simulating the foreground blur that wide-aperture film lenses produce naturally. It takes practice to get the positioning right, but the result is genuinely cinematic.
Keep a Visual Foraging Journal
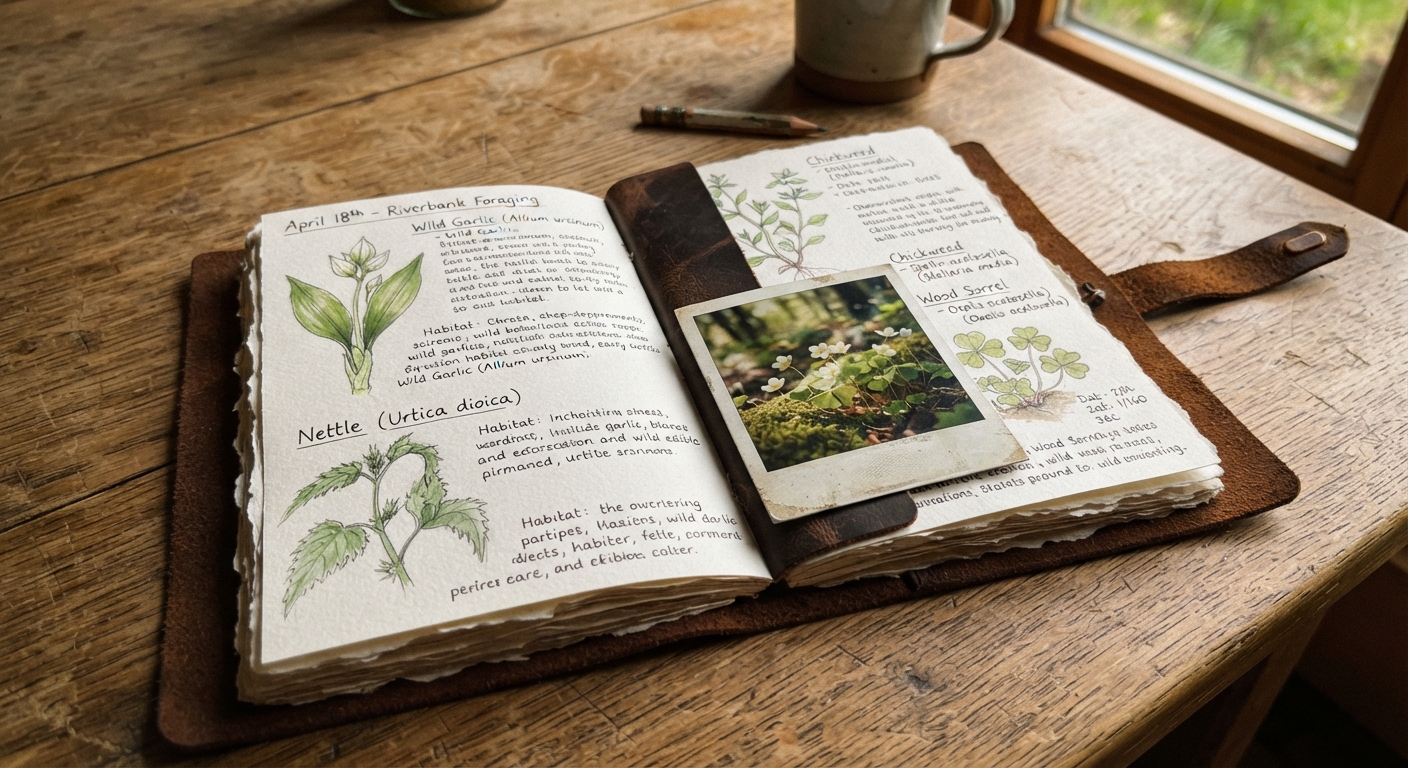
The most satisfying application of vintage-style foraging photography isn’t social media — it’s documentation. Create a folder organized by plant species, with photos showing: the plant in its habitat, a close-up of the identifying feature, a shot of the harvested part, and a photo of the finished dish. Add text notes about location, date, and conditions. Over a full year, this becomes an invaluable personal field guide specific to your local area. The vintage aesthetic makes the collection feel cohesive and intentional, like pages from a beautifully illustrated botany book.
Questions Other Foragers Actually Ask
Here’s what comes up when foragers start thinking about their plant photography. No theoretical questions — these are the real ones from real conversations.
“I forage alone. How do I get photos of myself foraging?”
Tripod. Or more practically, a small phone tripod with a Bluetooth remote shutter (under $20, fits in a pocket). Set up the shot showing the plant patch, frame yourself in the scene, and trigger the shutter from your hand. Ten-second timers also work but require more running back and forth. Alternatively, lean into the first-person perspective: shots of your hands interacting with plants, your basket filling up, your boots in frame as you kneel — these tell the foraging story without ever showing your face.
“Does the vintage aesthetic actually help with plant identification, or is it just for looks?”
It genuinely helps — but not for the reason you’d expect. A flat, harshly-lit digital photo hides identifying details in clipped highlights and crushed shadows. The vintage aesthetic’s emphasis on highlight roll-off and shadow detail means you’re capturing more visual information in the midtones where identifying features live. The warm color shift can mute the vivid greens that make different plant species look the same in digital photos. Paradoxically, a less “accurate” photo can be more useful for identification because it shows texture and tonal variation better.
“I post my foraging finds on iNaturalist. Will filtered photos cause identification problems?”
Yes — and this is a legitimate concern. iNaturalist’s computer vision model and human identifiers both rely on accurate color representation. A heavily filtered photo with shifted greens can confuse both. The solution: take two photos. One clean, unfiltered photo for iNaturalist documentation. One vintage-styled photo for your personal collection, social media, or foraging journal. The two shots take ten extra seconds and serve two different purposes.
“What’s the fastest way to get a vintage look with zero editing knowledge?”
VSCO app, preset “A6” (their Portra simulation), dial the strength to 70% instead of 100%. That’s it. One tap, one slider adjustment. Once you’re comfortable there, start tweaking the highlight and grain settings manually. But for someone who wants to spend zero minutes editing, the A6 preset at reduced strength is the closest you’ll get to an instant vintage film look.
“Can I get good plant photos in a forest when there’s basically no light?”
You can get moody plant photos, which often fit the vintage aesthetic better than well-lit ones. Increase your phone’s exposure slightly (most phones let you swipe up on the focus point), brace against something solid, and lean into the darkness. The resulting photo will have richer blacks and a more dramatic look than anything shot in full light. If you’re shooting a mushroom or a shade-loving plant like wood sorrel, this darker, more atmospheric style actually suits the subject better than a bright exposure would.
“Is there a plant that’s impossible to photograph well?”
Grasses. Wild grasses are edible, nutritious, and photographically punishing. They’re thin, monochromatic, tend to blend into backgrounds, and don’t have the distinctive leaf shapes or flowers that make other wild plants pop on camera. If you absolutely must photograph a wild grass (say, for documenting wild rye or wild oats), shoot it backlit at golden hour when the seed heads catch the light and glow against a darker background. That’s the only reliable trick.
Your First Vintage Foraging Photo Walk: A Quick-Start Checklist
Before heading out the door, here’s everything distilled into an actionable plan.
- Time it right: Go one hour after sunrise or two hours before sunset. If you can only go midday, choose an overcast day or stick to shaded woodlands.
- Pack light: Phone, clip-on macro lens, small spray bottle for fake dew, something to brace against (even a rolled-up jacket works).
- Pick one plant: Don’t try to photograph everything. Choose one of the five photogenic plants from the table above and shoot it in five different ways — different angles, different light, different backgrounds.
- Enable the grid: Turn on the rule-of-thirds grid in your camera settings if you haven’t already. It costs nothing and quietly improves every photo you take.
- Underexpose by a touch: Before taking the shot, tap to focus, then swipe down slightly on the exposure slider. You want the image slightly darker than the auto setting suggests.
- Take the iNaturalist shot first: One clean, unfiltered, well-lit identification photo for documentation. Then switch to creative mode.
- Edit to one recipe: Pick one of the four film stock recipes above and apply it consistently to every photo from the walk. Consistency across a set matters more than perfection in any single image.
- Add location notes: Even if you never share the photos, tag them with the location and date. Six months from now, when you’re trying to remember where that incredible purslane patch was, you’ll thank yourself.
The Real Point of Beautiful Foraging Photos
Foraging is an act of attention. You’re walking through the same world everyone else walks through, but you’re seeing plants instead of scenery, food instead of weeds, patterns instead of chaos. Photography extends that attention. When you stop to photograph a plant — really photograph it, with intention — you notice things you’d miss in a quick harvest. The way wood sorrel folds its leaves at dusk. The way purslane stems shift from green to deep red as summer progresses. The way chickweed flowers open only in morning light.
The vintage aesthetic isn’t a filter hiding reality. It’s a way of seeing that matches how memory actually works. Nobody remembers a foraging walk in clinical sharpness and perfect color accuracy. They remember warm light, rich greens, the texture of moss, the smell of crushed garlic mustard. A photo that captures that emotional truth is more honest than a technically perfect photo that captures none of it.
Your plant photos don’t need to be art. But they should make the viewer — and future you — feel something about the plants you’re documenting. Because the best foraging photos aren’t the ones with the most detail. They’re the ones that make someone look at chickweed and think, for the first time, “I want to find that.”