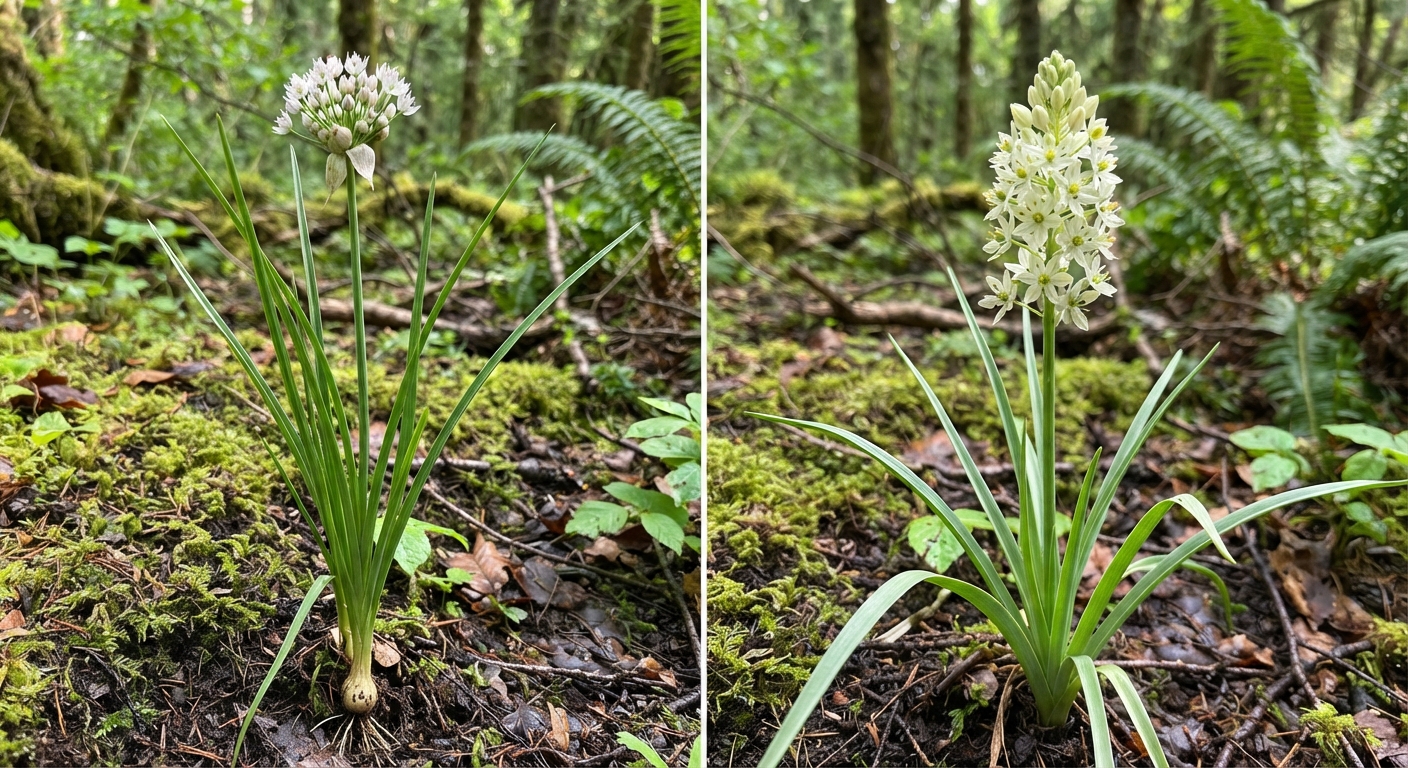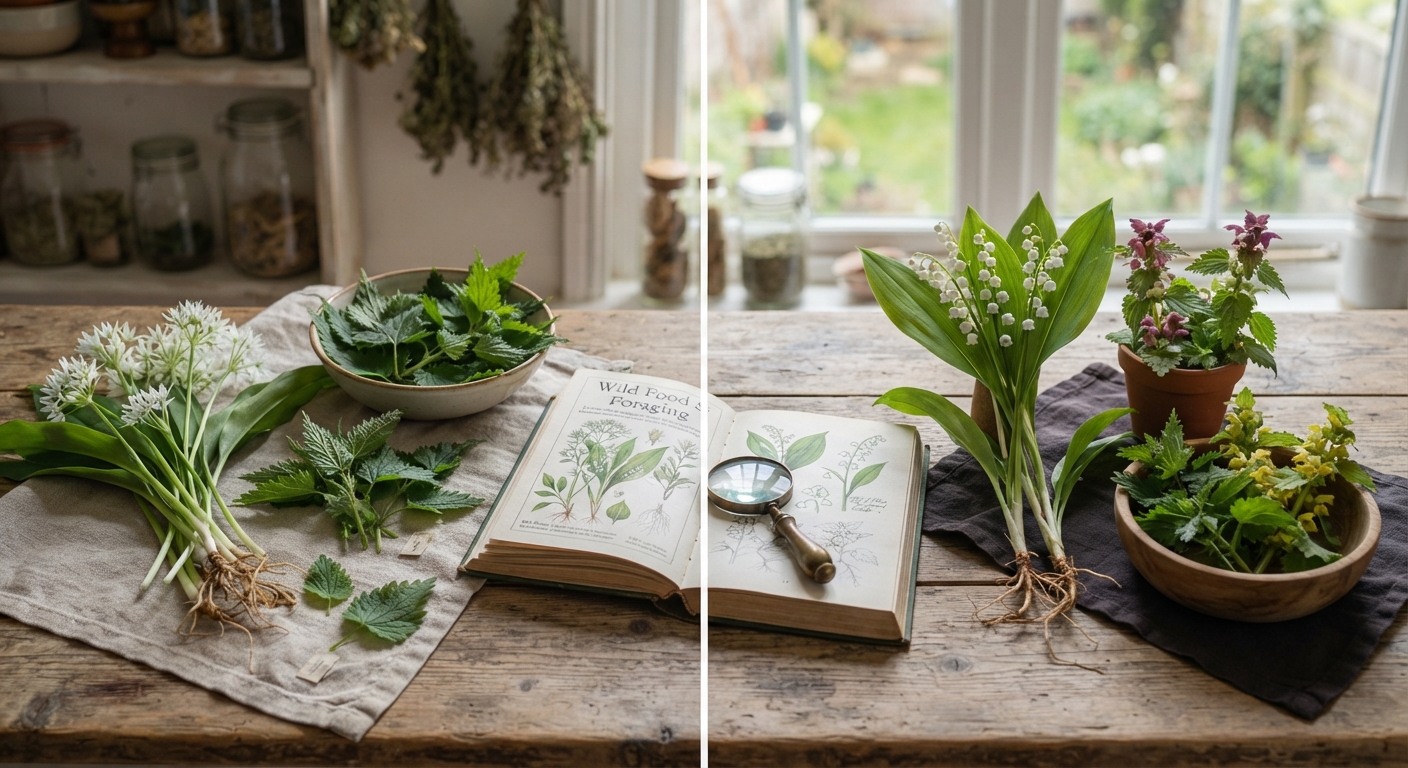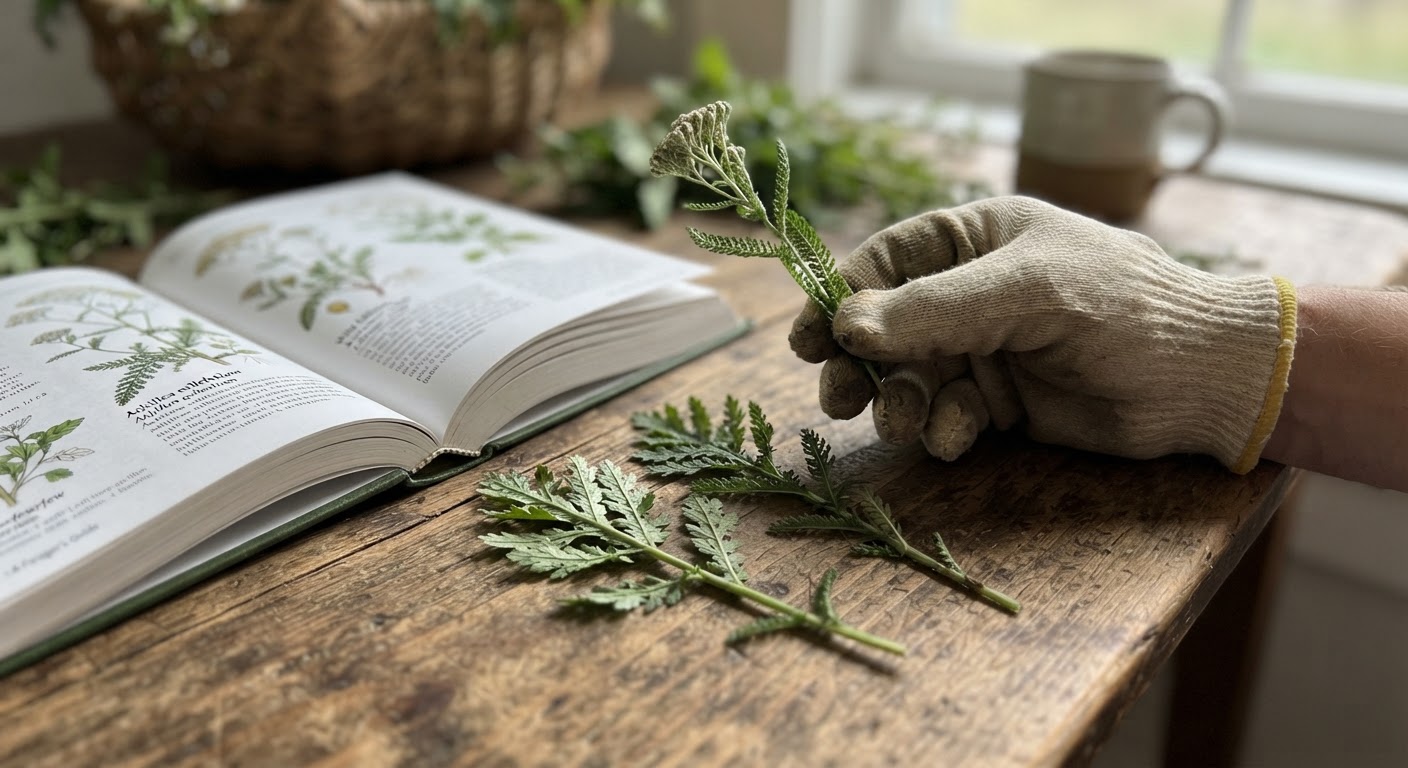
Picture the scene. You’re three days into a trip that was supposed to take one, your food ran out yesterday, and now you’re staring at a patch of unfamiliar green leaves wondering if they’d kill you or keep you alive. Hunger is doing the talking, and hunger is a terrible negotiator.
That exact moment — stomach growling, a plant you can’t identify, no phone, no field guide — is the only reason the universal edibility test exists. It is not a party trick. It is not a shortcut to skip learning plant identification. It is a structured, slow, deliberately cautious method for a person in a genuine survival situation to find out whether a specific part of a specific plant is safe for them to eat.
I’ll walk you through it the way I wish someone had walked me through it years ago: what the test actually is, the warnings that matter more than the steps themselves, the full step-by-step sequence, the mistakes that get people hurt, and the honest answer to whether you’d ever actually want to use it.
What the Universal Edibility Test Is (and Is Not)
Before any plant touches your skin, understand what you’re holding. The universal edibility test is a graduated exposure sequence. You go from least-sensitive to most-sensitive contact — skin, lip, tongue, chew, swallow — waiting at each stage for your body to tell you something is wrong.
Notice the word “graduated.” That’s the entire genius of it. You never commit to a full bite of an unknown plant at once. You inch toward it, giving your body a chance to reject the plant at the cheapest possible stage — a red welt on your wrist instead of a stomach full of poison.
But here’s the part most blog posts skip, and it’s the part that keeps people alive: the test has hard limits. It only detects poisons that cause a fast, local, or immediate reaction. It is blind to slow-acting toxins. And it tells you nothing about whether the plant is actually nutritious, whether it causes long-term organ damage, or whether a slightly different part of the same plant is toxic.
When the Test Applies — and When It Never Does
There is a small window where this test is the right call, and a much larger one where it’s reckless. This table is the first thing you should read before anything else.
| Situation | Is the test appropriate? | Why |
|---|---|---|
| You’re genuinely stranded, food is gone, rescue is uncertain | Yes — as a last resort | Survival justifies calculated risk |
| You’re on a day hike and got curious about a plant | No | You can walk out and Google it |
| You have a field guide or working phone | No | Positive identification beats any test |
| You found a mushroom you can’t identify | Never | The test cannot detect deadly mushroom toxins |
| The plant has milky sap, or smells like almonds | Never | Both are classic danger flags |
| Someone in the group is allergic, sick, or a child | Never | Only one healthy adult should ever test |
The rule I drill into anyone who asks: this test is what you do when you have no other option. If you can identify the plant, carry food, or wait for help, you do those instead. Every single time.
The Warnings That Come Before the Steps
Memorize these before you memorize the steps. They’re the difference between “cautious survival technique” and “a very expensive way to learn about poison.”
Mushrooms are off the table, permanently. Some of the most lethal mushrooms on earth — death cap, destroying angel — taste mild and cause no immediate reaction at all. You can sail through every stage of this test, feel fine for 24 hours, and be in liver failure by day three. The universal edibility test simply does not work on fungi. Ever.
The test only proves acute, immediate safety. It says nothing about what a plant does to your liver over ten years, or what a steady diet of it would do. In survival terms that’s usually acceptable — you’re trying to survive the week, not eat it forever — but understand the ceiling.
One person, one plant, one part at a time. Never test two plants in the same session, and never let two people test at once. If someone gets sick, you need to know exactly what caused it.
Don’t test if you’re dehydrated or already ill. A compromised body reacts unpredictably and tells you lies.
Cooking doesn’t neutralize most plant toxins. Boiling can leach some toxins into water (which is why the test has you prepare the plant the way you’ll actually eat it), but it won’t rescue you from cyanide compounds or alkaloids. Assume cooking is neutral until proven otherwise.
The Full Step-by-Step Sequence
Here’s the method itself, worked through carefully. The whole process takes about 16 hours if everything goes perfectly — roughly eight hours of fasting and prep, then eight hours of observation after the first swallow. This is not fast. That’s the point.
Step 0: Fast for Eight Hours First
Your stomach needs to be empty before you begin. Eight hours with nothing but clean water. This does two things: it makes any reaction easier to spot (nothing else is in your system to confuse the signal), and it means the test plant is the only variable if you do get sick.
Purify your water, get comfortable, and don’t rush this. If you’re genuinely in a survival situation, those eight hours also buy you time to look around again for a plant you actually recognize.
Step 1: Separate the Plant Into Its Parts
A plant is not one thing. A dandelion has edible leaves, a bitter root, and a flower — each chemically distinct. So break the plant down into roots, stems, leaves, buds, and flowers, and test each part separately.
The reason: many plants are safe in one part and toxic in another. Rhubarb leaves contain oxalic acid that can make you ill; the stalks are fine. Potato tubers are food; the green skin and sprouts are not. If you test “the whole plant” and only the root is toxic, you might eat the safe leaves and wrongly conclude the entire plant is dangerous — or worse, mash it all together and get sick from a part you could have avoided.
Step 2: Test Only Abundant Plants
This is a rule people forget. There’s no point spending 16 hours testing a plant there’s only one of. The test earns its keep when you’ve found a plant growing in quantity — enough to actually sustain you. Test the plant you can eat a lot of, not the novelty you’ll get one leaf from.
Also avoid plants with these classic danger signs, regardless of how hungry you are:
- Milky or colored sap (many euphorbias and related plants are irritants or worse)
- Spines, thorns, or fine stinging hairs
- Umbrella-shaped flower clusters (the carrot family contains hemlock — the plant that killed Socrates — and its lookalikes)
- Almond or peach-pit smell when crushed (cyanide compounds)
- Beans, pods, or pea-like growth (many legumes contain toxins that survive cooking)
Step 3: The Contact Test — Wrist or Elbow
Crush a small piece of the plant part and rub the juice and pulp on the soft skin of your inner wrist or the inside of your elbow. A spot the size of a coin is enough.
Wait 15 minutes, watching for any reaction — redness, itching, burning, bumps, or numbness. This is the cheapest test there is. If your skin is going to object, it’ll object here, where you can wash it off and walk away with nothing but a rash.
Fail: any redness, itching, swelling, or numbness in those 15 minutes. Abandon this plant part and move on.
Step 4: The Lip Test
If your wrist is clean, take a tiny fresh piece and hold it against the inside of your lower lip. Don’t put it in your mouth yet — just the outer edge of the lip. The lips are packed with nerve endings and thin blood vessels, so they react faster and more sensitively than skin.
Wait 15 minutes. Watch for tingling, burning, numbness, or swelling.
Fail: any tingling, numbness, or burning. Spit it out, rinse, and discard the plant part.
Step 5: The Tongue Test
Now place a small piece on your tongue and hold it there. Do not chew, do not swallow. Just let it sit, letting your saliva mix with the plant. This is your first real chemical exposure to the inside of your mouth.
Wait 15 minutes. Pay attention to anything strange — a numbing sensation, a bitter or soapy taste that builds, burning, or a metallic taste.
Fail: any of those sensations, or any nausea. Spit it out and rinse with clean water.
Step 6: The Chew Test
Still clean? Now chew a small piece thoroughly, but still don’t swallow. Hold the chewed material in your mouth for 15 minutes. This releases whatever is inside the plant’s cells and gives your mouth one more chance to react.
A lot of people swallow too early at this stage because they feel fine. Don’t. The discipline of not swallowing is the whole test working as designed.
Fail: any burning, numbing, irritation, or a strong, unpleasant reaction. Spit and rinse.
Step 7: Swallow a Small Amount — Then Wait
If you’ve made it through all four contact stages with zero reaction, swallow a small amount — about a teaspoon’s worth — of the plant part, prepared the way you intend to eat it (raw if raw, boiled if boiled, and so on).
Now the hard part: wait eight full hours. During that time, eat nothing else and drink only water. Your job is to watch your own body like a hawk: nausea, stomach cramps, dizziness, blurred vision, sweating, vomiting, diarrhea, racing heart.
Fail: any of those symptoms in the eight-hour window. If you have the option, induce vomiting only if a local poison-control protocol tells you to — but in a wilderness setting, the priority is to stop eating the plant and rest, hydrate, and monitor.
Step 8: Confirm With a Larger Portion
If eight hours pass cleanly, eat a larger amount — roughly a quarter cup — of the same plant part prepared the same way. Wait another eight hours. If you’re still fine, that specific part of that plant, prepared that way, is reasonably safe for you to eat in reasonable amounts.
That’s the finish line. Sixteen-plus hours, five graduated exposure stages, two swallowing stages, and a plant you can now eat with a measure of confidence.
The Whole Sequence at a Glance
This table condenses everything above into a single reference you can mentally carry. Read the “Fail if” column as the most important one.
| Stage | What you do | How long to wait | Fail if you notice |
|---|---|---|---|
| Fast | Drink only water | 8 hours | — |
| Separate | Split plant into roots/stems/leaves/buds/flowers | — | — |
| Contact | Rub crushed juice on inner wrist or elbow | 15 min | Redness, itching, burning, numbness |
| Lip | Hold a piece against inner lower lip | 15 min | Tingling, burning, swelling, numbness |
| Tongue | Place piece on tongue, don’t chew or swallow | 15 min | Numbness, bitter/soapy/metallic taste, nausea |
| Chew | Chew thoroughly, hold in mouth, don’t swallow | 15 min | Burning, numbing, irritation |
| Swallow | Eat ~1 teaspoon, prepared as you’ll eat it | 8 hours | Nausea, cramps, dizziness, vomiting, diarrhea |
| Confirm | Eat ~¼ cup of the same part, same prep | 8 hours | Any of the above |
Pro Tips From Someone Who’s Thought About This Too Much
Here are the finer points that separate a careful test from a careless one.
Don’t test on an empty everything — test on an empty stomach, hydrated body. “Empty stomach” doesn’t mean “dehydrated and shaking.” Keep drinking clean water throughout. A body in electrolyte trouble gives you false signals and reacts unpredictably.
Pick young, healthy plants. Plants that are wilted, diseased, insect-damaged, or growing in polluted or sprayed soil introduce variables you can’t control. If you have any choice in the matter, test the vigorous, clean-looking specimen.
The test is per-person. Your friend passing the test doesn’t mean you will. Allergies, sensitivities, and gut flora differ. If multiple people need to eat the plant, technically each should run their own test — though in a real emergency, one healthy adult testing and then the group proceeding cautiously with small amounts is the pragmatic compromise.
One part passing doesn’t clear the others. The leaves passing says nothing about the roots. If you’re going to eat more than one part, test each part.
Record everything in your head — or on paper if you have it. Which plant, which part, what time you started, what time you swallowed. If symptoms appear hours later, that timeline is what helps you (or a rescuer) figure out what happened.
Most wild plants are neither clearly edible nor clearly deadly — they’re just unknown. The sober reality is that the vast majority of plants won’t kill you and won’t nourish you much either. The test isn’t just about avoiding poison; it’s about not wasting your limited energy digesting something worthless or mildly irritating.
Straight Answers to the Questions That Come Up
Q: Can I use the universal edibility test on berries? A: You can, but treat berries with extra suspicion. Bright colors in nature are often a warning, not an invitation — and while many wild berries are safe, the poisonous ones tend to be concentrated, fast-acting, and unforgiving. The test sequence works the same way, but the stakes are higher, so run every stage with maximum patience and never skip a wait.
Q: Why can’t I test mushrooms this way? A: Because the test relies on fast, local reactions, and the most lethal mushroom toxins — amatoxins and similar compounds — cause no immediate reaction at all. You can pass every stage, feel fine for a day or more, and still suffer catastrophic liver damage. There is no amount of skin, lip, or tongue testing that makes an unknown mushroom safe. If you can’t positively identify it, you don’t eat it.
Q: Does cooking make the test safer or more accurate? A: It makes the result more accurate for the way you’ll actually eat the plant, because you test it prepared the way you’ll consume it. But cooking does not neutralize most plant toxins. Some are heat-stable; some survive boiling; a few are even concentrated by drying. Never assume heat “fixes” an unknown plant.
Q: How long does the whole test actually take? A: Plan for at least 16 hours, and realistically more. Eight hours fasting, about 45–60 minutes running the four contact stages with their 15-minute waits, then two 8-hour observation windows around the two swallowing stages. If you fail a stage early, you’re done sooner — which is the design working in your favor.
Q: If a plant passes, is it safe to eat forever? A: No. Passing tells you that a specific part, prepared a specific way, caused no acute reaction in you at that time. It says nothing about long-term effects, cumulative toxicity, or how your body handles eating it daily for weeks. In a survival context, that’s enough. It is not a license to add the plant to your regular diet.
Q: Is this test even worth doing, given the risks? A: Only in a true emergency, and only when you’ve exhausted every better option. For a well-prepared forager, the answer is almost always “no, because I can identify my food instead.” The test is a safety net for when preparation fails, not a replacement for it.
The Bottom Line
The universal edibility test is a survival tool, not a foraging technique. Keep those two things separate in your head, and the whole subject becomes clear.
As a survival tool, it’s genuinely valuable: a structured, graduated way to squeeze information out of an unknown plant while risking as little as possible at each step. It buys you data when you have none.
As a foraging technique, it’s a trap. Anyone using it as a lazy substitute for learning plant identification is gambling, and eventually they’ll lose — probably to a plant a field guide would have caught in thirty seconds.
So here’s the honest close. Learn to identify a dozen common edible plants properly, carry a field guide, and treat this test as what it is: the emergency brake you hope you never pull. Because the moment you actually need it is the moment you’ll be grateful for every patient, boring hour it takes — and for the fact that you respected it enough to do it right.