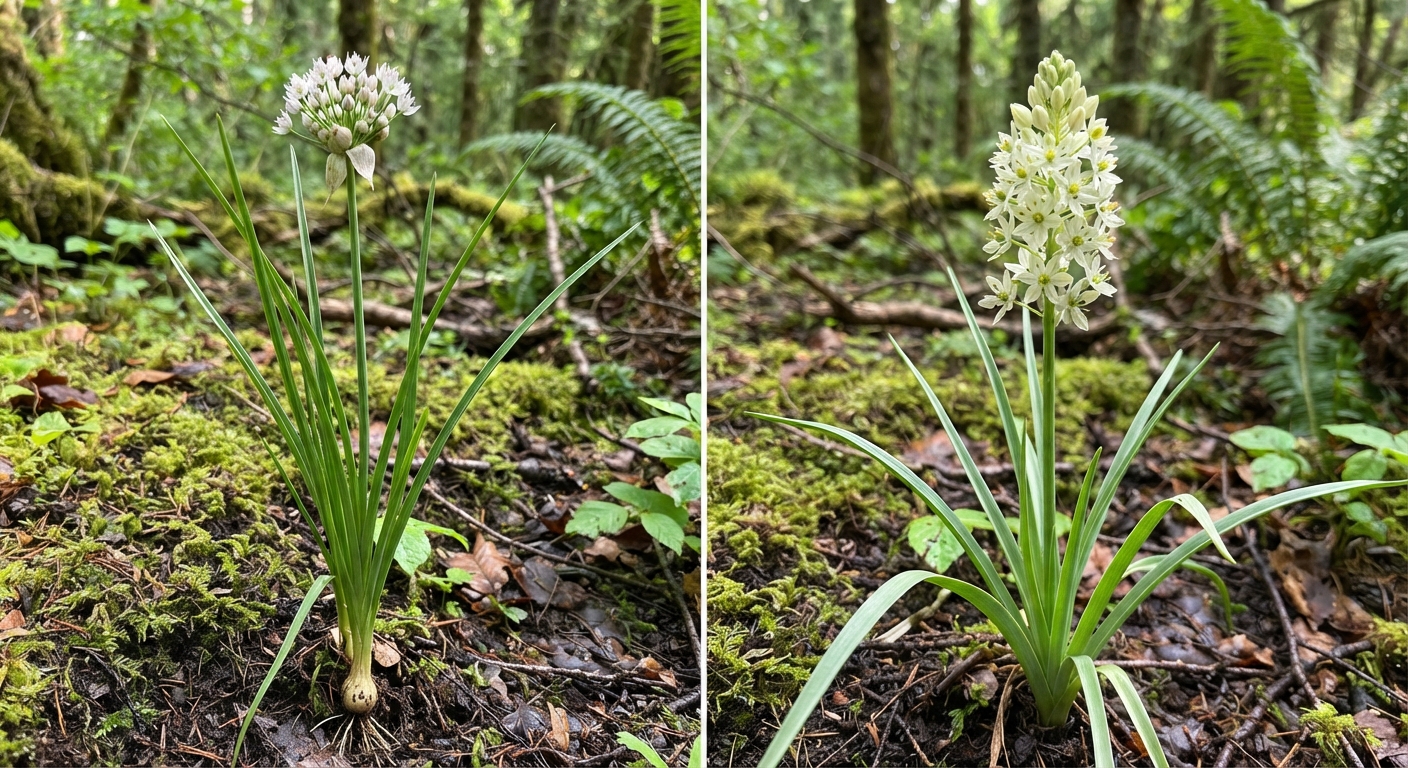
Here’s something most survival instructors won’t say out loud: when you actually need the Universal Edibility Test, you won’t fail because you forgot a step. You’ll fail because you skipped the preparation, panicked through the timing, or misread a result you didn’t know how to interpret.
The steps themselves are simple. Separate the plant. Fast. Touch it to your skin. Wait. Touch it to your lip. Wait. Chew. Wait. Swallow. Wait some more. A twelve-year-old can memorize that list in ten minutes.
What’s hard — and what the laminated survival cards never teach — is everything around the steps. Setting up a clean work area when your hands are cold. Knowing which plants to refuse to test at all. Understanding that a “no reaction” at hour one tells you almost nothing, while a mild tingle at minute three tells you everything. Recognizing the difference between a real reaction and your own fear.
That’s what this guide is for. I’m going to teach you the Universal Edibility Test the way I wish someone had taught me: as a system you prepare for, not a checklist you recite. By the end, you’ll know not just how to run the test, but how to think while you run it — which is the only thing that actually saves you when the situation is real.
Why the Test Usually Fails (And What We’re Doing Differently)
The Universal Edibility Test gets taught badly for one reason: it’s usually taught to people who are expected to memorize it, then perform it perfectly months later under conditions designed to make memory fail.
Cold hands. An empty stomach. A plant you can’t confidently name. A partner who’s scared and asking questions. Time pressure because daylight is fading. In that state, the version of the test you learned from a diagram falls apart — not because the test is wrong, but because you were never taught to set it up.
So we’re going to build it backwards from how it’s normally taught. Instead of “step one, step two, step three,” we’ll work in four layers:
- The decision — whether to test at all (and what to refuse).
- The pre-flight — the setup that makes the test safe and readable.
- The phases — the test itself, grouped by what each stage is actually screening for.
- The read — how to interpret results, and what to do when something goes wrong.
Layer by layer, everything builds on the one before it. Skip the decision, and you waste 16 hours testing a plant you should have rejected in 30 seconds. Skip the pre-flight, and you’ll misread a reaction because your work area was contaminated. Skip the read, and you’ll either eat something you shouldn’t, or walk away from a perfectly safe food source because a minor tingle spooked you.
Before we go further, one thing I need you to hold onto, because it’s the rule that overrides the entire test:
The Universal Edibility Test is a last resort, not a foraging technique. It exists for genuine survival situations — you’re lost, food is gone, and your only option is an unknown plant. It is not a shortcut for learning to identify plants properly. If you have a field guide, a phone with signal, a plant ID app, or any way to identify the plant through normal means, use that instead. The test is for when every other door is closed.
What the Test Actually Is, in Plain Words
Strip away the military-flavored language and the Universal Edibility Test is just a slow, controlled escalation.
You introduce a tiny amount of the plant to your body in stages — outer skin, lip, mouth, then a small swallowed amount — and you watch for a reaction at each stage before moving to the next. Because each stage uses more sensitive tissue and a larger exposure, a poisonous plant will usually announce itself early, before you’ve swallowed enough to hurt you badly.
That’s the entire idea. It is not a guarantee of safety. It is a screen. It catches the plants that cause immediate, obvious reactions — burning, numbness, nausea, vomiting, gastrointestinal distress. It does not, and cannot, catch:
- Slow toxins that damage your liver or kidneys over days or weeks.
- Accumulating toxins that are harmless in one meal but harmful over many meals.
- Carcinogens or anything that takes years to show symptoms.
- Allergic reactions that only appear on a second exposure.
If you survive the test and the plant was actually toxic in a way the test can’t detect, you’ll find out much later, and possibly in a way no first-aid kit can fix. Keep that in your mind the whole time. The test reduces risk; it does not eliminate it. Any survival manual that implies otherwise is doing you a disservice.
The Decision: What to Test, and What to Refuse
The single most useful skill in the whole test is knowing when not to run it. A surprising number of “test failures” are really just bad decisions made before the test began.
Refuse to test these, with no exceptions:
- Any mushroom or fungus. The test was designed for plants. Mushrooms contain too many delayed and variable toxins for the stages to be meaningful. Many fatal mushroom poisonings show zero symptoms for 6 to 24 hours — well outside the test’s window.
- Anything with milky sap, unless you’re certain what it is. Milky sap is a common warning sign across many toxic families. It’s not a universal rule — dandelions and wild lettuce have white sap and are fine — but in a survival context where you can’t identify the plant, treat milky sap as a “do not test” flag rather than a coin flip.
- Plants with umbrella-shaped flower clusters. The carrot family (Apiaceae) contains both perfectly edible plants and some of the deadliest lookalikes in North America, including water hemlock. If you can’t tell them apart, you are not a candidate for the test — you’re a candidate for the hospital.
- Anything with an almond or bitter-almond smell when crushed, which can indicate cyanogenic compounds.
- Plants you already strongly suspect are toxic. The test is not a dare. If something about the plant reminds you of a known poisonous species, walk away. There is almost always another plant nearby.
- Anything growing in contaminated soil — roadsides, industrial areas, old building sites, sprayed lawns, downstream of mines. You’d be testing the pollution as much as the plant.
Here’s a quick decision table for the moments when you’re not sure whether to proceed:
| Situation | Decision | Reason |
|---|---|---|
| You can identify the plant with confidence | Skip the test, use normal ID | The test is strictly for unknown plants |
| Unknown plant, no milky sap, no umbrella clusters, no bitter smell | Proceed to pre-flight | Most likely candidate for the test |
| Unknown plant with milky sap | Refuse | Too many toxic families share this trait |
| Unknown plant, umbrella flower clusters | Refuse | Deadly carrot-family lookalikes |
| Any mushroom | Refuse | Test doesn’t cover fungal toxins |
| You’re dehydrated, ill, or already weak | Postpone or refuse | Your body is already compromised |
| Children or vulnerable people depend on you | Refuse | Their safety outweighs the test’s value |
| Alternative food source exists (insects, bark, known plants) | Use the alternative | The test should be your last option |
That last row is the one people forget. In a real survival situation, insects, inner tree bark, and known safe plants are all lower-risk calories than an unknown plant. Run the test only when genuinely nothing else is available.
Your Pre-Flight Checklist: Set Up Before You Touch the Plant
This is the layer that separates people who survive from people who panic. Before you test a single leaf, spend ten minutes setting up. It feels like wasted time when you’re hungry, and it’s the opposite.
Here’s what to gather and why:
| Item | Why it matters | If you don’t have it |
|---|---|---|
| Clean drinking water | You need it for the 8-hour fast, for rinsing, and for diluting if something reacts | Boil and cool the cleanest water you can find |
| A clean, smooth surface (cloth, bark, a lid) | Keeps plant parts from touching contaminated ground | Use a clean shirt or a large leaf as a mat |
| Something to cut with | Clean separation of leaf, stem, root — avoids cross-contamination | Break parts off carefully by hand, one at a time |
| A way to mark/remember which part is which | You test each part separately and must track results | Lay parts in separate, labeled piles in a row |
| A clean cup or container | For the mouth tests and any dilution | Rinse a leaf or hollow stem thoroughly |
| Soap or ash for cleaning hands | Contaminated hands ruin every result | Scrub with clean water and sand/ash |
| A watch or reliable way to track time | The test is built on precise intervals | Mark sun position or count deliberately; do not guess |
Two setup rules matter more than anything else in this list.
First, wash your hands before you start. I’ve watched people contaminate an entire test because they had sap from a completely different plant on their fingers, then touched the test sample and triggered a false reaction. In a survival setting you won’t have perfect hygiene, but water and ash scrubbed on your hands removes most of what will interfere.
Second, test one plant at a time, one part at a time. Never mix two plants, and never lump the leaf, stem, and root together. A plant can have edible leaves and toxic roots — or vice versa. Test each part as its own separate experiment, and write down (or otherwise mark) what you did and when.
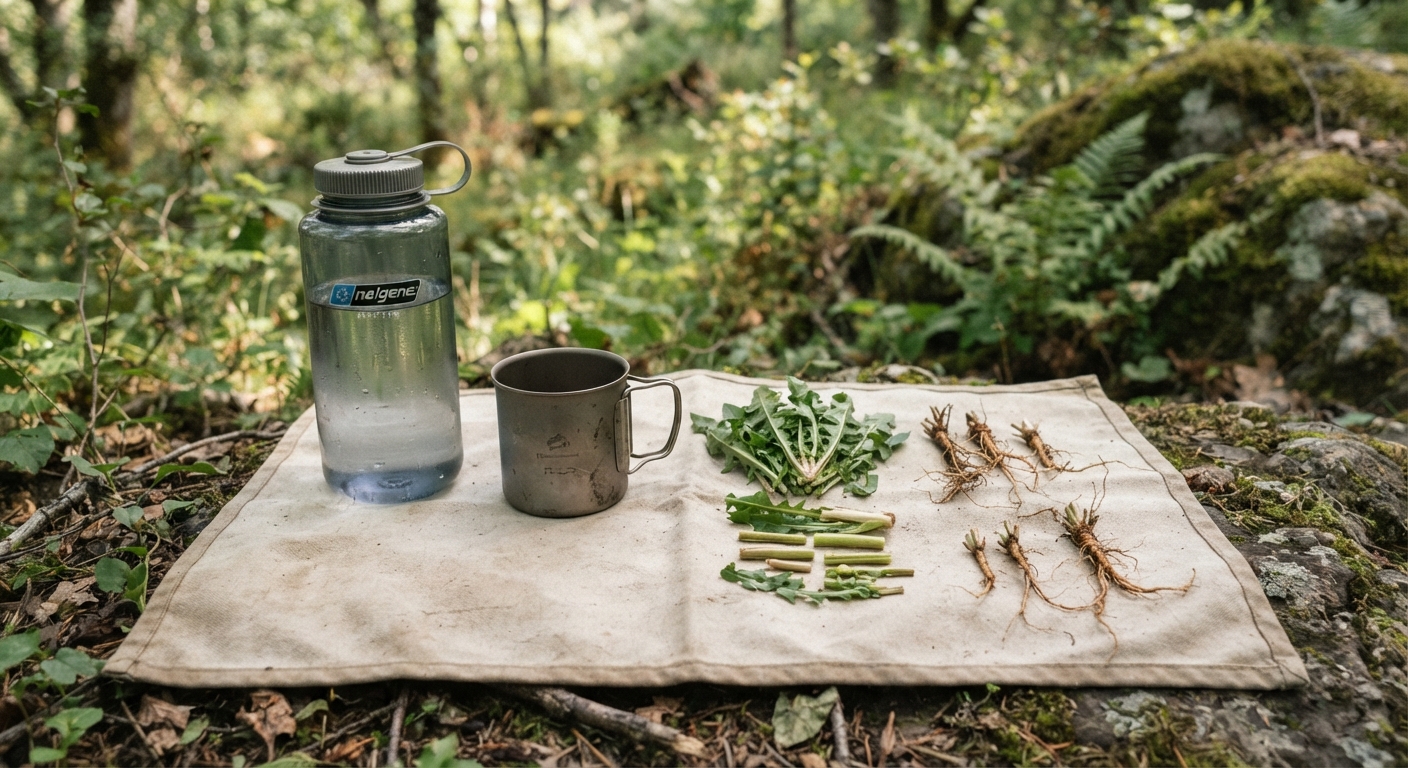
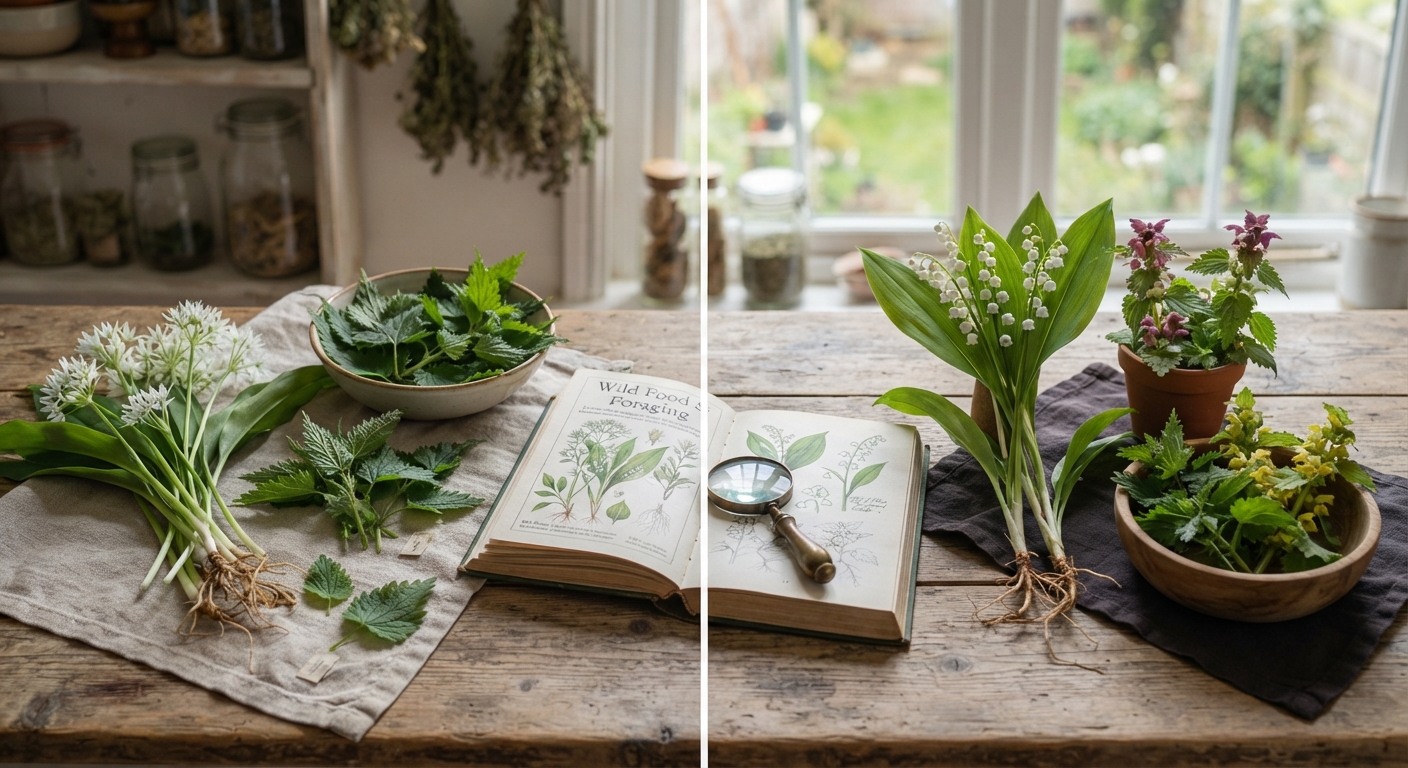
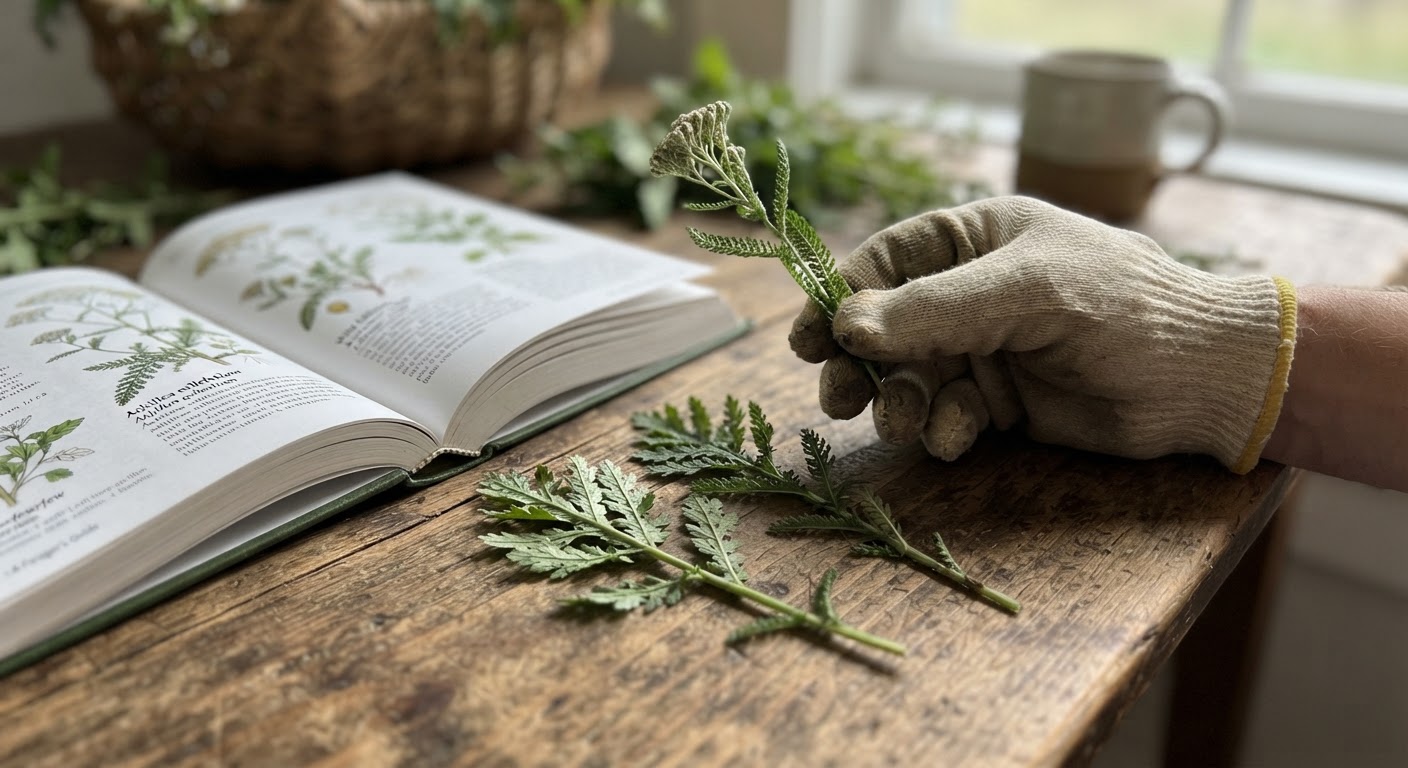
The image above is the mental picture you want: everything laid out, nothing touching the ground, each part in its own spot. If your setup looks chaotic, stop and fix it. A messy setup produces unreadable results, and an unreadable result is worse than no result, because you’ll be tempted to guess.
The Test Itself, Phase by Phase
Now the actual procedure. I’m grouping the classic steps into four phases, because thinking in phases — what am I screening for right now? — keeps you oriented when the hours drag on.
Phase 1: Separate and Screen (5–10 minutes)
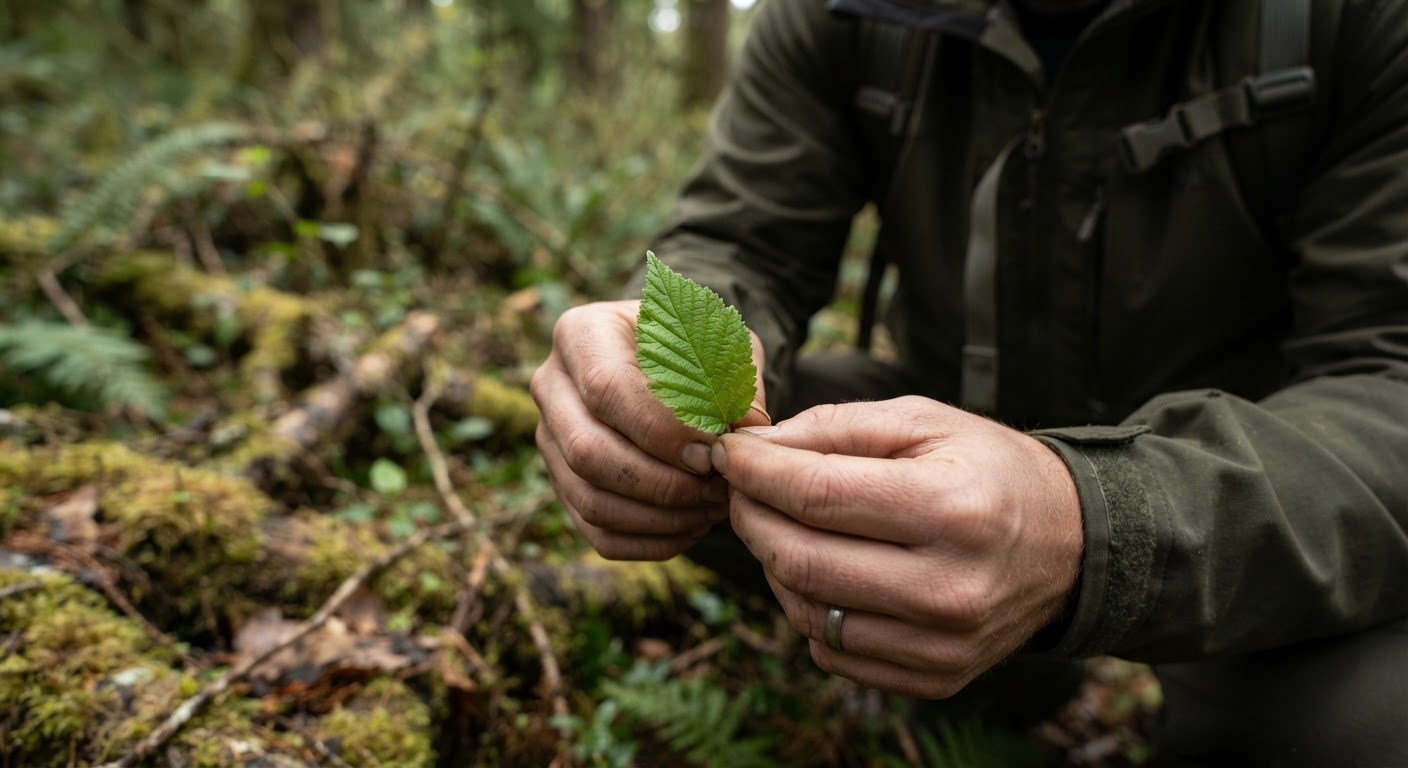
Take your plant and separate it into its parts: leaf, stem, root, flower, bud, seed. You’ll test each edible-looking part separately. Discard anything that’s obviously rotten, insect-infested, or moldy — decomposition introduces its own toxins.
Before any contact, run a fast sensory screen on the part you’re about to test:
- Look at it. Milky sap, spines, unusual discoloration, or an insect-repelling gloss are all caution flags.
- Smell it. Crush a tiny piece between your fingers and sniff. A bitter-almond, acrid, or strongly chemical smell is a warning.
- Note the taste of the raw plant’s smell on your fingers — but do not taste the plant itself yet.
If the sensory screen raises any red flag, stop and reject that part. If it’s clean, move to Phase 2.
Phase 2: Contact Tests — Skin, Then Lip (30–60 minutes)
The contact tests answer one question: does this plant irritate tissue on contact? They’re the cheapest information you’ll get, and they catch the plants that would burn or blister your mouth.
Skin test. Crush a small amount of the plant part and rub it on the soft skin of your inner wrist or inner elbow. Leave it there, undisturbed, for at least 15 minutes — longer if you can spare it. Watch for redness, itching, burning, swelling, or any rash.
Lip test. If your skin showed no reaction, place a small piece of the plant against your outer lip and hold it there for about 3 minutes. Your lips are far more sensitive than your wrist, so this is a meaningful escalation.
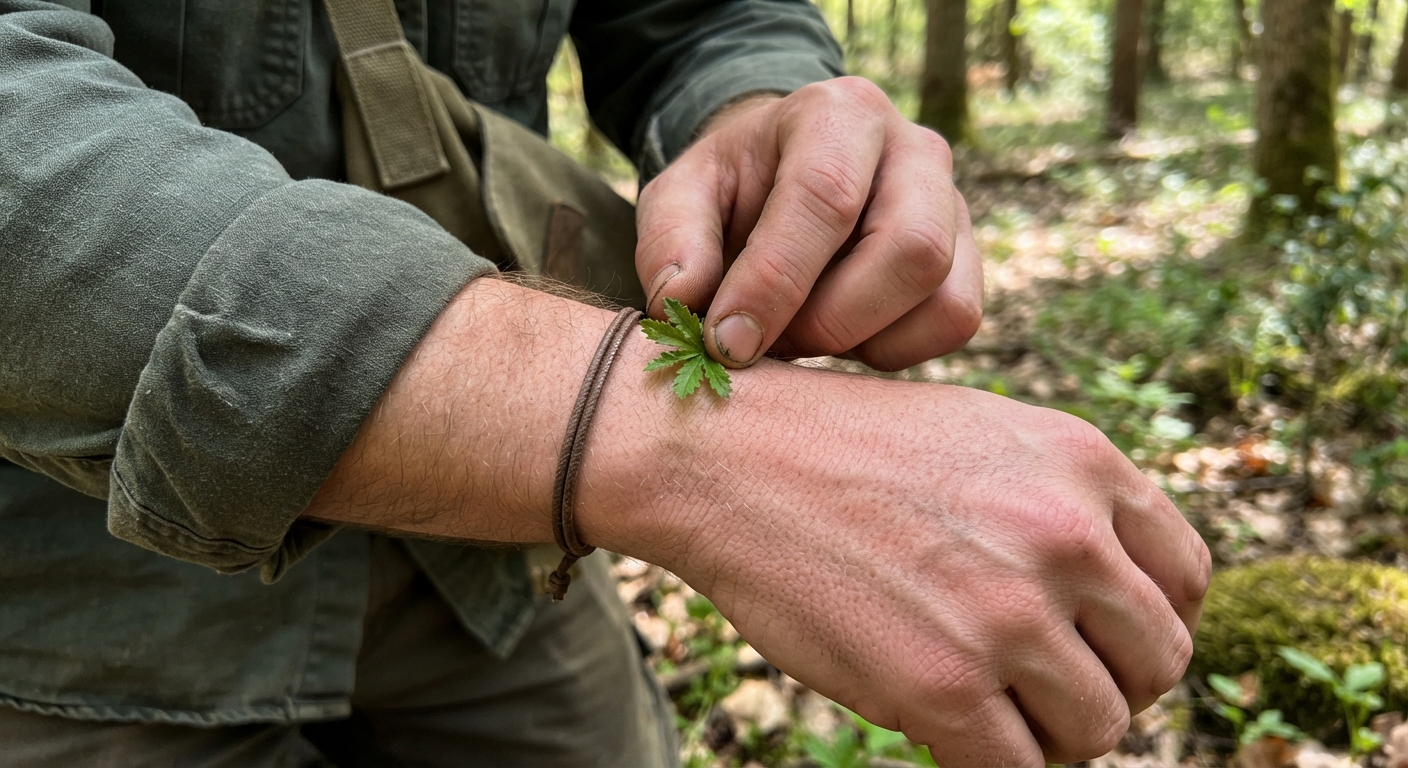
Here’s the part that trips people up: any reaction — even a mild tingle, a slight numbness, a faint itch — means reject that plant part immediately. Do not “push through” a mild reaction to see if it gets worse. In a survival situation, a mild reaction is a loud, clear answer: this part is not food. Rinse the area with clean water and move on to the next plant or part.
A true absence of reaction means no redness, no itch, no numbness, no burning — nothing. If you’re unsure whether you felt something, treat it as a reaction. Doubt, in this test, means no.
Phase 3: Mouth Tests — Chew, but Don’t Swallow (30 minutes)
If the plant passed both contact tests, you move to the mouth. The mouth is dramatically more sensitive and more absorbent than your skin, which is why this is a separate, careful phase.
The mouth test. Place a small piece of the plant on your tongue and hold it there for about 15 minutes without chewing. Your saliva will begin to dissolve it, releasing whatever compounds it holds. Watch for burning, numbness, tingling, a soapy taste, or any discomfort.
The chew-and-spit test. If holding it on your tongue caused no reaction, chew the piece thoroughly for about 15 minutes, but do not swallow anything — not the plant, not your saliva. Spit it all out. Chewing releases compounds that holding did not.
If you taste a sharp bitterness, a burning, or anything that makes you recoil — spit it out and reject that plant part. Trust that instinct. Your sense of taste evolved, in part, to warn you about exactly this.
Phase 4: Swallow and Escalate (16+ hours)
This is the phase where the test gets serious, and where most of the “mistakes” I mentioned earlier actually happen.
First swallow. If the chew-and-spit produced no reaction, swallow a small amount — roughly a teaspoon-sized portion. Then wait eight hours. During this window, drink water, but do not eat anything else, because if you develop symptoms you need to know this plant caused them, not whatever else you ate.
Watch yourself during those eight hours for: nausea, stomach pain, cramps, vomiting, diarrhea, dizziness, headache, or any of the contact symptoms reappearing. If anything shows up, induce vomiting if you can safely, drink water, and abandon that plant permanently.
Escalate. If eight hours pass with no reaction, eat a larger amount of the same part of the same plant — roughly a quarter cup — and wait another eight hours. Again, no other food.
Only if both waiting periods pass without any reaction do you treat that plant part as tentatively safe. And notice the word: tentatively. You’ve cleared it for a single part of a single plant, not for the species, and not for long-term consumption.
Reading Your Results: What Each Stage Screens For
Understanding what a reaction means — and what it doesn’t — is the difference between a test that keeps you safe and a test that misleads you. This table breaks down what each phase is actually screening for, and what a fail looks like:
| Phase / Stage | What it’s screening for | A fail looks like | Your move on a fail |
|---|---|---|---|
| Sensory screen (smell/look) | Volatile irritants, obvious warning traits | Acrid or almond smell, milky sap, spines | Reject immediately, no contact |
| Skin contact | Contact irritants, some allergens | Redness, rash, itch, burning, swelling | Reject part, rinse area |
| Lip contact | Irritants too subtle for wrist skin | Numbness, tingling, burning, swelling | Reject part, rinse mouth/face |
| Mouth hold | Water-soluble irritants | Burning, soapy taste, numbness, discomfort | Spit, rinse mouth, reject |
| Chew and spit | Irritants released by crushing | Sharp bitterness, burning, revulsion | Spit everything, rinse, reject |
| First swallow (small) | Gastrointestinal toxins | Nausea, cramps, vomiting, diarrhea, dizziness | Stop, hydrate, reject part |
| Escalation (larger) | Dose-dependent toxicity | Any recurrence of symptoms | Stop permanently, reject plant |
Notice the pattern: every single stage gives you a chance to bail out before the exposure gets meaningful. The test’s entire safety margin lives in those “reject and move on” moments. Respect every one of them.
And here’s the second half of reading results — what a reaction actually means, versus what you might imagine it means:
| Symptom you notice | What it most likely means | What to do |
|---|---|---|
| Mild, brief tingling that fades | Could be the plant, could be your nerves | Treat as a reaction; do not continue with that part |
| Numbness anywhere | A real warning sign | Stop immediately, rinse, reject the plant |
| Redness on skin | Contact irritant confirmed | Rinse, reject that part |
| Stomach discomfort hours later | GI irritant or your anxiety | Either way: stop, hydrate, reject the plant |
| No symptoms at all | Part passed this test, nothing more | Proceed cautiously, one stage at a time |
| Symptoms after the 8-hour wait | Delayed reaction | Reject permanently, seek help if severe |
I want to be blunt about that first row, because it’s the one that causes the most confusion. Fear produces real physical sensations — a dry mouth, a fluttery stomach, a phantom tingle. In a survival situation, you will feel things that are just fear. The test can’t tell the difference, and neither can you. So the rule is simple: when in doubt, it’s a reaction. Better to reject a safe plant than to talk yourself past a warning sign.
Pro Tips From the Field
These are the things I wish I’d known the first time I walked someone through this, rather than the first time I did it alone.
1. Test during daylight, and start early. The test takes a minimum of 16 hours after you reach the swallow stage, and realistically more. You do not want to be making the “did I react or didn’t I” call at 2 a.m. in the dark, half-asleep.
2. Fast for eight hours first, even though it feels wrong. The test calls for a pre-fast so that your stomach is empty and your baseline is clean. It’s miserable when you’re already hungry, but it’s what makes your later symptom readings trustworthy. A full stomach muddies every signal.
3. Only one person tests. Do not split the plant among your group “to save time.” If one person has a bad reaction, you want one person to treat — not four. The tester is the healthiest adult, with no known allergies and no medications.
4. Keep a small “reaction log” in your head — or better, on something. Which part, which stage, what time, what you felt. When the hours blur together, that log is the only thing standing between you and a guess.
5. Never be the hero who skips a stage because they’re starving. Every skipped stage is a skipped safety margin. Hungry is better than poisoned. This is not negotiable.
6. If anything feels off about the plant, it’s off. Your brain has been reading plants for millions of years. A plant that looks wrong, smells wrong, or gives you a bad feeling — even without a “logical” reason — is a plant you walk away from. There is almost always another plant.
Quick Answers to Hard Questions
Does the Universal Edibility Test actually work?
It works as a screen for immediate, obvious plant toxins. It does not catch slow-acting, accumulating, or long-term toxins, and it was never designed for mushrooms. It reduces risk meaningfully in a true survival scenario; it does not make an unknown plant “safe.”
How long does the full test take?
At minimum about 16 to 17 hours once you reach the swallow stage, plus the earlier contact and mouth tests. Realistically, plan for a full day, and don’t rush any of the waiting periods.
Can I use it to eat random plants while camping?
No. This is the misuse that gets people hurt. The test is for genuine survival emergencies. For normal foraging, learn to identify plants properly with a guide, an app, and a mentor. Testing an unknown plant “for fun” is how you turn a pleasant trip into an evacuation.
Why can’t I test mushrooms?
Fungal toxins include delayed, variable, and organ-damaging compounds that don’t show up within the test’s observation window. The most dangerous mushrooms can be symptom-free for up to 24 hours. The test simply doesn’t apply to fungi.
What’s the most common mistake people make?
Skipping or rushing a waiting period, usually out of hunger. The test’s safety comes entirely from the observation windows. A rushed test is barely better than no test.
What if I get a reaction partway through?
Stop that plant part immediately. Rinse the affected area, drink water if you swallowed something, and watch yourself. If symptoms are severe — difficulty breathing, swelling of the throat, repeated vomiting, collapse — that is an emergency and you need real medical help, not more survival technique.
Is one clean result enough to eat the plant freely?
No. A clean result clears one part of one plant, once. It says nothing about the rest of the species, nothing about long-term consumption, and nothing about how your body might react on a second exposure. Treat it as “this one thing, this one time, tentatively.”
The Short Version
The Universal Edibility Test is a slow, controlled escalation that lets your body warn you about a plant before you’ve swallowed enough to be badly hurt. It is a last resort for genuine survival situations — never a foraging shortcut, and never for mushrooms.
What actually determines whether it saves you isn’t the steps. It’s the preparation. Wash your hands. Separate the plant into parts. Refuse the plants you can’t trust — milky sap, umbrella clusters, anything mushroom-shaped. Test one part at a time, one careful stage after another, and treat every tingle, itch, or doubt as a clear “no.” Respect the waiting periods even when you’re starving, because those hours are the entire point.
Learn the steps, yes. But learn the setup and the reading of results more, because that’s what you’ll actually lean on when your hands are cold, your stomach is empty, and the only thing between you and a mistake is a small green leaf you can’t name.
Stay safe out there. 🦎