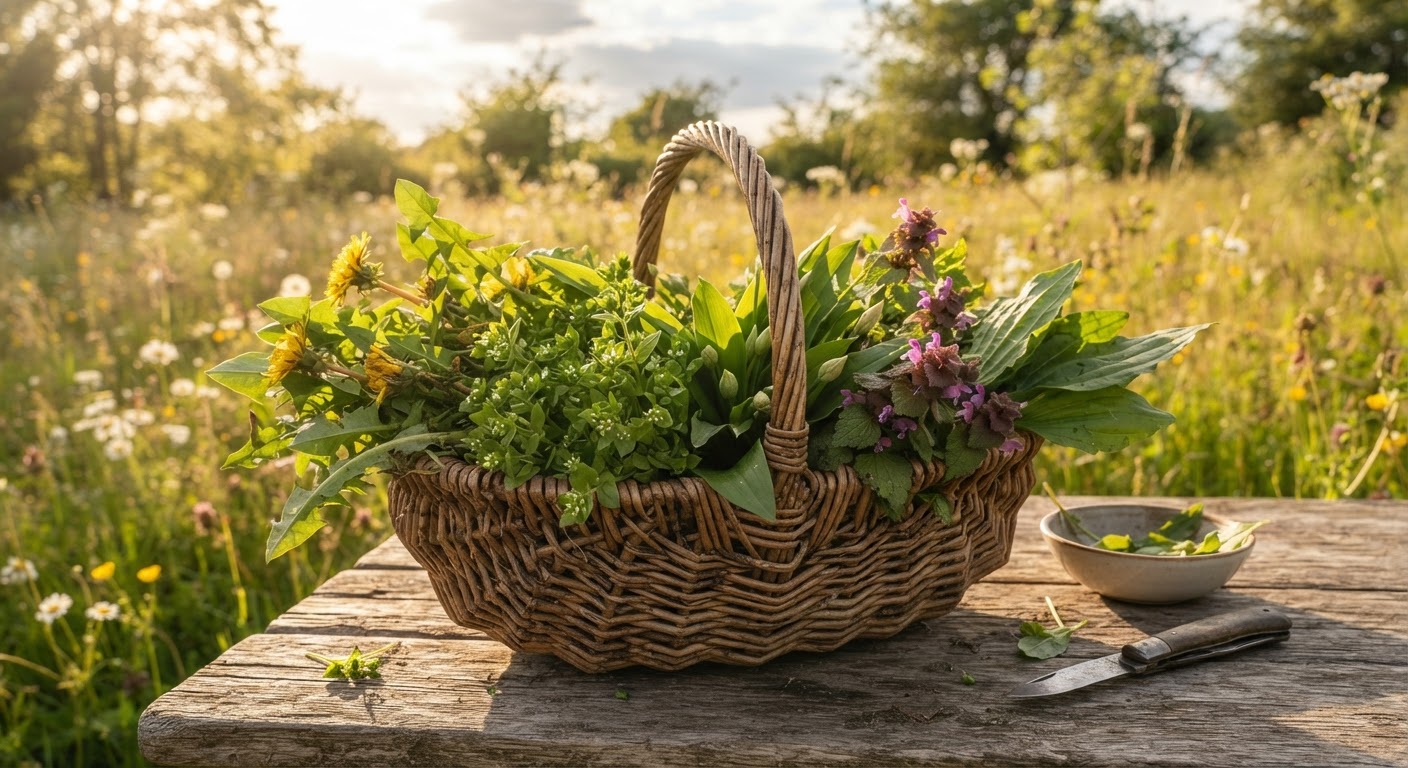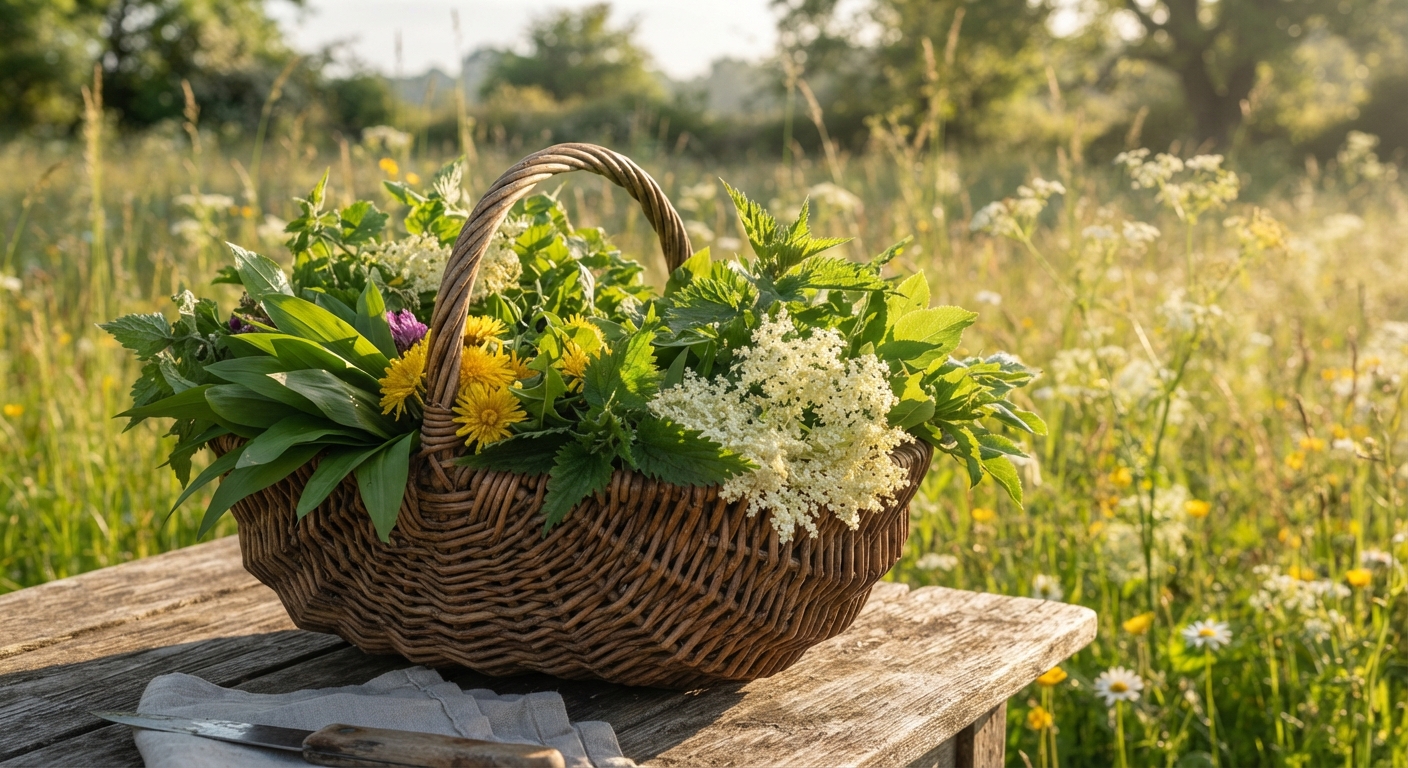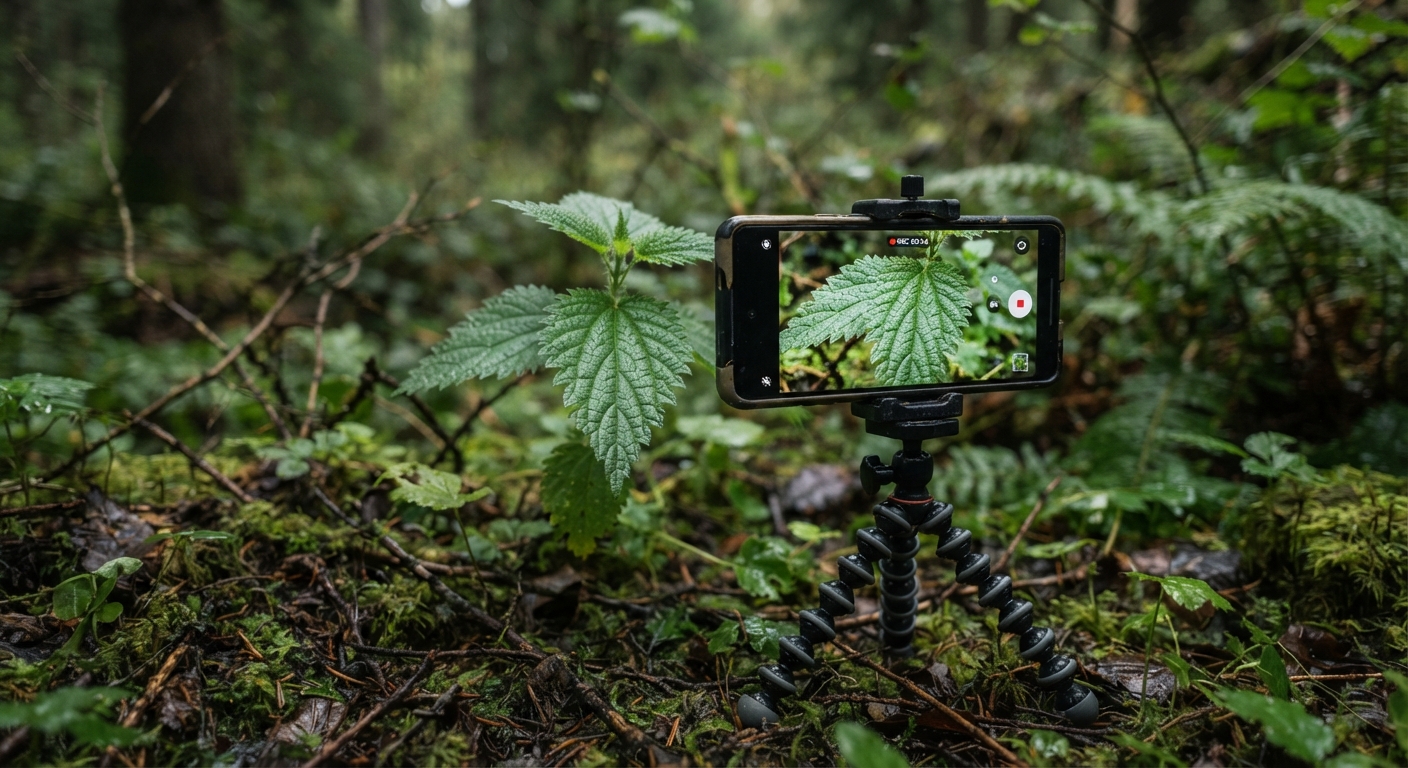
Here’s a test that costs nothing: pull up any three foraging videos with under a thousand views, then any three with over a hundred thousand. Ignore the cameras. Watch only the first twenty seconds.
The big channels and the small ones are often filming the same plant with the same phone. What separates them isn’t a better sensor or a nicer lens. It’s a short list of habits that broadcast “amateur” in the first ten seconds — and those habits are free to fix. None of them require new gear. None of them require editing skill. They just require noticing them in the first place.
This guide is that list. Ten mistakes, each with the specific fix, plus a side-by-side table you can skim in thirty seconds. If your foraging footage has felt “off” without you being able to name why, one of these is the reason.
The Amateur vs Professional Gap, at a Glance
Before the deep dive, here’s the whole thing compressed. The left column is what most people do by default. The right column is what changes the result.
| The default (amateur) | What it looks like on screen | The professional habit | The fix |
|---|---|---|---|
| Filming down from standing height | Plant is a distant green blob on the ground | Camera at plant height | Kneel or set the tripod low |
| Handheld, single take | Shaky, unwatchable after ten seconds | Locked-off or stabilized | Cheap tripod, count to ten |
| Built-in mic, windy | Voice buried in rumble | Lav mic with wind cover | $25 mic, turn body to block wind |
| One wide shot per plant | Can’t see the identifying feature | Close-up plus context | Get close, then closer |
| Harsh midday sun | Blown-out highlights, no leaf texture | Soft light or shade | Diffuse or move to open shade |
| Rambling intro | Plant appears at minute two | Promise in the first ten seconds | Lead with the one thing they’ll learn |
| Harvesting before identifying | Can’t go back to film it growing | ID on camera first | Film the plant, then pick it |
| No safety note | Feels reckless to knowledgeable viewers | One safety sentence | “If you’re not 100% sure, don’t eat it” |
| No b-roll or cutaways | Jump cuts and awkward pauses | Coverage of hands, basket, wind | Film extra “glue” shots |
| Cranked-up color grade | Radioactive greens, obvious filter | Light grade | Gentle exposure bump, a touch of warmth |
Keep this table open while you edit. Now let me take each mistake apart, because “fix the framing” only helps when you can see why it’s wrong.
Mistake 1 — You Filmed It From Standing Height
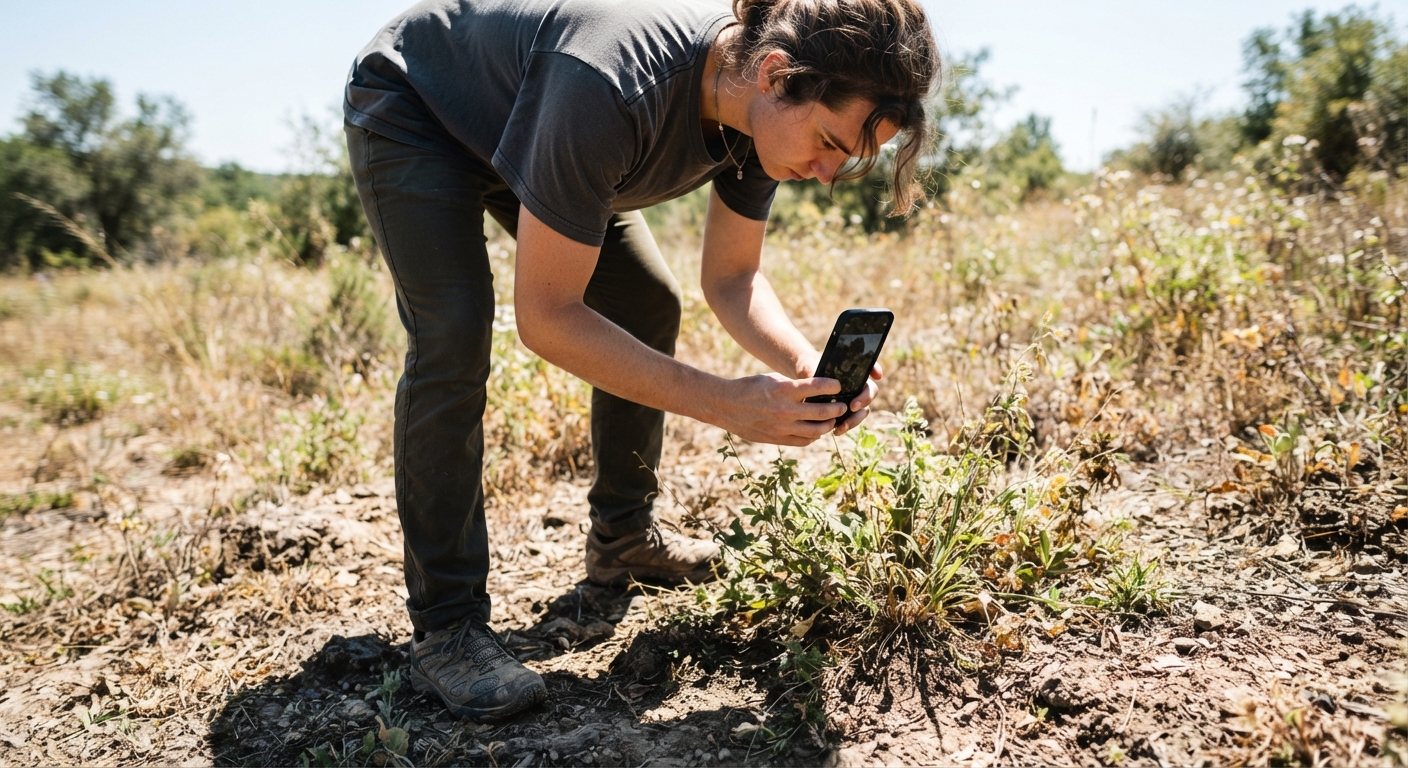
The single most common beginner shot is the one you’ve seen a thousand times: someone standing up, phone pointed down at a plant near their feet. From that angle, a dandelion is a smudge and a hemlock stem is invisible.
The reason is simple and a little humbling — humans film at eye level because it’s comfortable, not because it’s correct. But a plant lives at ground level. The camera needs to go where the plant is.
The fix: get the camera down to the plant’s height. Kneel, or put the phone on a low tripod. The instant the lens is level with the leaves instead of hovering above them, the footage looks intentional — and the identifying features actually show up. This one change does more for your video than any filter or lens.
Mistake 2 — Handheld, One Take, No Plan B
Watch an amateur foraging clip and count how long before the frame starts drifting. It’s usually under five seconds. Handheld phone footage of a two-inch plant looks fine for a moment and nauseating after twenty.
The deeper problem isn’t just shake — it’s that there’s no second take. Amateurs hit record, film the plant once, and move on. If that take is soft, shaky, or out of focus, there’s nothing to cut to.
The fix: two habits. First, lock the camera down — a $20 tripod is enough. Second, film every shot for longer than feels natural and grab a second angle or take. Extra seconds cost nothing in the field and give you options in the edit. Coverage is what makes an editor’s job possible.
Mistake 3 — The Wind Ate Your Audio
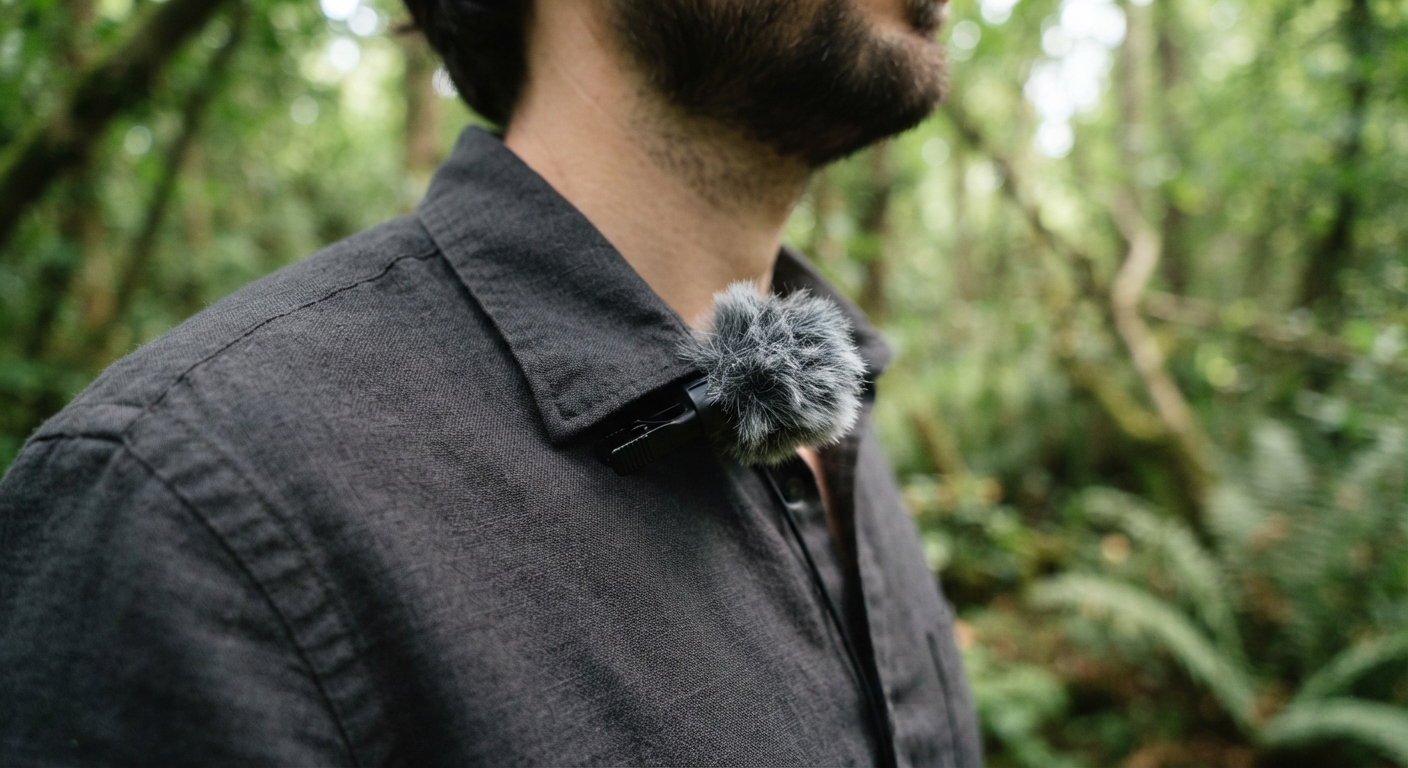
Foraging happens outdoors, and the phone’s built-in mic treats a light breeze like a jet engine. The result is the classic amateur tell: forty seconds of wind rumble with a faint voice underneath, and a viewer who clicks away because they can’t understand you.
Audio is the one thing you cannot repair after the fact. You can stabilize shaky footage, brighten a dark shot, and cover a bad take with b-roll. You cannot un-mix wind noise from speech.
The fix: a cheap lavalier mic clipped near your collar, ideally with a foam or fuzzy wind cover. It puts the mic inches from your mouth and out of the worst of the breeze. Then, when you speak, turn your body so your back blocks the wind. Record a few seconds of quiet “room tone” before you start — you’ll use it to patch gaps in the edit. A $25 mic used well beats a $300 mic used badly, every time.
Mistake 4 — You Never Got Close Enough
Foraging is identification, and identification lives in the details: the purple spots on a poison hemlock stem, the single line of hairs on a chickweed stem, the mealy coating under a lamb’s-quarters leaf. If your video never gets closer than arm’s length, none of that is visible — which means the video isn’t actually teaching anything.
The amateur instinct is to show the whole plant and trust the viewer to squint. The professional instinct is to show the whole plant and then push in on the one feature that matters.
The fix: for every plant, shoot three distances — the wide context (where it grows), the medium shot (the whole plant), and the close-up (the identifying feature). A clip-on macro lens helps, but even without one, most modern phones focus surprisingly close if you tap the screen and hold steady. The close-up is the shot that makes an identification video actually useful.
Mistake 5 — Harsh Midday Sun
Bright sun feels like “good filming weather.” It’s not. Harsh overhead light blows out highlights, casts deep shadows, and erases exactly the leaf texture you’re trying to show. A plant filmed at noon in July looks flat and bleached no matter how good the camera is.
The pros don’t chase brighter light — they chase softer light.
The fix: film in open shade, or on an overcast day. If you’re stuck in bright sun, hold a small diffuser — or even your own body — between the sun and the plant to soften the light. A white t-shirt stretched on a frame does the job. Soft, even light is what makes a leaf read clearly on screen.
Mistake 6 — The Plant Appears at Minute Two
This is the mistake that kills a video before the plant even shows up. The first forty seconds are a rambling “hey guys, so today I’m out in the woods and I thought I’d…” while the camera wanders through a field. The viewer is gone before the value starts.
Professional videos respect attention as a scarce resource. They make the promise in the first ten seconds.
The fix: open with the one specific thing the viewer will learn, stated plainly. “By the end of this video, you’ll be able to tell stinging nettle from its lookalikes in ten seconds.” Then deliver it. Cut everything that comes before the promise. If your best footage is buried at minute two, move it to the front.
Mistake 7 — You Harvested Before You Filmed
Here’s a mistake you only make once: you spot a plant, get excited, pick it, and then decide to film it. But the identifying features were tied to the plant growing in place — its neighbors, its height, its habitat, the angle of its leaves. Once it’s in the basket, that context is gone forever.
The fix: film the identification before the harvest. Walk the viewer through the features while the plant is still rooted, then show the harvest as the payoff. This ordering is also just better storytelling — it’s a reveal, not a recap.
Mistake 8 — No Safety Note Anywhere
This one separates the knowledgeable from the reckless, and your audience can tell. A foraging video that never mentions lookalikes or identification safety reads as either naive or dangerous — and knowledgeable viewers will leave, while beginners are left unprotected.
You don’t need a legal disclaimer. You need one honest sentence.
The fix: one safety line, said plainly and at the right moment. “If you’re not 100% sure, don’t eat it.” “This has a toxic lookalike — here’s how to tell them apart.” It costs five seconds, protects your viewers, and marks you as someone who actually knows what they’re doing. Responsibility is the professional look.
Mistake 9 — No B-Roll, So the Edit Falls Apart
Amateurs film the subject. Pros film the scene. The difference shows up the moment you try to edit — without extra footage, every cut is a jarring jump cut, every pause is dead air, and every mistake is unfixable.
B-roll is the footage you don’t think you need: your hands picking, the basket filling, your feet on the trail, wind in the leaves, the close of the harvest. It’s the glue that lets you hide cuts and cover awkward gaps.
The fix: when you’re out filming, grab ten extra seconds of cutaway footage at every location. Hands, trail, basket, leaves, light. These throwaway clips are what turn a choppy edit into a smooth one — and they’re free to film.
Mistake 10 — The Radioactive Green Grade
There’s a reason amateur videos all share a certain look: someone discovered the saturation slider and cranked it until the forest glowed. Oversaturated greens, crushed blacks, heavy filters — it screams “I just found the color tools.”
A professional grade is almost invisible. The goal is footage that looks true, not treated.
The fix: in your editor, do the minimum. A gentle exposure bump if it’s dark, a touch of warmth, maybe a slight contrast adjustment. Then stop. If you can tell a filter was applied, you’ve gone too far. The plant should look like the plant you actually saw.
The 5 Rules That Cover 90% of It
If remembering ten mistakes is too many, here are the five habits that fix most of them at once:
- Camera low, camera still. Plant height, on a tripod. Fixes mistakes 1 and 2.
- Mic close, wind blocked. A lav mic near your mouth, body turned from the breeze. Fixes mistake 3.
- Three distances per plant. Wide, medium, close-up. Fixes mistake 4.
- Promise first, plant early. Open with the one thing they’ll learn. Fixes mistake 6.
- One safety sentence, every video. Fixes mistake 8.
Master those five and you’ll be ahead of most of the foraging content on the platform, regardless of gear.
Quick Answers to Common Questions
Do I need an expensive camera to make professional foraging video? No. A recent phone on a cheap tripod, with a lav mic and attention to light and framing, produces footage most viewers can’t distinguish from a dedicated camera.
What’s the single biggest tell of an amateur video? Filming down from standing height. It’s the most common framing mistake and the easiest to fix — get the camera down to the plant.
How important is audio really? More important than picture. Viewers forgive soft or shaky footage; they won’t forgive wind noise they can’t understand. Fix audio before anything else.
Can I fix bad audio in editing? Not meaningfully. You can reduce some noise, but you can’t separate speech from wind rumble. Get it right at the source.
How long should a foraging video be? Long enough to keep the promise, and no longer. Three to six minutes is a solid target for a single-plant guide. Tight pacing reads as professional.
Do I need to show my face? No. Plenty of great foraging videos are hands-and-plants only. What matters is the plant, the method, the close-up, and the safety note.
What’s the fastest way to look more professional this weekend? Film your next plant at eye level, on a tripod, with three distances (wide, medium, close-up) and one safety sentence. That’s it.
The Short Version
The gap between amateur and professional foraging video is not a camera — it’s a handful of free habits. Get the camera down to plant height and hold it still. Put a cheap mic near your mouth and block the wind. Shoot three distances for every plant, open with a clear promise, film the identification before the harvest, and say one honest safety line. Then grade lightly and stop.
None of that costs money. All of it shows up on screen in the first twenty seconds — which is exactly where your viewers decide whether to stay. Fix these ten, and the next time someone compares a big channel to a small one, yours won’t be the one that looks amateur. 🦎