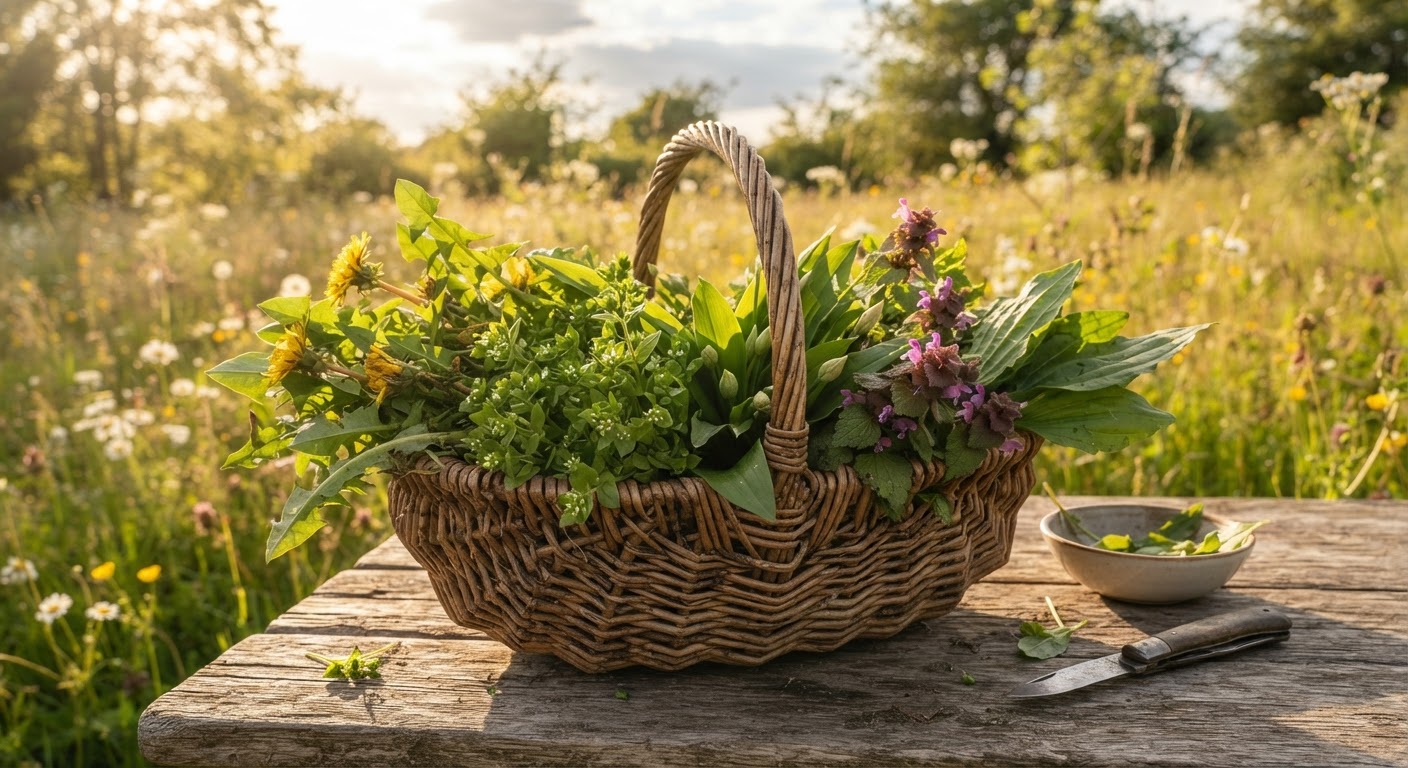
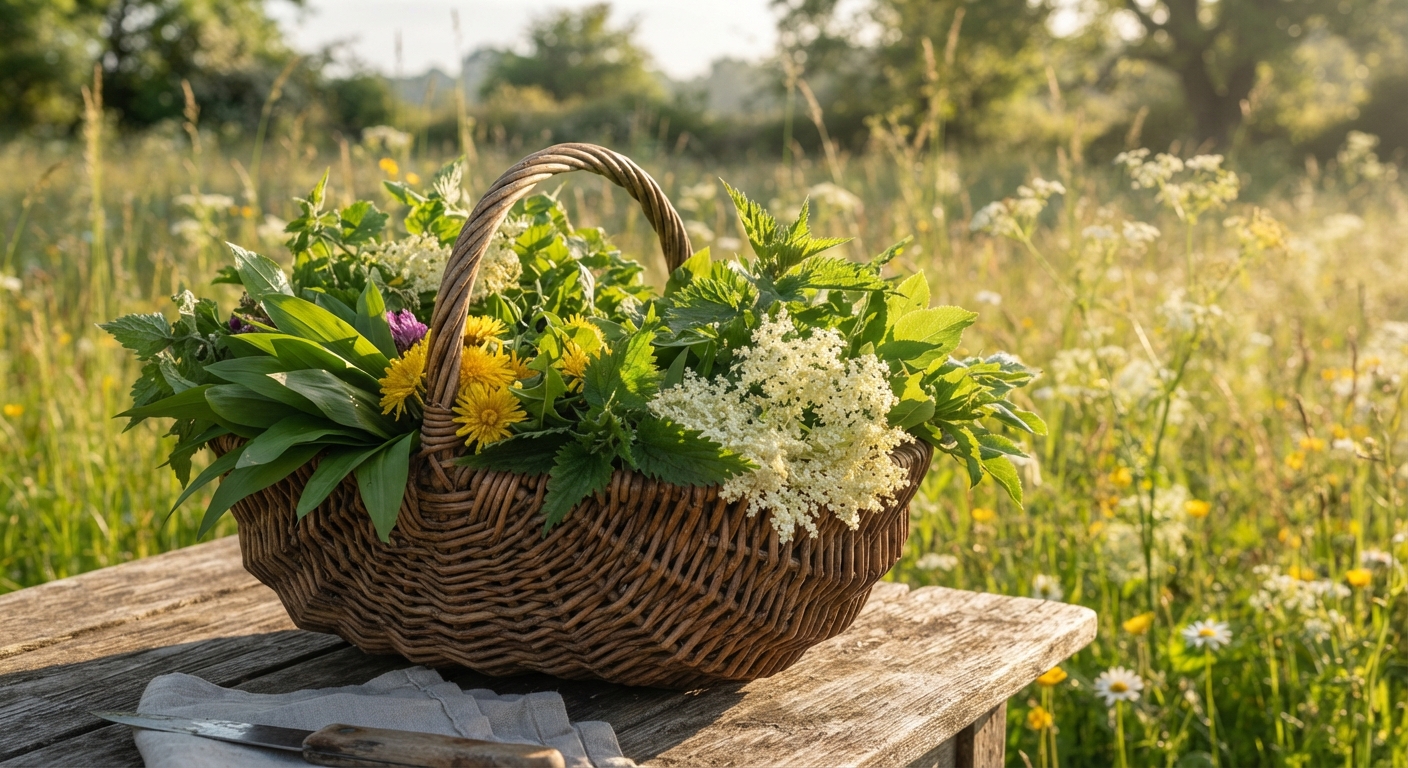
Professional Foraging Video: The Gear That Actually Matters (and What to Skip)
Here’s the uncomfortable truth about foraging footage: the gap between “looks professional” and “looks like a home movie” usually isn’t the camera. It’s a microphone, a stable shot, and a plan. Most people chase a better sensor and ignore the three pieces of gear that would change everything for a quarter of the price.
This guide is about the gear that earns its place in your bag — and the stuff you can leave on the shelf. No sponsor list, no affiliate-flavored picks. Just what I’d actually hand a beginner if they showed up at my trailhead with a phone and a budget.
The Real Problem Is Never the Camera
If your foraging video flops, it’s almost never because your phone was “only” 4K. It’s one of three things:
- Audio. Wind, distance, and rustling leaves bury your voice. Viewers forgive soft video. They don’t forgive audio they can’t hear.
- Stability. Handheld shake makes plant close-ups unwatchable. A wobbly identification shot teaches nobody anything.
- Light and focus. Harsh midday sun and a camera that can’t lock focus on a leaf detail wreck the exact moments that matter.
Fix those three and a five-year-old phone beats a brand-new flagship with no accessories. That’s the whole philosophy: buy the boring stuff first.
The Three Budget Tiers, Compared
Before we get into individual items, here’s the full picture. Pick a column and build from it. You don’t need to fill the whole row.
| Item | Skip-It ($0–$40) | Solid Middle ($40–$150) | Pro Pick ($150+) |
|---|---|---|---|
| Camera | Phone you already own | Phone + clip-on lens | Mirrorless camera + fast prime |
| Audio | Phone mic (still air only) | Lavalier mic, wired or wireless | Wireless lav + recorder backup |
| Stability | Bean bag / backpack as tripod | Handheld phone gimbal | Gimbal + carbon tripod |
| Wind control | Foam over phone mic | Deadcat (furry) windshield | Full blimp-style windshield |
| Light | Golden hour timing | Clip-on LED panel | Panel + diffusion + reflector |
| Power | One charged phone | 10,000 mAh power bank | Power bank + spare batteries |
| Storage | Clean out your phone | 128 GB card / cloud offload | Dual-card recorder |
The pattern is consistent: the biggest jump in quality happens between the first and second column, not the second and third. Spend your first $150 on audio and stability, not on a camera.
Camera and Phone: What’s Worth Your Money
Use the phone you already own
Seriously. A phone from the last four or five years shoots footage good enough for YouTube, TikTok, and Instagram. What matters more is whether you can control it.
Three settings make a phone behave like a real camera:
- Lock exposure and focus by tapping and holding the subject (or using a manual video app). This stops the exposure “breathing” as you move.
- Lock white balance. Auto white balance turns a green forest teal or orange as clouds pass. Set it once and leave it.
- Shoot at 4K/30 or 1080/60. 4K/30 for detail and cropping room, 1080/60 if you want slow-motion harvest shots.
A manual camera app like FiLMiC Pro, ProMovie, or the phone’s own “pro video” mode is the cheapest “new camera” you’ll ever buy.
When a real camera pays off
A dedicated mirrorless or DSLR camera is worth it only when you can answer yes to at least two of these:
- You’re filming in low light (dense forest, overcast mornings).
- You need interchangeable lenses for true macro close-ups.
- You’re delivering to a client or building a serious channel long-term.
If you’re a year into posting and the phone is the bottleneck, that’s the moment to upgrade. Before that, a camera is just a heavier thing to carry up a hill.
Audio: The Single Biggest Upgrade
This is the one where people finally “get it.” You record ten minutes of great plant footage, bring it home, and the voiceover sounds like it was recorded inside a wind tunnel. Audio is where amateur footage announces itself.
A lavalier microphone first
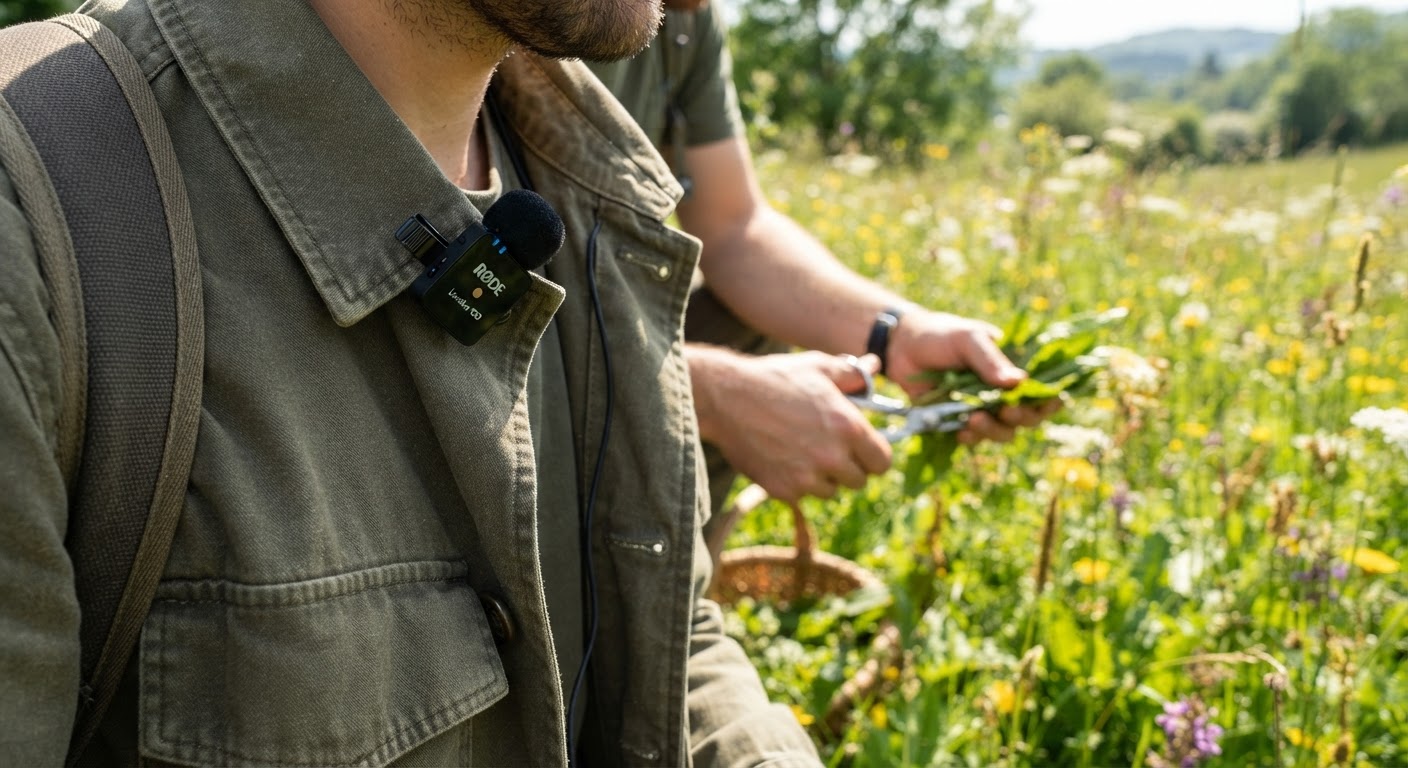
A clip-on lav mic (wired for about $20–40, wireless for $80–150) puts your voice right on your chest, a few inches from your mouth, instead of relying on a phone mic ten feet away.
For foraging, wireless is genuinely useful because you’re constantly moving between the plant, the trail, and the harvest spot. A wired lav into your pocket phone works too, but mind the cable when you kneel and stand repeatedly.
Wind protection is non-negotiable
Even a cheap lav mic sounds terrible outdoors without a furry “deadcat” windshield. Wind hitting a bare mic capsule produces the low rumble that ruins every outdoor clip.
- Foam covers help indoors. Outside, they’re almost useless.
- A deadcat windshield is $10–15 and cuts wind noise dramatically.
- Film with the wind at your back when you can, and turn your body to shield the mic.
If you do nothing else, buy a lav mic and a deadcat. That single purchase upgrades every video you make from this point forward.
Stabilization: Cheap, Cheaper, Free
A gimbal is the flashy upgrade, but it’s not the only path to steady footage.
The free options first
- Set the phone down. A rock, a log, a backpack — any stable surface beats a shaking hand for close-ups.
- The two-hand phone grip. Elbows tucked into your ribs, thumbs braced. Turns your body into a poor man’s stabilizer.
- Lean against a tree for standing shots. Contact with something solid kills micro-shake.
The cheap option: a small tripod or clamp
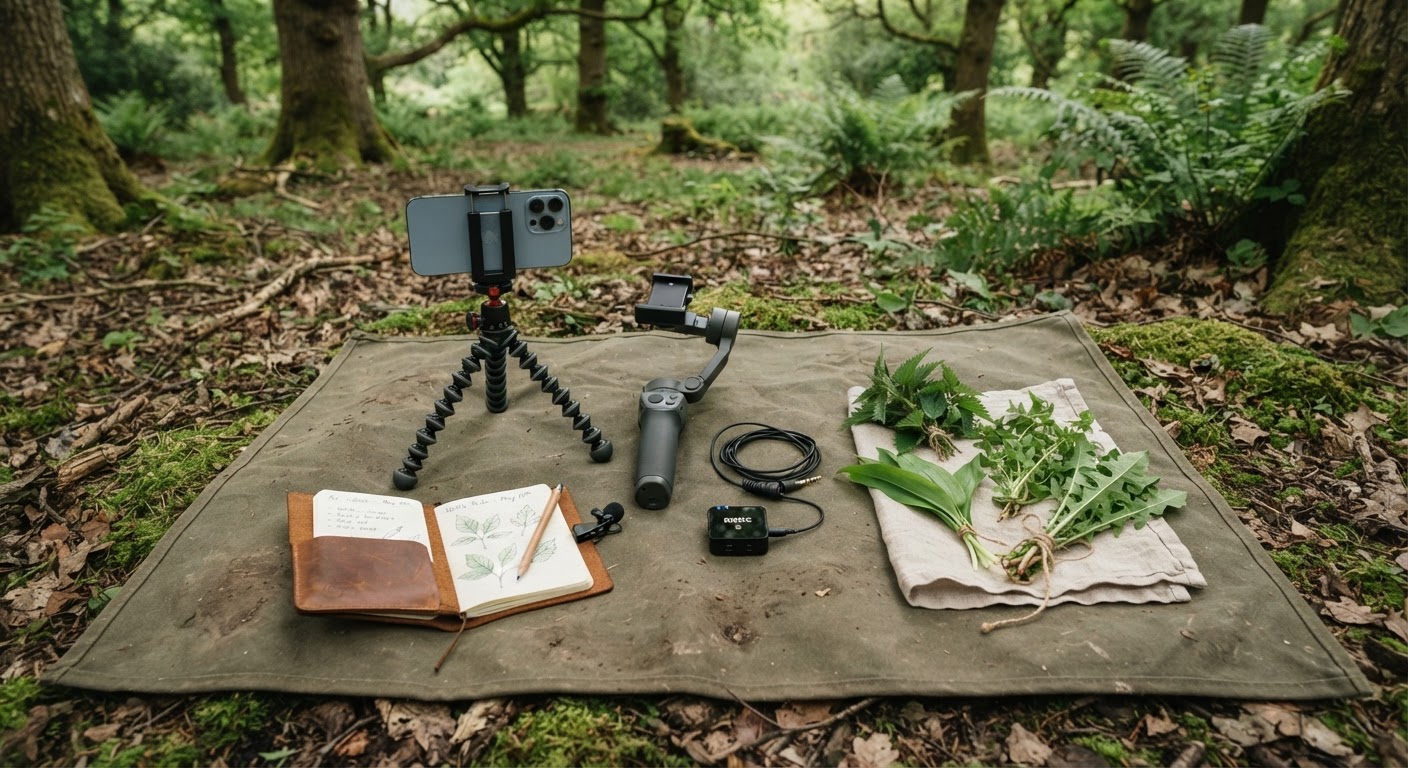
A pocket tripod or a flexible “gorilla” tripod (roughly $15–30) lets you film yourself harvesting without holding anything. It also keeps identification close-ups rock-steady, which is the single most important shot in any foraging video.
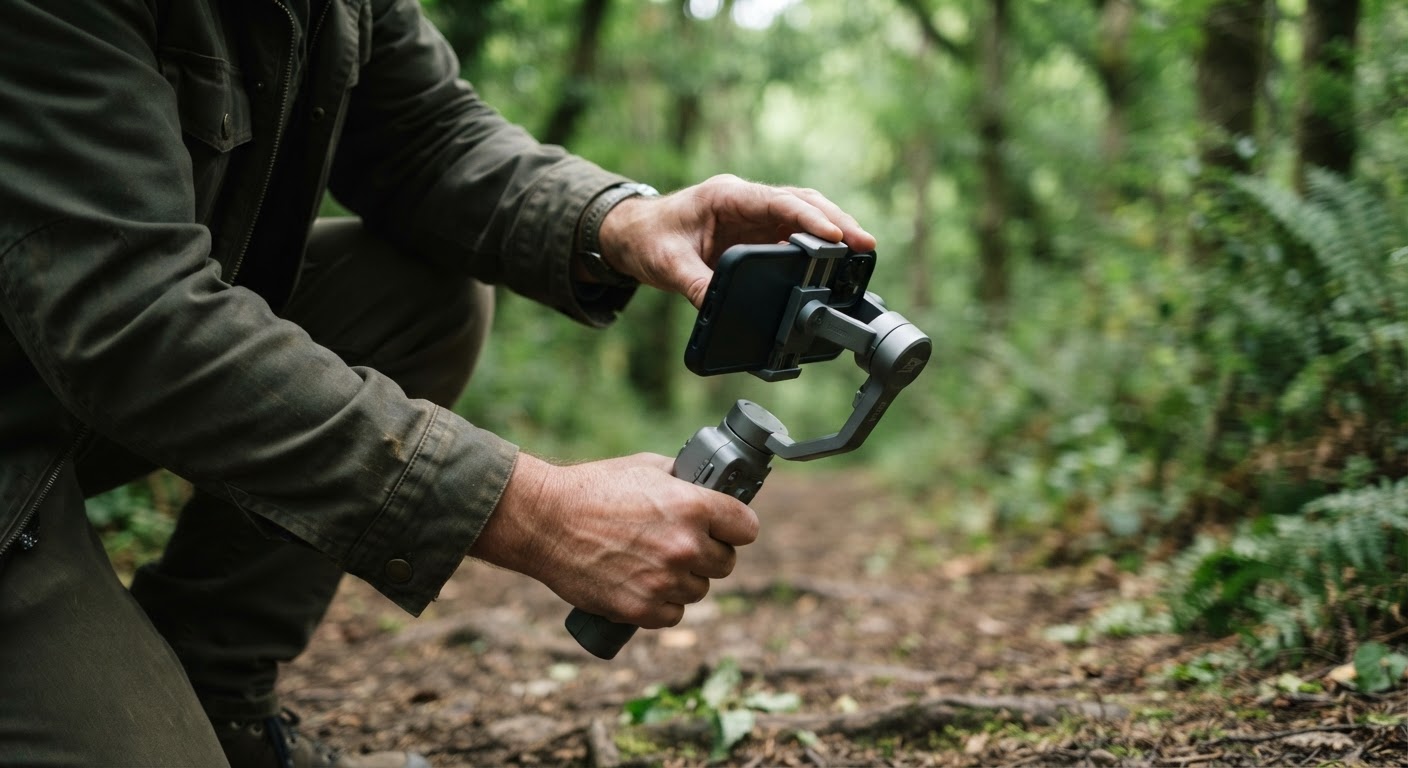
The real upgrade: a phone gimbal
A three-axis gimbal ($60–130) smooths out walking shots and lets you orbit around a plant while talking. It’s genuinely worth it once you start doing walk-and-talk or follow-along content. It won’t fix bad audio or bad light, so buy the mic first.
Lighting and Power: The Boring Stuff That Saves a Shoot
Two things quietly end more shoots than rain: dead batteries and ugly light.
Light. Midday sun is the enemy of plant footage. It creates harsh shadows, blows out white flower petals, and makes greens look washed out. The fix is usually free — shoot in the two hours after sunrise or before sunset, or wait for light overcast, which acts like a giant softbox. If you must shoot midday, a $20 clip-on LED panel or a simple white reflector helps fill shadows on your hands and face.
Power. Foraging happens in the middle of nowhere. A $20–30, 10,000 mAh power bank means your phone and mic don’t die at minute forty. Cold weather drains batteries fast, so keep the power bank in an inside pocket. This is the least glamorous gear on the list and one of the most reliable ways to not lose a full day of footage.
A Complete Starter Kit, Item by Item
Here’s the exact shopping list I’d build if I were starting fresh today, in the order I’d buy it:
- Your existing phone — spend nothing, learn the settings first.
- Lavalier microphone ($25–100) — the single highest-impact purchase.
- Deadcat windshield for the mic ($10–15) — audio’s best friend outdoors.
- Pocket or gorilla tripod ($15–30) — steady identification and harvest shots.
- 10,000 mAh power bank ($20–30) — one dead battery ends a shoot.
- Phone gimbal ($60–130) — for smooth movement once the basics are covered.
- Clip-on macro lens ($15–40) — cheaper than a macro camera for leaf and flower detail.
- LED panel or reflector ($20–40) — only if you regularly shoot at midday.
Total for items 2 through 6: roughly $130 to $240. That’s a fraction of a new camera and it will lift your footage more.
What You Can Skip Without Losing Quality
Just as important as what to buy is what to leave in the store. Common money pits for beginner foraging videographers:
- A 4K drone. Cool for establishing shots, useless for plant ID, and banned in many parks. Skip it.
- A professional cinema camera. Overkill until you’re earning from the channel.
- Expensive lenses before you know why. The kit lens or a cheap macro clip gets you 90% there.
- Color-grading software subscriptions. Your phone’s built-in editor or free DaVinci Resolve is plenty.
- Giant shotgun microphones. A lav does the job for a solo forager; the shotgun is for interviews.
- A full lighting kit. Reflectors and timing beat bulky lights in the woods.
The rule: if a piece of gear doesn’t solve one of the three problems (audio, stability, light), it can wait.
The $0 Setup That Still Looks Professional
You don’t need to spend a cent to make a watchable foraging video. Here’s the free rig:
- Phone propped on a backpack or log at plant height for close-ups.
- Two-handed grip with elbows tucked for moving shots.
- Film in the golden hour or under light overcast for flattering light.
- Record voice separately in a quiet, sheltered spot, then sync it in a free editor.
- Shoot at 4K so you can crop in for detail instead of moving the camera.
That setup won’t win a film festival, but it will beat most of the shaky, wind-blasted clips sitting on social media right now. The discipline — stable shots, good light, clean audio — is free. The gear just makes it easier.
Straight Answers to Gear Questions
Do I really need a gimbal to film foraging? No. A stable surface or a two-hand grip covers most shots. Buy a gimbal after you’ve handled audio and lighting.
What’s the single best first purchase? A lavalier microphone with a deadcat windshield. It upgrades every future video and costs less than a tank of gas.
Can I film professional-looking video with just a phone? Yes, provided you lock exposure, focus, and white balance, and you control your light and audio. The phone is rarely the weak link early on.
How much should I spend to start? Around $130–$240 covers a mic, windshield, tripod, power bank, and gimbal. Skip the camera upgrade entirely for the first year.
What if I’m on a truly $0 budget? Use the free rig above: propped phone, two-hand grip, golden-hour light, and a separately recorded voiceover synced in a free editor.
The Short Version
Professional foraging video is 80% audio, stability, and light — and maybe 20% camera. Buy a lav mic with a deadcat first, then a small tripod, then a power bank. Add a gimbal and a macro clip lens when the basics feel easy. Skip the drone, the cinema camera, and the color-grading subscription until your channel earns them. Master the free discipline first: lock your settings, shoot in soft light, and keep the shot steady. The gear is just there to make those habits effortless.