Most foraging videos fail for exactly three reasons, and none of them is the camera you own. It’s a wandering white balance that shifts green every time the sun ducks behind a cloud. It’s autofocus that breathes in and out on a leaf while you’re trying to show an identification feature. And it’s a clip list built around what you saw instead of what a viewer needs to understand.
You can fix all three on a phone you already carry. I’ve filmed plant ID clips on everything from a beat-up mid-range Android to a mirrorless body, and the gap between “looks like a shaky home movie” and “looks intentional” is smaller than most people assume. It’s mostly a handful of settings you lock in before you hit record, plus a shot list you can reuse for every single outing.
This is that guide — no brand worship, no lens reviews. Just the settings worth locking, the shots worth getting, and a quick-reference table you can screenshot before you walk out the door.
The Three Settings That Quietly Ruin Foraging Footage
Before the shot list, you need three settings under control. Skip these and no amount of composition saves you, because the footage drifts while you’re filming.
1. White balance — lock it, or the forest turns teal
Auto white balance is the single biggest tell of amateur outdoor footage. Pan from open sun into tree shade and your greens slide from yellow to blue mid-clip. There’s no clean fix in editing.
Set white balance manually. On most phones you’ll find it under “Pro” or “Manual” video mode. Match it to your dominant light: 5200–5500K on a clear day, 6000–6500K in overcast, and drop to ~4500K if you’re deep in shade. Locking it once per scene means the dandelion you filmed at minute one matches the dandelion at minute four. For plant identification that consistency isn’t a nice-to-have — it’s the whole point, because color is a field mark.
2. Shutter speed — the 180-degree rule is your friend
Motion blur is what makes footage look “cinematic” instead of “video-gamey.” The rule: shutter speed = 1 ÷ (2 × frame rate).
Shooting at 24fps? Use 1/48 (or 1/50 on most phones). At 30fps, use 1/60. At 60fps — which you want for slow-motion close-ups of a stem snapping or a leaf turning in the wind — use 1/120.
Bright daylight makes fast shutter easy. If you can’t hit the right shutter without overexposing, add a neutral density filter or just shade the lens. This one rule matters more than resolution.
3. Focus and exposure — tap once, then stop touching it
Autofocus “hunts” on leaves, especially when a breeze moves them. Tap your subject to focus, then lock focus and exposure (usually a long-press or a lock icon in Pro mode). The moment you lock, the camera stops guessing — and you stop getting those nauseating focus pulses right as the identification feature comes into frame.
Lock exposure separately if you can. A bright sky behind a dark plant will fool auto exposure every time; lock exposure on the plant and let the sky blow out a little. The plant is the subject. The sky can wait.
The 9 Shots Every Professional Foraging Clip Needs
Once the settings are locked, the difference comes down to coverage. A professional foraging video isn’t one long take — it’s a sequence of short, purposeful shots edited together. Here’s the list I work from, in shooting order.
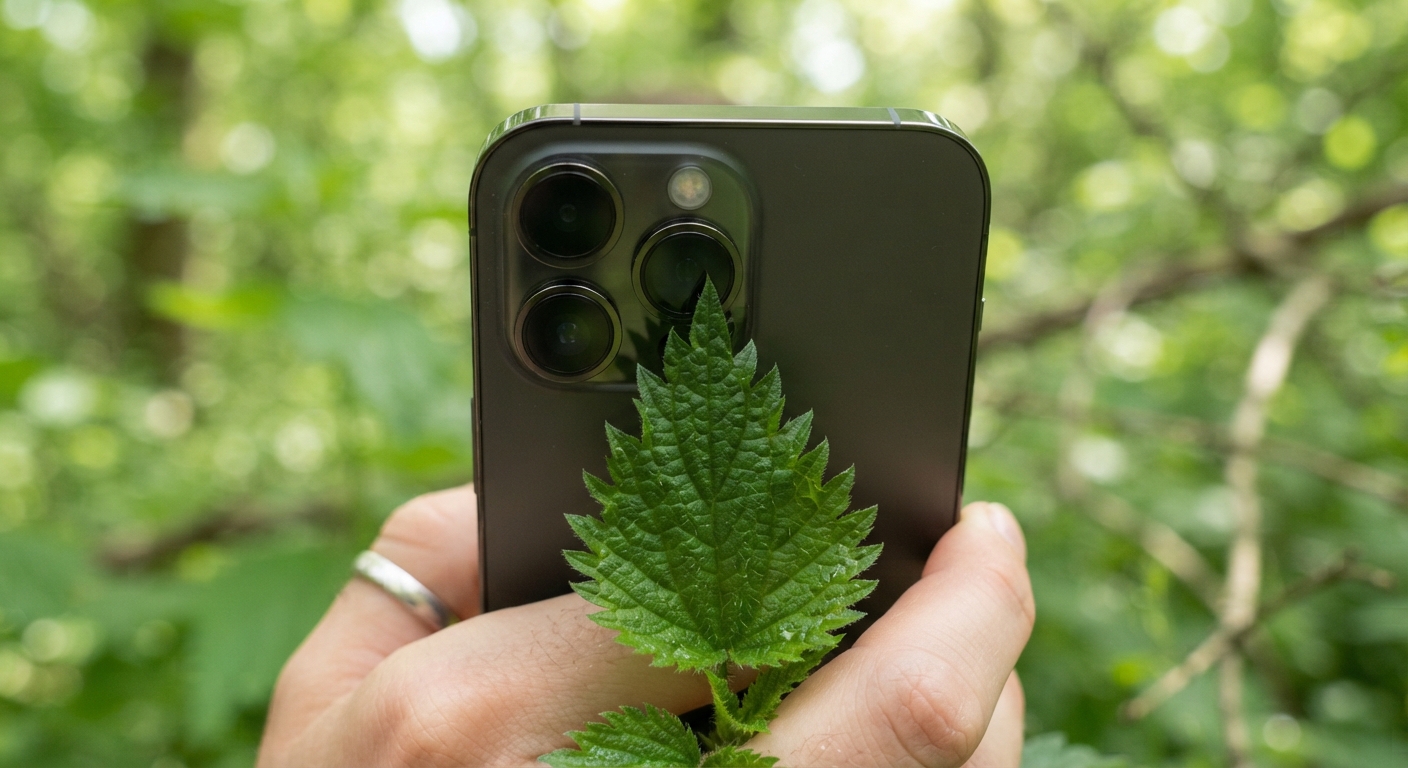
1. The wide establishing shot
Open with context. A slow pan or a locked wide shot of the habitat — the meadow, the forest edge, the creek bank. This tells the viewer where you are, which is half of foraging. Ten seconds, no more.
2. The medium “plant in place” shot
Frame the whole plant in its environment, showing how it grows — upright, sprawling, in a cluster. This is the shot that helps someone find the plant themselves later, not just recognize a leaf in a macro close-up.
3. The identification close-up
This is the workhorse. Get tight on the features that matter: leaf arrangement, stem texture, hairs, flowers, seed heads. Hold each feature for a full two to three seconds. A viewer can’t study a leaf that’s already gone.
4. The “lookalike check” comparison
If the plant has a poisonous lookalike, film both side by side — or film the key difference. This is the single most valuable shot for a safety-focused channel, and the one beginners skip most often.
5. The over-the-shoulder POV
Film from behind your own shoulder so the viewer sees the plant the way you see it. It’s the most natural “come with me” framing there is, and it instantly raises the production value because it feels guided rather than staged.
6. The harvest action shot
Show the harvest itself: pinching a nettle stem, cutting a leaf, pulling a root. Keep your hands in frame and move deliberately. Slow the clip to 60fps in editing and it reads as careful, practiced movement.
7. The reveal pull-back
Start tight on a single leaf, then pull back to reveal the whole plant and its surroundings. It’s a one-shot storytelling trick that answers “wait, what plant am I even looking at?” without a single word of voiceover.
8. Environmental b-roll
Wind through leaves, water over stones, insects on a flower. Ten seconds of texture you can cut between the instructional shots. B-roll is what makes a sequence feel continuous instead of like a slideshow.
9. The “safe ID recap” closer
End on a clean, well-lit medium shot of the plant with its name and the two or three key ID features stated plainly. This is the shot people screenshot and save. Make it count.
Settings Quick-Reference Table
Screenshot this. It’s the whole settings lesson on one screen.
| Setting | Amateur default | Professional choice | Why it matters |
|---|---|---|---|
| Resolution / frame rate | 1080p auto | 4K at 24–30fps; 60fps for slow-mo | 24–30 looks natural; 60 gives smooth slow motion |
| Shutter speed | Auto | 1/(2×fps) — 1/50, 1/60, or 1/120 | Controls motion blur, the biggest “cinematic” tell |
| White balance | Auto | Locked to scene (4500–6500K) | Stops green/blue color drift mid-pan |
| ISO | Auto (swings high) | Locked low, 100–400 in daylight | Prevents grainy, muddy shadows |
| Focus | Continuous autofocus | Locked on subject | Kills focus “breathing” on leaves |
| Exposure | Auto (sky-biased) | Locked on the plant | Keeps the subject bright, not the sky |
| Stabilization | Handheld, unstabilized | Gimbal or locked-off tripod | Removes micro-shake from macro shots |
| Color profile | Default | Flat/log or “natural” | Gives room to grade without crushing greens |
Lighting: When to Actually Press Record
Professional foraging footage is mostly a lighting decision you make before you ever touch the settings. Harsh midday sun is the worst time to film plants — it throws hard shadows across leaf details and blows out anything with a glossy surface. Early morning and the hour before sunset give you soft, angled light that reveals texture instead of hiding it.
Overcast days are the forager’s secret weapon. A flat, even sky acts like a giant softbox, which is ideal for identification close-ups because every feature stays evenly lit with no glare. If you’re stuck in hard sun, move into open shade — the edge of a tree line or a building’s shadow — and your white balance lock from earlier will keep the colors honest.
One more thing: keep the light source behind the camera, not behind the plant. Backlighting a subject into a silhouette is a choice you make on purpose, not an accident. When in doubt, plant your shadow so it falls away from what you’re filming.
Quick Checklist Before You Film
Run this in about ninety seconds before you hit record:
- White balance locked to the current light
- Shutter set to the 180-degree rule for your frame rate
- Focus locked on the subject, not hunting
- Exposure locked on the plant, not the sky
- Battery above 50% and storage checked
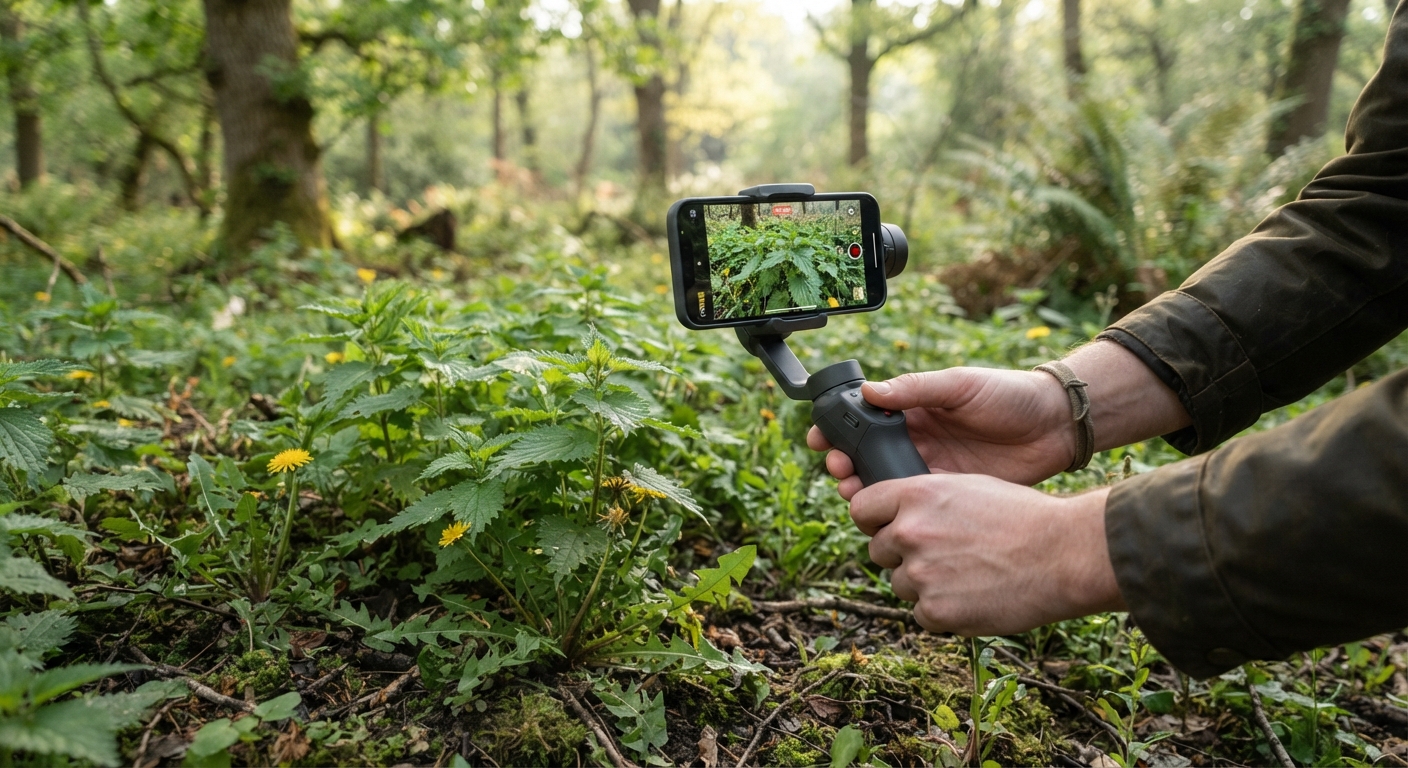
- Phone on a gimbal, tripod, or braced against your body
- Your 9-shot list open so you don’t wander
Summary Tips
- Film in soft light. Early morning, golden hour, or a flat overcast sky beats harsh midday sun for plant detail.
- Lock white balance and exposure once per scene. They’re the two settings that drift silently and ruin otherwise good footage.
- Follow the 180-degree shutter rule. It matters more than megapixels.
- Shoot the lookalike. Safety content without a comparison shot is just a pretty picture.
- Hold every ID feature for 2–3 seconds. Give the viewer time to actually see it.
- Cover the full sequence. Wide, medium, macro, POV, harvest, reveal, b-roll, recap. Coverage is what makes it feel professional in the edit.
- Brace or stabilize. The cheapest upgrade you can make is a $20 phone gimbal — or just your elbows tucked against your ribs.
FAQ
Do I need a mirrorless camera to make professional foraging video? No. A modern phone in manual/Pro mode covers every setting above. The gap between phone and dedicated camera is smaller than the gap between locked settings and auto settings.
What frame rate should I film foraging clips in? 24 or 30fps for most footage, 60fps for close-up or harvest shots you’ll slow down. Don’t mix frame rates within one timeline unless you know why you’re doing it.
Why does my footage look yellow or blue when I pan? That’s auto white balance reacting to changing light. Lock it to the dominant light source and leave it until the light actually changes.
How long should each foraging shot be? Three to eight seconds. Longer than a photo, shorter than a tour. A viewer needs time to read a feature but loses interest fast.
What’s the one shot most foraging videos miss? The poisonous lookalike comparison. It’s the highest-value shot for a foraging audience and the one creators skip because it means filming two plants instead of one.
Do I need expensive stabilization? No. A cheap phone gimbal or a small tripod does most of the work. Handheld is fine for POV shots — braced, deliberate movement reads as authentic rather than sloppy.