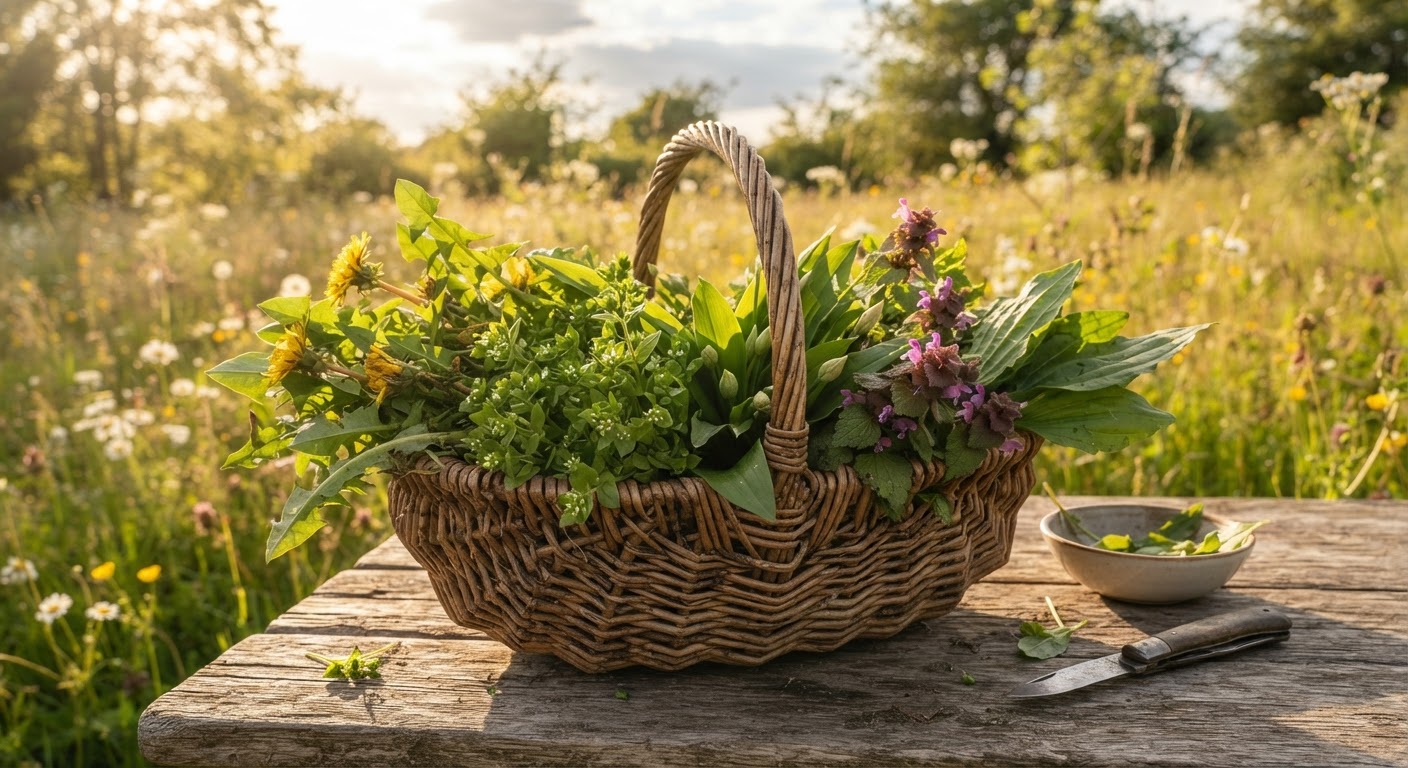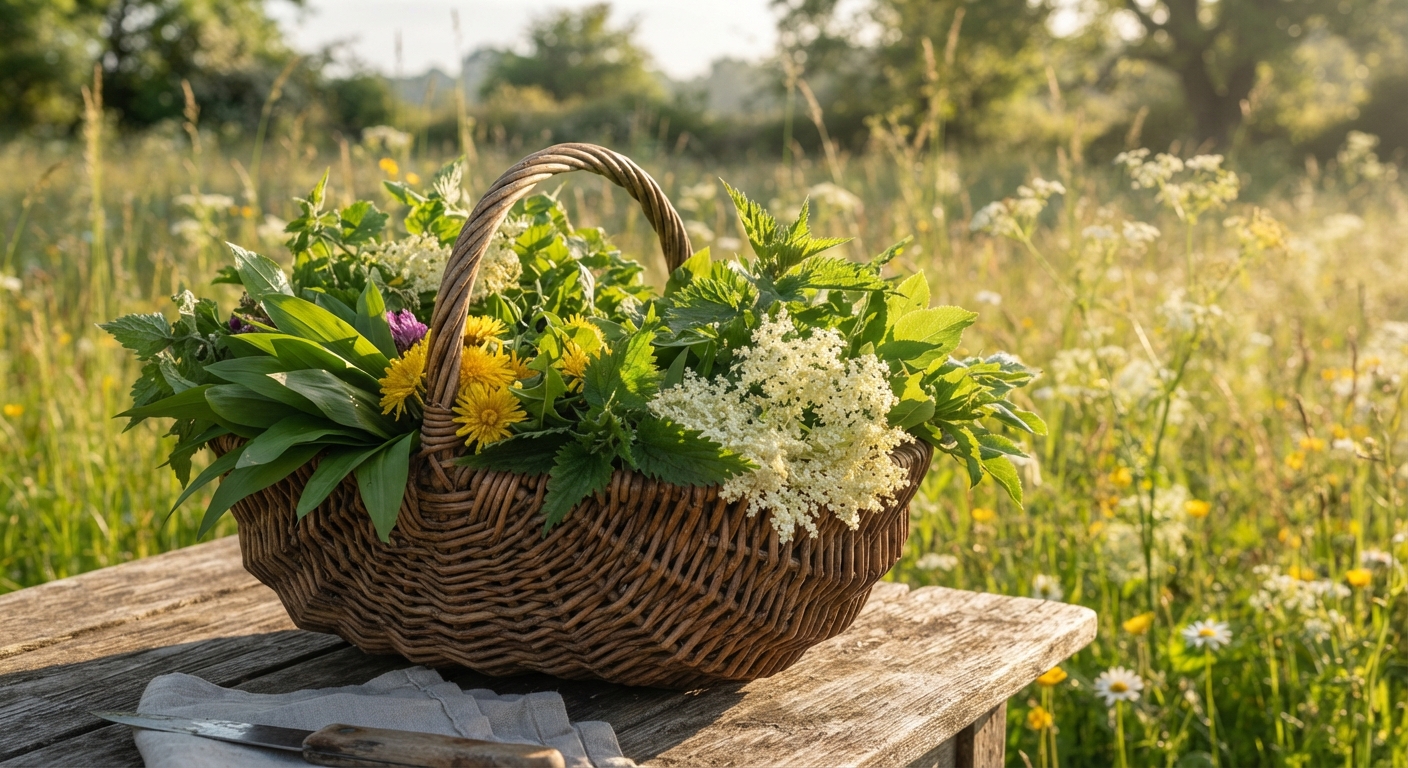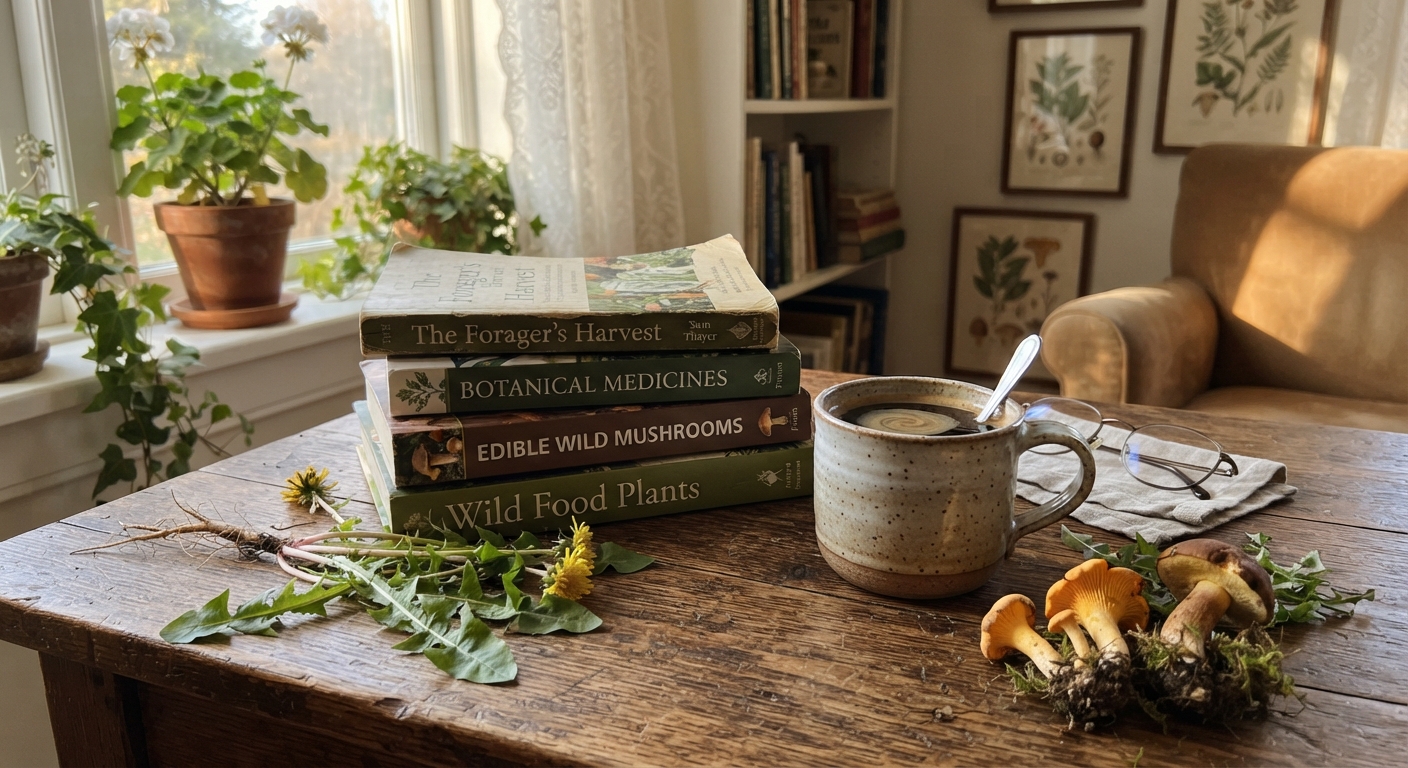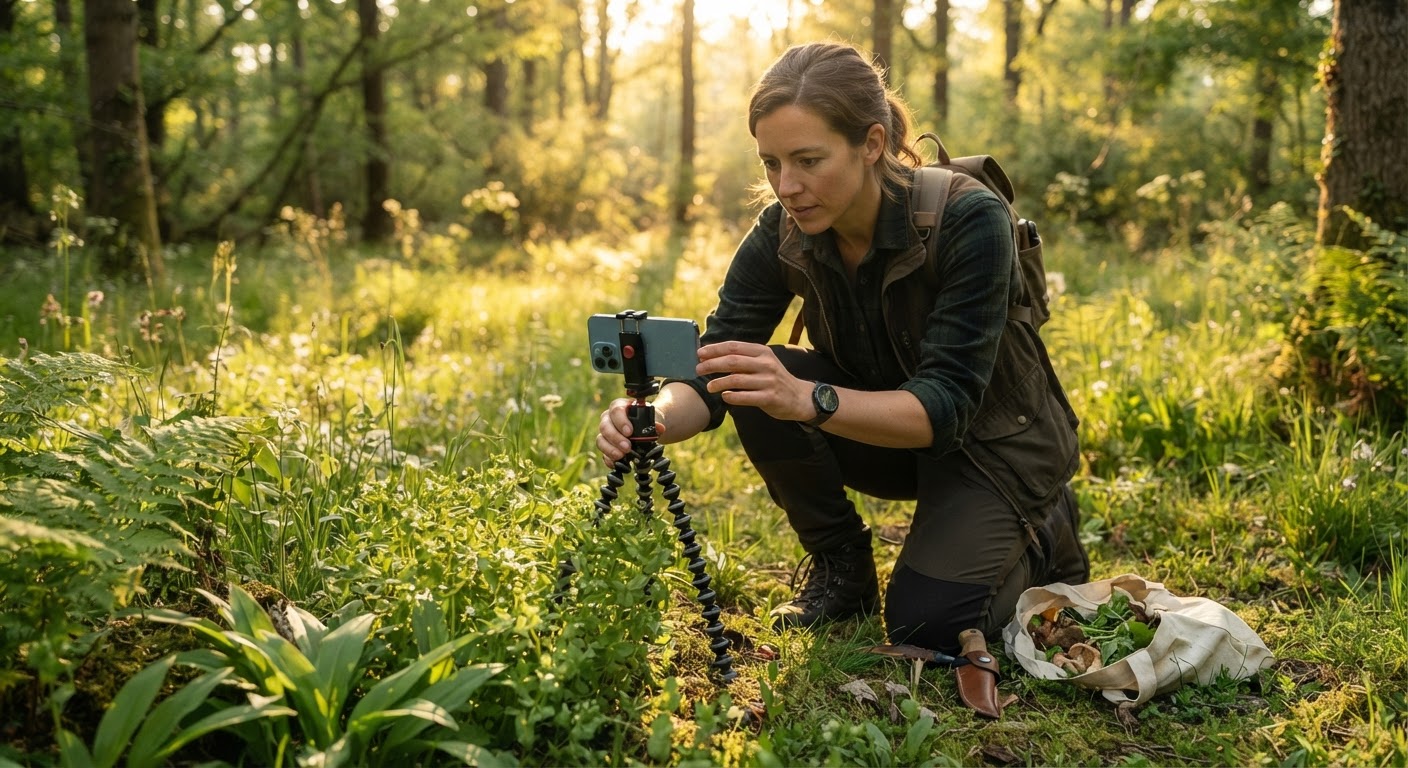
The last foraging video I published took three days to film, forty minutes to edit, and pulled in eleven views. The one that finally broke a thousand views? Thirty minutes in the field and an hour at my desk. The footage was objectively worse. The story was better.
That’s the uncomfortable truth most people skip when they search for “how to make a professional foraging video.” They expect the answer to be a camera. It isn’t. A professional video is not one that looks expensive — it’s one that respects the viewer’s time and gives them a reason to keep watching. A $200 phone on a $15 tripod can absolutely produce that, if the production process behind it is sound.
This guide walks through the full pipeline I use now: from the moment an idea lands to the moment the video goes live. No fluff about megapixels. Every step is something you can do this weekend with the phone already in your pocket.
Why Most Foraging Videos Die in the First Ten Seconds
Before the step-by-step, you need to understand the actual problem. It’s not that beginners don’t know plants. It’s that they film like botanists and edit like home-movie makers.
Watch any ten foraging videos on YouTube and you’ll notice a pattern. The first eight seconds are a shaky walk through a field while the creator talks about their day. The plant doesn’t appear until minute two. The identification close-up is out of focus. The audio sounds like a wind tunnel. And somewhere around the three-minute mark, the creator says “anyway” and the video meanders to a stop.
A professional foraging video fixes these things in a specific order: promise, structure, coverage, pacing, and packaging. Gear barely makes the list. Once you internalize that, the rest of this guide is just a recipe.
Here’s the whole pipeline at a glance, so you know where you’re headed.
| Step | What You Do | Time Needed | Deliverable |
|---|---|---|---|
| 1. Promise | Define the single thing your viewer will learn | 10 minutes | One-sentence video premise |
| 2. Script | Outline the story beats in order | 30 minutes | A beat sheet, not a word-for-word script |
| 3. Storyboard | Turn beats into a shot list | 20 minutes | List of shots with rough framing |
| 4. Pre-production | Scout location, check light, prep safety | 30 minutes | Location + light plan |
| 5. Capture | Film coverage and b-roll in the field | 1–2 hours | Raw footage with options |
| 6. Edit | Assemble, cut, pace, and color | 1–2 hours | A watchable draft |
| 7. Package | Title, thumbnail, description | 30 minutes | A published video |
That’s the entire machine. Now let’s take each step apart.
Step 1: Decide the One Promise of Your Video
Every professional video makes a single, specific promise in the first sentence, then keeps it. “Three ways to tell stinging nettle from its lookalikes.” “How to harvest dandelion root without breaking it.” “The one mistake that makes people sick with wild carrots.”
Notice what those have in common: they’re narrow, concrete, and about the viewer’s problem — not about you.
The most common beginner mistake is trying to make a video “about foraging.” That’s not a video; that’s a topic. Topics are for encyclopedias. Videos need a promise.
To find yours, finish this sentence: “By the end of this video, the viewer will be able to ________.” If you can’t finish it in under ten words, your scope is too big. Split it into two videos.
One more thing: write the promise down before you film anything. It becomes your editing compass. Any clip that doesn’t serve the promise gets cut, no matter how pretty it is. This single habit will do more for your videos than any piece of gear.
Step 2: Script the Story, Not Just the Facts
You don’t need a word-for-word script — most people freeze up when they try to recite one outdoors. You need a beat sheet: the ordered list of moments the video will hit.
A foraging video works well with a simple three-act structure. Here’s how I break it down.
| Beat | What Happens | Purpose | Rough Length (for a 5-min video) |
|---|---|---|---|
| The hook | State the promise and the stakes | Stop the scroll | 8–15 seconds |
| The problem | Name the mistake or gap the viewer has | Create relevance | 20–30 seconds |
| The reveal | Show the plant in context | Ground the video in reality | 20–30 seconds |
| The method | Step-by-step identification or technique | Deliver the value | 2–3 minutes |
| The proof | Demonstrate the payoff (harvest, taste, result) | Build trust | 20–40 seconds |
| The send-off | Restate the takeaway + next step | Encourage action | 10–15 seconds |
The hook and the send-off matter more than the middle. You can have slightly rough identification footage and still hold people, but if the first eight seconds are weak, they never see the middle at all.
Write your beats as bullet points, not paragraphs. A beat like “show the purple spots on the stem” tells you exactly what to film. A beat like “talk about how important hemlock safety is” tells you nothing filmable.
Step 3: Storyboard Your Shot List
A storyboard doesn’t have to be art. Mine are stick figures and arrows in a notebook. What matters is that every beat in your script has at least one named shot attached to it.
Here’s the shot vocabulary I default to for foraging videos:
- Establishing wide — the habitat, so viewers understand where this plant grows.
- Context medium — the plant in its surroundings, showing scale and neighbors.
- ID close-up — the leaf, stem, flower, or root feature that matters for identification.
- Macro detail — a single identifying feature, like leaf hairs or stem spots.
- Harvest action — your hands doing the actual picking or cutting.
- Result shot — the basket, the cooked dish, or the clean harvest.
Writing these down before you leave the house prevents the #1 field failure: getting home and realizing you filmed the same wide shot seven times and never got a usable close-up of the stem.
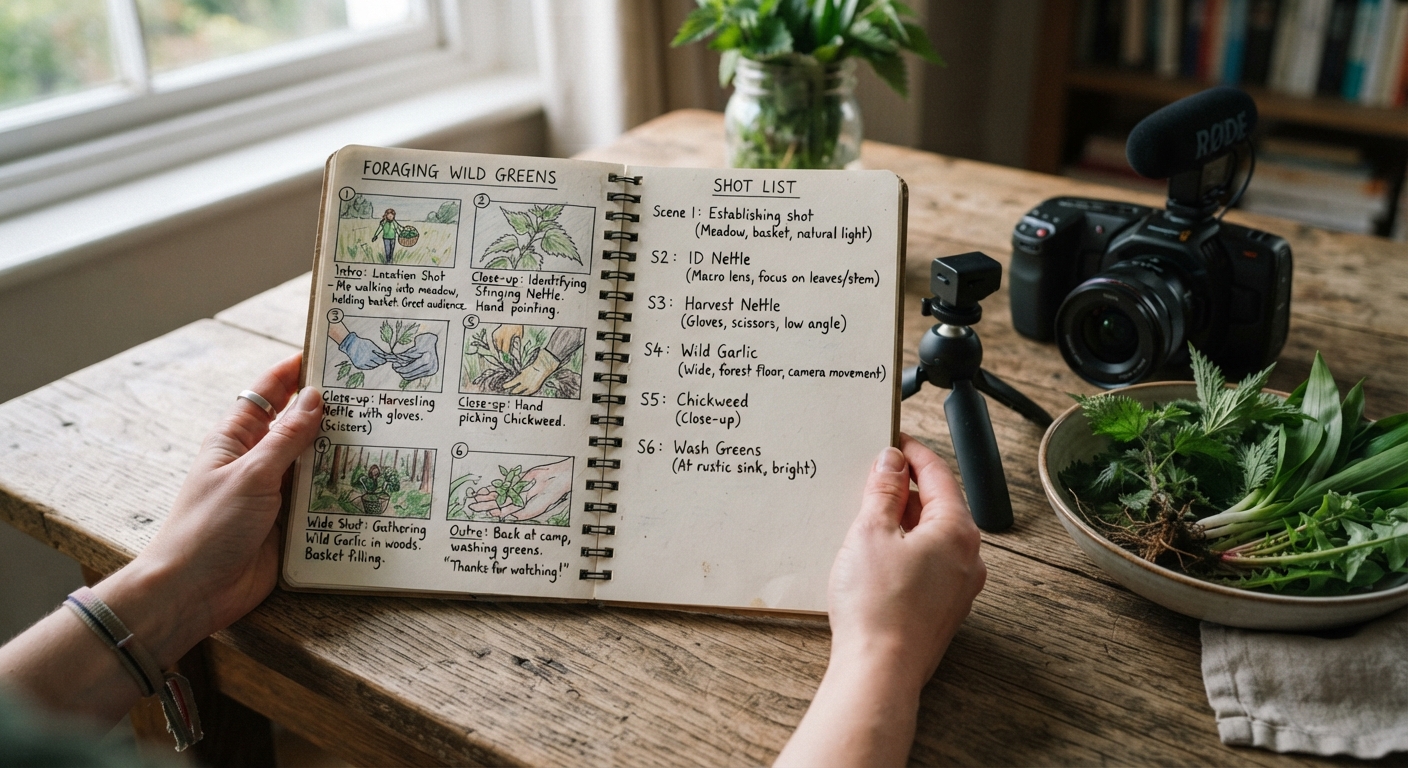
If you’re filming solo, put the shot list on your phone lock screen or a small card in your pocket. You will forget the third shot otherwise — I do every time.
Step 4: Pre-Produce the Location Before You Film
This is the step beginners skip entirely, and it shows. Professional results come from decisions made before the camera is rolling, not from fixing things in post.
Three things to lock down during pre-production:
Scout in daylight, on a different day if you can. You want to know exactly where the plant is, what direction the light comes from, and whether there’s foot traffic or road noise. Returning to a pre-scouted spot with a plan is a completely different experience from wandering and hoping.
Plan your light. For plant identification, soft, overcast light beats harsh midday sun — it eliminates the blown-out highlights that hide leaf texture. If you must film in bright sun, use your body or a small diffuser to shade the plant. The “flashlight trick” for dark forest floors: hold your phone’s flashlight off to one side at a low angle to rake across the leaf surface and reveal texture the camera can’t otherwise see.
Prep your safety kit. Foraging on camera has a real risk: you’re distracted by framing and audio, and you reach for a plant without your usual care. Identify the plant fully, off camera, before you film the “first discovery.” Keep gloves, a field guide, and a photo of any toxic lookalike on hand. Never eat anything new on camera as a bit — that’s how emergency-room stories start.
Step 5: Capture Coverage, Not Just a Take
The field shoot is where the storyboard becomes footage. The professional habit here is simple: get more coverage than you think you need, and get it steady.
Three capture rules that fix 90% of amateur footage:
-
Lock the camera down. Handheld phone footage of a plant close-up looks fine for a second and nauseating after twenty. Put the phone on a tripod — even a cheap one — for every close-up. Your hands should be in the frame doing the identifying, not holding the camera.
-
Film each shot for longer than you need. Count to ten in your head after you think you’ve got the shot. Extra seconds cost nothing in the field and give you room to breathe in the edit. The most common editing emergency is “I don’t have enough coverage here.”
-
Get cutaways. Film your hands, your feet on the trail, the basket filling up, the wind in the leaves, the close of the harvest. These are the clips that let you hide jump cuts and cover awkward pauses. B-roll is not filler — it’s the glue that makes an edit feel smooth instead of choppy.
Audio is the one place you can’t fix it later. Record a few seconds of “room tone” — the ambient sound of the location — before you start. You’ll use it to smooth over audio gaps in the edit. And if there’s any wind, get the mic as close to your mouth as possible and turn your body to block the breeze.
Step 6: Edit for Retention, Not for Perfection
Here’s the mindset shift that separates watchable videos from unwatchable ones: your job in the edit is to protect the viewer’s attention, not to preserve every second you filmed.
Open your editor and assemble in this order:
-
Lay down the hook first. Cut the strongest 8–15 seconds to the front. If your best footage is buried in minute two, move it up. The video starts when the value starts.
-
Build the story spine. Drop your beats onto the timeline in order, then cut away everything that doesn’t serve the promise. If a clip doesn’t advance the promise, it’s a cut — even if it’s beautiful.
-
Cut the dead air. Remove “um,” long pauses, and rambling. Every breath between sentences is a chance for the viewer to leave. Tight pacing reads as more professional than fancy color grading ever will.
-
Add cutaways to hide seams. Wherever a jump cut looks jarring, drop in b-roll. This is why you filmed the basket and the wind.
-
Grade lightly. On a phone or free editor, a simple exposure bump and a touch of warmth is enough. Don’t crank saturation until the greens look radioactive — that’s the telltale sign of an amateur grade.
-
Fix audio last. Normalize your voice so it’s consistent, duck any music under your speech, and add your room tone under any silence to remove the jarring “dead air” feeling.
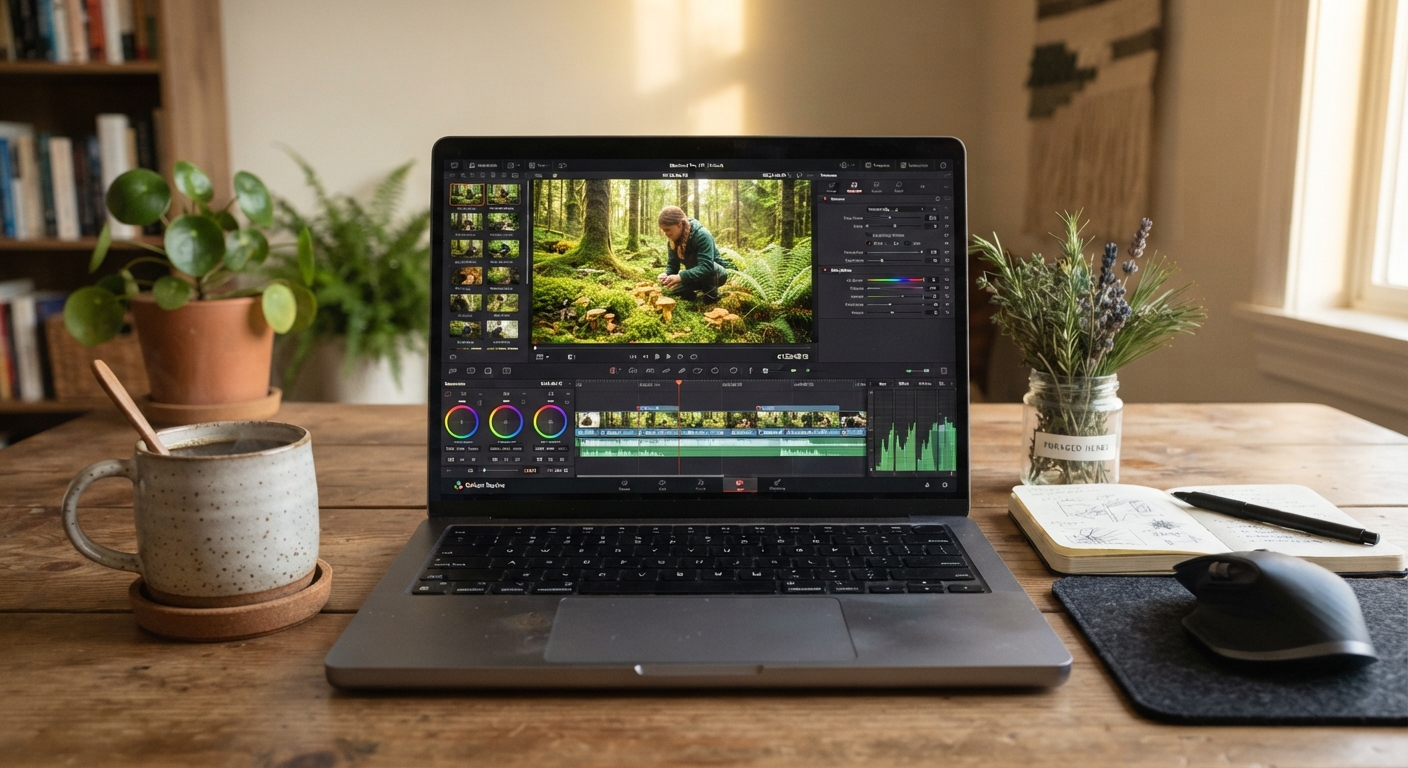
A useful benchmark: watch your own draft with your thumb hovering over the “skip” button. Every moment you’d skip, cut. You know where they are.
Step 7: Package and Publish Like It’s a Product
The best-edited video in the world dies if nobody clicks it. Packaging is the title, thumbnail, and description — and it’s the step most foragers treat as an afterthought.
Title: Lead with the promise and the number if you have one. “How to Identify Stinging Nettle (And Avoid Its Lookalikes)” beats “A Walk in the Woods, Part 4.” Keep it under about 60 characters when you can.
Thumbnail: One subject, close, with a clear focal point. A crisp close-up of the plant, or your hand holding it against a clean background, outperforms a cluttered landscape every time. Add a short text overlay — two to four words — that reinforces the title.
Description: Write the first two lines like a mini promise, because that’s what shows before the “read more” cut. Include the plant’s common and scientific name, a safety note (“always confirm with multiple identification features before eating”), and any relevant links.
Then hit publish and move on. Your first video won’t be your best. The foragers with thriving channels are not the ones with the best cameras — they’re the ones who shipped fifty videos and got a little sharper each time.
Pro Tips From Someone Who Has Botched All of These
These are the mistakes I’ve actually made, so you can skip straight past them.
- Film the identification before the harvest. Once you pick the plant, you can’t go back and film the “here’s how it grows” shot. Identify on camera first, harvest second.
- Carry a spare power bank. Cold weather drains phone batteries fast, and the moment you run out of juice is always the moment you find the perfect specimen.
- Clean your lens. It sounds obvious, but pocket lint and fingerprints are the most common cause of “why is my footage hazy.” Wipe it every time you set up.
- Shoot the plant at eye level. Standing over a plant and filming down at it is the classic amateur angle. Get the camera down to the plant’s height — the footage instantly looks more intentional.
- Say the plant’s name clearly, once, on camera. It helps viewers remember it and helps you find the clip later when you’re editing.
- Keep a “safety sentence” in every video. One line like “if you’re not 100% sure, don’t eat it” protects your viewers and builds trust. It’s not legal boilerplate; it’s the mark of a responsible forager.
- Batch your filming. When the light is good and you’re already out, film two or three videos’ worth of footage. You’ll thank yourself on the rainy weekend you spend editing.
Quick Answers to Common Questions
Here are the questions I get most often, with the short version of the answer.
| Question | Short Answer |
|---|---|
| Do I need a 4K camera to make professional foraging videos? | No. A recent phone shooting in good light looks better than a 4K camera in bad light. Lighting and stability matter more than resolution. |
| How long should a foraging video be? | Long enough to keep the promise, and no longer. Three to six minutes is a solid target for most single-plant guides. |
| What’s the best free editing software for beginners? | CapCut and DaVinci Resolve both have capable free tiers. CapCut is easier to learn; Resolve is more powerful for color and audio. |
| How do I film when it’s raining? | Protect the phone with a rain cover or ziplock bag, shoot under tree cover, and embrace the mood — rain is actually beautiful b-roll. Keep the mic dry. |
| Can I really do this with just my phone? | Yes. A phone on a cheap tripod, plus attention to light and pacing, produces genuinely watchable foraging videos. Upgrade later, not first. |
| What’s the #1 mistake beginners make? | Not getting close enough. The plant is the star. Get the camera close and hold it steady — detail shots are what make identification videos useful. |
| How many takes should I film? | Two or three per shot, plus the extra seconds. Don’t chase perfection; chase coverage. You can always cut the bad take. |
| Do I need to show my face? | No. Plenty of great foraging videos are hands-and-plants only. Show your face only if it helps the story — what matters is the plant, the method, and the result. |
The One-Sentence Summary
A professional foraging video is not a fancy camera — it’s a clear promise, kept with tight pacing and useful close-ups. Nail the promise, shoot more coverage than you need, and cut everything that doesn’t serve the story. Do that ten times, and your eleventh video will look professional on whatever gear you already own.
Now finish this sentence — “By the end of my video, the viewer will be able to ________” — and go film it. The woods are still there.