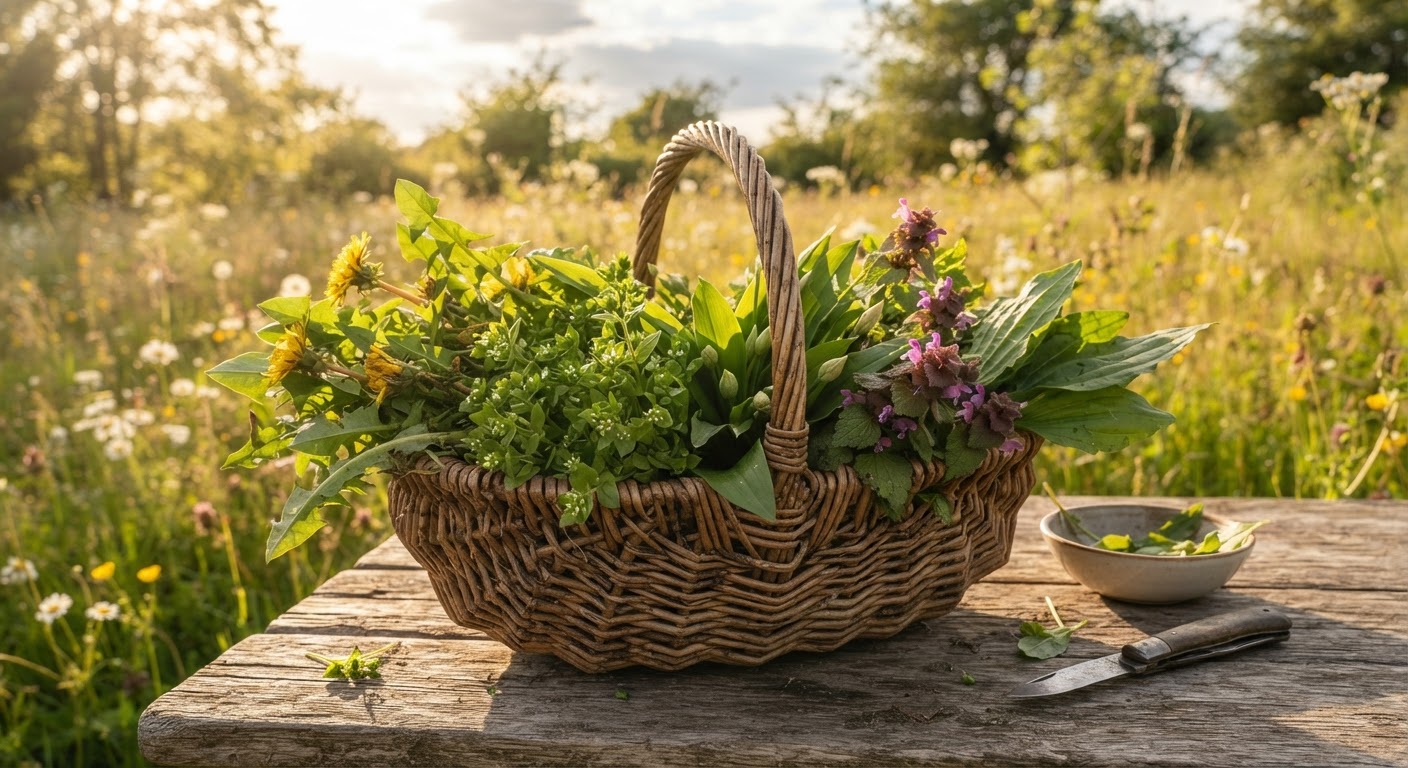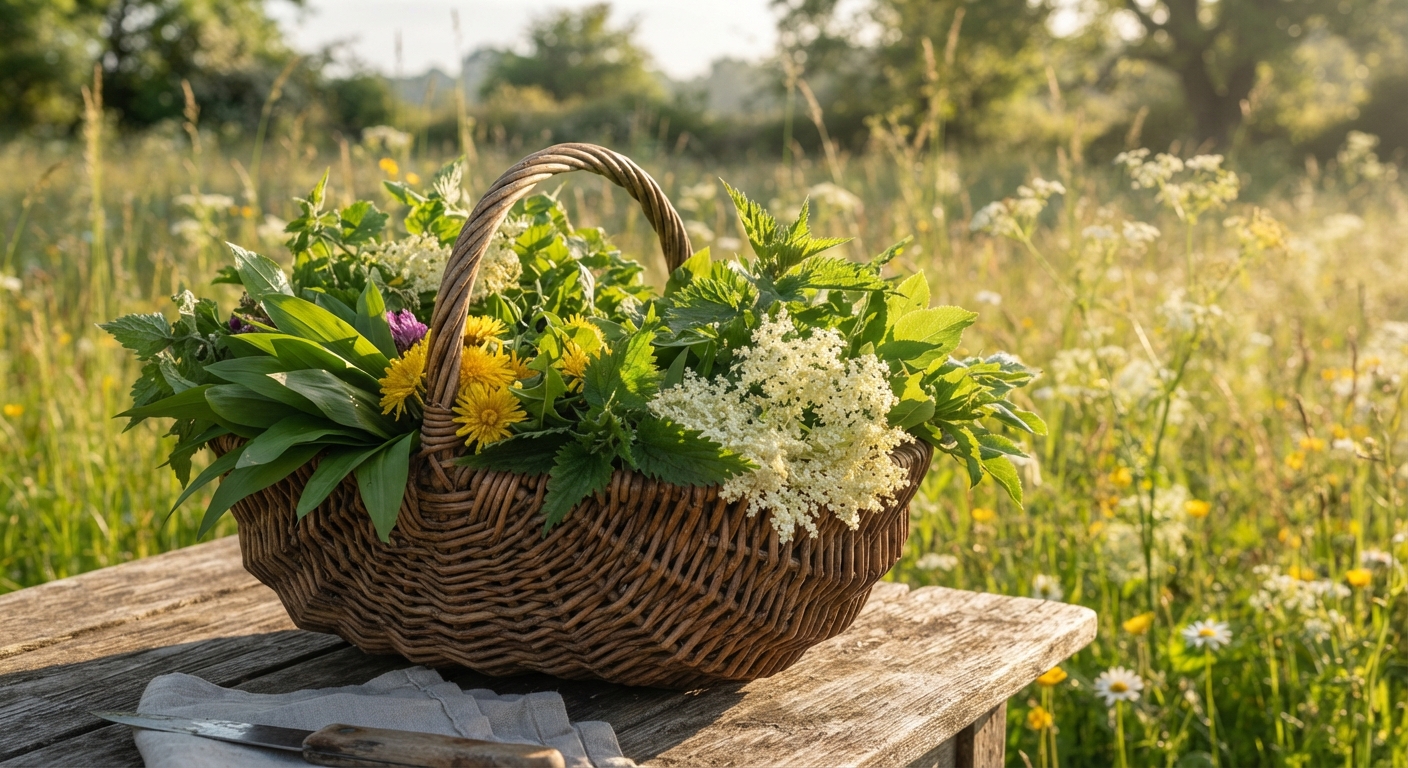
The best camera for professional foraging video is the one already in your pocket. I didn’t believe that either — right up until I bought a $1,400 mirrorless camera for my foraging channel and then watched my most-watched video that season come from my phone and roughly sixty dollars of accessories.
Nobody selling gear will say this out loud, so I will: foraging video is close-up, low-light, and audio-hostile. The problem was never your sensor. It’s that you’re filming a two-inch plant in the wind while holding the phone in one hand and a swaying dandelion in the other. Stability, sound, and getting close — that’s the whole game. This guide ranks the eight upgrades that actually move those needles, in order, with what to buy and what to leave on the shelf.
The Gear Trap: Why More Money Buys You Almost Nothing
Foraging footage has three recurring failure points, and none of them is resolution.
First, shake. Plant identification is macro work. A leaf hair or a stem spot is a few millimeters across, and at that distance every tremble in your wrist becomes an earthquake in the frame. You can’t sharpen your way out of motion blur.
Second, wind noise. Foraging happens outdoors, and the built-in phone mic treats a light breeze like a jet engine. Audio you can’t understand is audio that loses viewers — and it’s the one thing you cannot repair after the fact.
Third, distance. The single most useful shot in any foraging video is the close-up that lets a viewer actually see the identifying feature. Your phone won’t focus closer than a few inches on its own, and standing over a plant to film down at it is the classic amateur angle.
Notice what’s missing from that list: megapixels, dynamic range, sensor size. Those are real spec differences, but they matter least at the exact moment your footage is falling apart. The upgrades below are ranked by how directly they attack shake, wind, and distance.
Phone vs. Action Cam vs. Mirrorless: Pick Your Horse
Before you spend on accessories, pick the body you’ll build around. For most foragers the answer is the phone, but here’s the honest breakdown.
| Factor | Smartphone | Action Cam | Mirrorless / DSLR |
|---|---|---|---|
| Close-up ability | Weak alone, great with a clip-on macro lens | Poor — fixed wide lens | Excellent with a macro lens |
| Low-light handling | Good (modern phones) | Mediocre | Best |
| Audio | Poor, needs a lav mic | Acceptable, needs wind cover | Good with external mic |
| Setup time | Instant, always with you | Fast | Slow — lens, settings, battery |
| Weather resistance | Poor, needs a cover | Excellent, built for it | Good, weather-sealed bodies |
| Hidden cost | Accessories only | Extra batteries, mounts | Lenses cost more than the body |
| Verdict | Start here | Great for wet days and b-roll | Upgrade only when you outgrow the phone |
The short version: start on your phone, add the first five upgrades below, and only consider a dedicated camera once you’ve published enough to know exactly which shots your phone can’t get. Most foragers never reach that point — and that’s fine.
The 8 Upgrades, Ranked by What Actually Shows Up on Screen
Here’s the full ranking. Rough prices are for capable, not-precious gear.
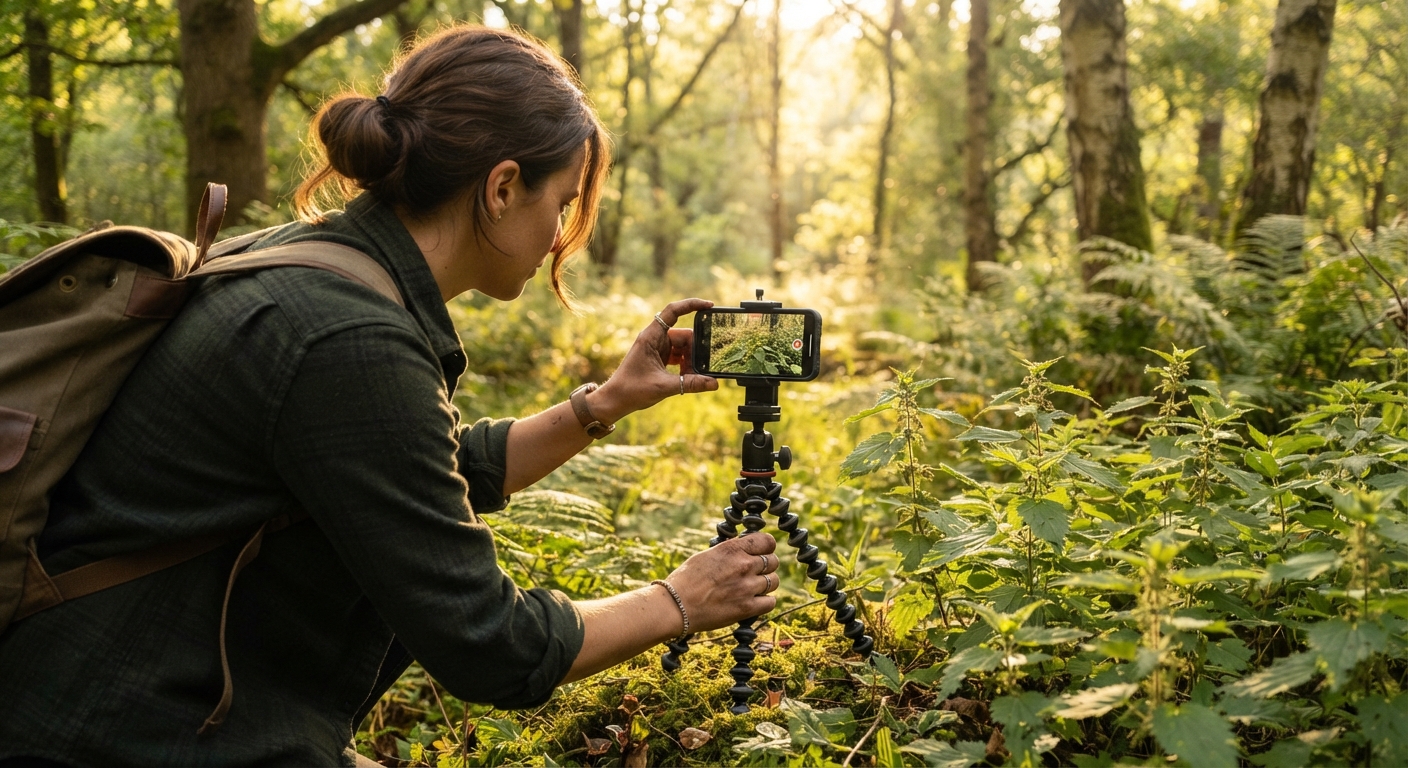
1. A tripod you’ll actually carry
Stability is the cheapest, most visible improvement you can make to foraging footage — and it costs less than a tank of gas.
A locked-off phone makes every close-up readable. It also frees both your hands, which is the real point: your hands should be in the frame doing the identifying, not holding the camera. Even a $20 tripod transforms identification shots.
- Buy: a small travel tripod with a ball head, or a flexible-leg “gorilla” tripod that wraps around branches and fence posts.
- Rough cost: $20–$40.
- Skip: the heavy full-size tripod you’ll leave at home. The best tripod is the one that’s in your pack.
2. A microphone that survives wind
If there’s one upgrade that separates “home video” from “professional video,” it’s audio. A viewer will forgive slightly soft footage. They will not forgive forty seconds of wind rumble over your explanation.
The fix is a cheap lavalier mic clipped near your collar, which puts the mic inches from your mouth and out of the worst of the breeze. Turn your body to block the wind when you speak, and record a few seconds of quiet “room tone” before you start — you’ll use it to patch over gaps later.
- Buy: a budget wireless lav (2.4 GHz), or a wired lav that plugs into your phone.
- Rough cost: $25–$80.
- Skip: the expensive shotgun mic you won’t learn to position properly. A $40 lav used correctly beats a $300 shotgun used badly.
3. A clip-on macro lens
This is the single highest-value visual upgrade for foraging specifically, because foraging is identification, and identification is detail.
A clip-on macro lens lets your phone focus on the fine features that actually distinguish one plant from another: the purple spots on a hemlock stem, the tiny hairs on a leaf underside, the shape of a flower’s bracts. It turns a vague green blur into usable ID footage.
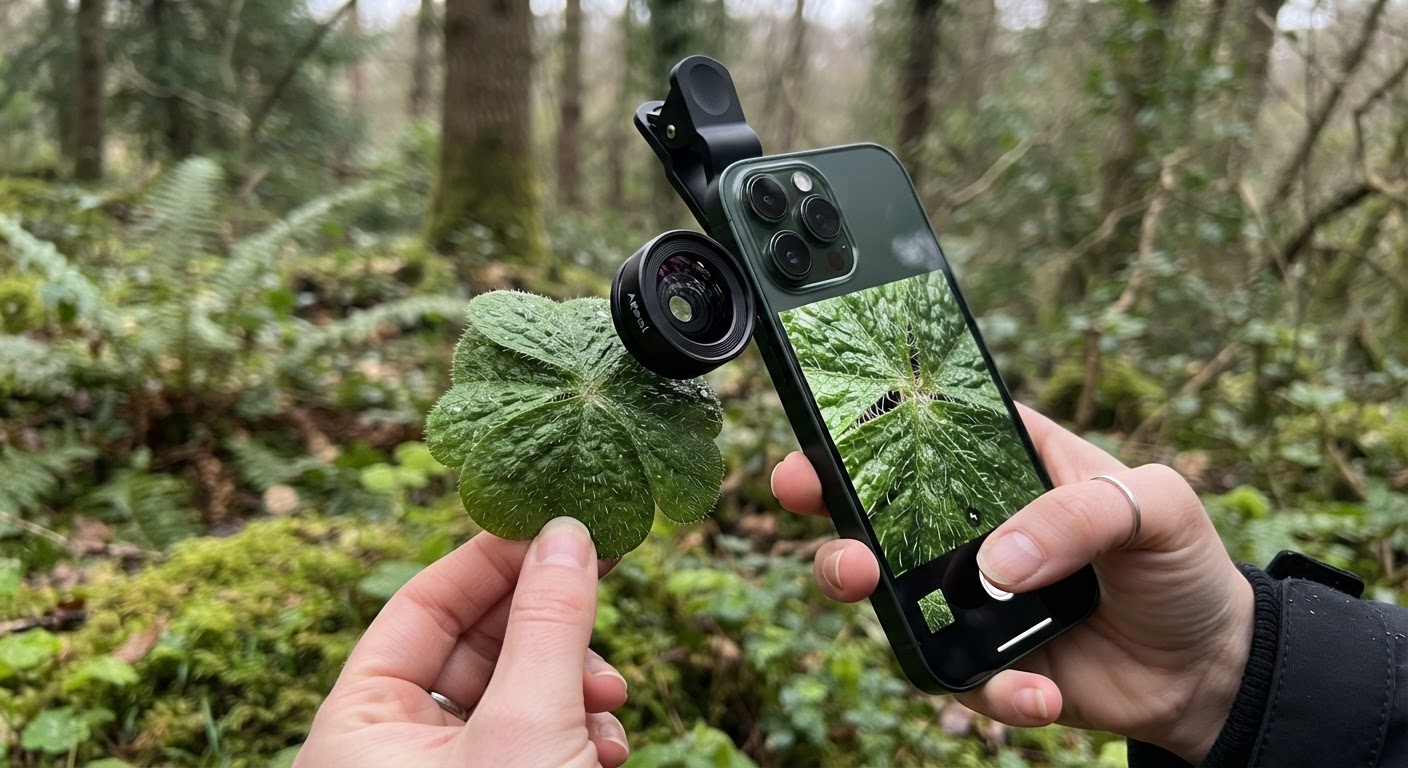
- Buy: one good clip-on macro lens — not a kit. Kits bundle a fish-eye and a “wide angle” you’ll never use.
- Rough cost: $15–$40.
- Skip: the $10 five-in-one lens kit. One decent macro lens beats five mediocre ones.
4. A diffuser (or a white t-shirt)
Harsh midday sun is the enemy of plant footage. It blows out highlights and erases exactly the leaf texture you’re trying to show. Soft, even light is what makes a leaf read clearly on screen.
You don’t need to buy anything fancy. A small collapsible diffuser held between the sun and the plant softens the light instantly. In a pinch, a white t-shirt or a translucent plastic bag stretched on a frame does the same job.
- Buy: a small collapsible 12-inch diffuser, or nothing — your own body can shade the plant.
- Rough cost: $0–$20.
- Skip: battery-powered LED panels. The sun plus a diffuser beats any panel you can afford.
5. A power bank
Cold weather drains phone batteries fast, and foraging means being far from an outlet. The moment you run out of juice is reliably the moment you find the perfect specimen.
A small power bank is boring, unglamorous gear — and it has saved more of my shoots than any camera ever did. Film in airplane mode, keep the bank in your pack, and top up while you walk between spots.
- Buy: a slim 10,000 mAh bank with a short cable.
- Rough cost: $20–$30.
- Skip: the giant multi-port brick. You need one phone’s worth of charge, not a generator.
6. A gimbal — only if you walk and talk
Gimbals smooth out handheld motion, and for a very specific style of video they’re worth it: walking through the woods while narrating. If that’s your format, a gimbal removes the jitter that makes viewers queasy.
But if you shoot tripod-first — set up, film the plant, move on — a gimbal is dead weight. Buy the tripod and mic first, and add a gimbal only when your walk-and-talk footage proves it needs one.
- Buy: a compact 3-axis phone gimbal, if you actually walk-and-talk.
- Rough cost: $80–$150.
- Skip: it entirely if your videos are static plant guides.
7. Rain and weather protection
Foraging happens in weather, and rain is actually beautiful b-roll. The problem is keeping your phone dry while you capture it.
A cheap rain cover — or a ziplock bag with a hole cut for the lens — keeps you filming through drizzle. Keep a lens cloth handy too; condensation and pocket lint are the most common cause of “why is my footage hazy.”
- Buy: a phone rain cover, or just pack ziplock bags and a microfiber cloth.
- Rough cost: $0–$20.
- Skip: dedicated waterproof housings unless you’re filming in streams.
8. A better camera body — last, if ever
The camera body is ranked last on purpose. A modern phone in good light, on a tripod, with a lav mic and a macro lens, produces footage most viewers can’t distinguish from a dedicated camera. The reverse — a $1,500 body with no tripod, no mic, and no macro lens — produces the same shaky, windy, blurry footage as before, just at higher resolution.
Upgrade the body only when you can name the exact shot your phone can’t get and you’ve hit that wall repeatedly. For most foragers, that’s never.
- Buy: nothing, until you’ve published enough to justify it.
- Rough cost: $0 today.
- Skip: the mirrorless camera you’ll use twice.
$60 Kit vs. $600 Kit: Where the Money Actually Goes
Two realistic budgets, line by line. Notice how much of the expensive kit is optional.
| Item | $60 Starter Kit | $600 Serious Kit |
|---|---|---|
| Tripod | $20 flexible-leg | $40 travel tripod with ball head |
| Microphone | $15 wired lav | $80 wireless lav |
| Macro lens | $15 clip-on macro | $40 quality macro |
| Diffuser | $0 (white t-shirt) | $20 collapsible diffuser |
| Power bank | $10 slim bank | $30 fast-charge bank |
| Gimbal | Skip | $120 compact gimbal |
| Rain cover | $0 (ziplock bag) | $20 dedicated cover |
| Camera body | Phone you own | $250 — still the phone, plus batteries and storage |
| Total | $60 | $600 |
The $60 kit gets you about 85% of the result. The extra $540 buys convenience, weatherproofing, and smoother walk-and-talk — not fundamentally better plant footage.
Gear That Won’t Save Your Video
A quick list of things people buy first and regret:
- The 4K obsession. Resolution doesn’t fix shake, wind, or distance. A sharp, stable 1080p shot beats a shaky 4K one every time.
- Drones. Gorgeous, and almost never relevant to a plant identification video. Unless your channel is about landscapes, skip it.
- LED light panels. You have a free light source that’s better than anything battery-powered: the sun, plus a diffuser.
- A bag full of lenses. One macro lens you know how to use beats five you don’t.
- “Cinematic” color presets. The telltale sign of an amateur is greens cranked until they look radioactive. A gentle exposure bump and a touch of warmth is plenty.
Every one of these is a solution to a problem you probably don’t have yet.
The 5-Minute Setup Checklist
Run this before you hit record, and most of the common amateur mistakes disappear:
- Lens wiped clean with a microfiber cloth
- Phone on the tripod, at plant height — not filming down from standing
- Lav mic clipped on, wind side of your body turned away from the mic
- Macro lens on for close-ups, off for context shots
- Harsh sun diffused, or move to open shade
- A few seconds of room tone recorded
- Power bank in your pack, phone in airplane mode
Five minutes of setup buys you footage you won’t have to apologize for in the edit.
Fast Answers: Gear Questions in One Line
Do I need a 4K camera for professional foraging video? No. Light, stability, and audio matter far more than resolution. A recent phone is plenty to start.
What’s the first piece of gear I should buy? A small tripod. It fixes shake, frees your hands, and makes every close-up readable — all for under $40.
Is a $40 lav mic really enough? For solo foraging videos, yes. Position beats price: a cheap mic close to your mouth sounds better than an expensive one placed poorly.
Do I need a gimbal? Only if you walk-and-talk while filming. Static plant guides don’t need one.
What’s the biggest gear mistake beginners make? Buying a camera body before buying a tripod and a mic. Upgrade accessories first, body last.
Can I film professional foraging video with just my phone? Yes. Phone plus tripod plus lav mic plus macro lens is a complete kit that covers roughly 85% of the result for about $60.
How do I film in bad weather? Use a rain cover or ziplock bag, keep a microfiber cloth handy for the lens, and shoot under tree cover. Rain is great b-roll if you protect the gear.
What gear do I skip entirely at the start? Drones, LED panels, and extra lenses. None of them fix shake, wind, or distance — the three things that actually ruin foraging footage.
The Short Version
Professional foraging video isn’t a camera problem; it’s a stability, sound, and close-up problem. A tripod, a cheap lav mic, and a clip-on macro lens fix all three for around $60, and they’ll lift your footage more than a $1,500 body ever will. Buy in this order — tripod, mic, macro lens, diffuser, power bank — and only reach for the expensive stuff when your footage tells you exactly which shot it’s missing. Until then, the woods are waiting, and your phone is ready.