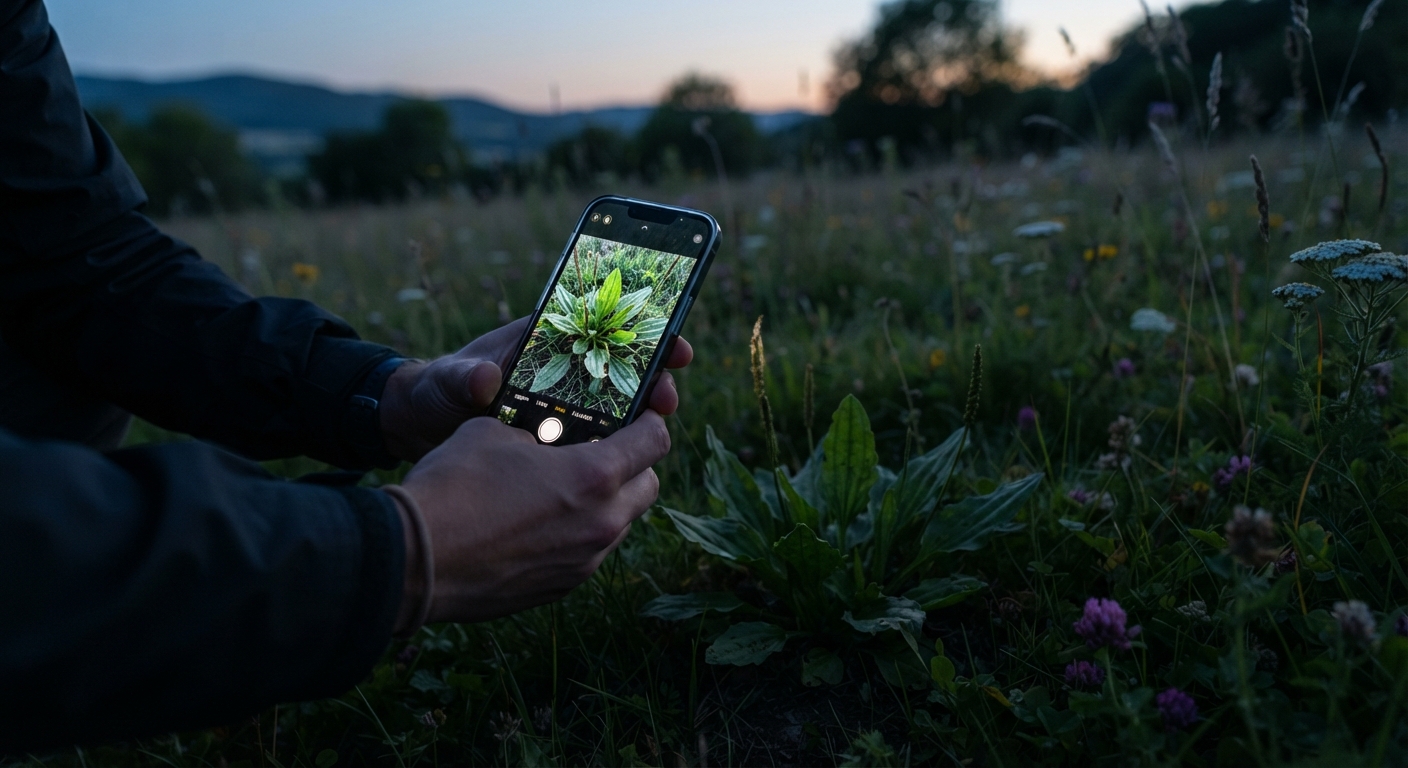
It’s 7:45 PM on a July evening. You’re walking the dog along a familiar trail when you spot it — a plant with distinctly serrated leaves, a purplish stem, and a cluster of berries you’ve never noticed before. Your field guide is at home. The light is fading fast. Your phone camera, set to auto, produces a grainy, shadow-choked mess that looks like security footage from 2006.
You know this plant might be edible. You also know it might be toxic pokeweed. And right now, you can’t tell the difference because your photo is useless for identification.
This exact scenario plays out thousands of times every growing season. Foragers encounter interesting plants in marginal light — dawn walks, evening hikes, dense forest understories, overcast days — and the photos they take are too dark, too blurry, or too noisy to identify later. The plant goes uneaten (best case) or misidentified (worst case).
Night mode photography, available on virtually every smartphone released since 2019, solves this problem in ways most foragers haven’t fully explored. When used correctly, it can turn a dim forest floor into a readable, detail-rich image sharp enough for species-level identification.
This guide covers the complete field method — not just “turn on night mode,” but the specific techniques, angles, and settings that separate a useless photo from one you can confidently ID three days later at your kitchen table.
When Light Becomes the Difference Between Dinner and Danger
Before diving into technique, let’s establish why low-light plant photography matters enough to write 3,000 words about it. This isn’t about taking pretty nature photos for Instagram. It’s about the practical reality that foraging windows and daylight hours don’t always align.
The Three Situations Where Good Light Isn’t Available
Situation 1: The Evening Discovery. You find something during golden hour or just after sunset. The plant is right there, in front of you, but every photo you take comes out as a dark silhouette with vague leaf shapes. If you wait until tomorrow to return, you might be looking at the wrong trail, the wrong patch, or a plant that’s been trampled overnight.
Situation 2: The Dense Canopy Problem. Mature hardwood forests in mid-summer block 85–95% of overhead light. Even at noon on a sunny day, the forest floor can be darker than twilight. Phone cameras compensate by cranking up ISO, which introduces the noise and grain that obscures the fine leaf hairs, stem textures, and vein patterns you need for identification.
Situation 3: The Dawn Foray. Experienced foragers know that mushrooms, spring ephemerals, and many greens are best harvested in the cool hours after sunrise. The plants are firm, hydrated, and haven’t been stressed by heat. But dawn light is directional and harsh — long shadows and high contrast create photos where half the plant is blown-out white and the other half is crushed black.
In all three situations, the identification features you actually need — leaf margin details, stem cross-section, flower structure, trichomes (plant hairs), bract shape — are exactly the fine details that low light erases first.
What Modern Night Mode Actually Does (So You Know What You’re Using)
Night mode isn’t a filter. It’s computational photography — the phone takes multiple rapid exposures (typically 5 to 15 frames over 1–8 seconds), aligns them to correct for hand shake, and merges them into one image using a stack of algorithms that reduce noise while preserving detail. The result is a photo that’s far brighter and sharper than any single exposure could achieve in the same conditions.
The trade-off: night mode needs the camera to stay relatively still during those capture seconds, and it works best on subjects that aren’t moving. A plant in still air is nearly ideal. A plant in a breeze is… trickier. We’ll address that.
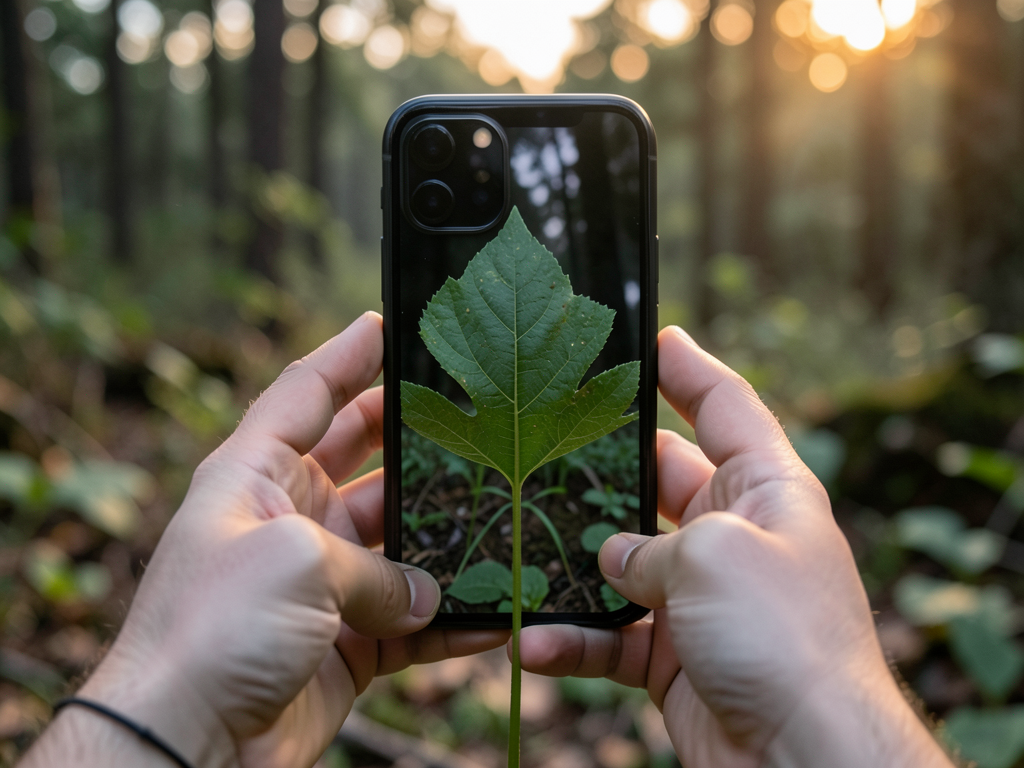
The Step-by-Step Night Mode Field Protocol
This is the core method. Practice it twice in your backyard with a plant you already know before relying on it for an unknown species. The sequence matters — each step sets up the next one.
Step 1: Stabilize the Phone Before You Open the Camera
The single biggest reason night mode photos fail isn’t the light — it’s camera shake during the capture window. Human hands, no matter how steady, introduce micro-movements that night mode’s alignment algorithms can’t fully correct.
Three field-ready stabilization options, in order of effectiveness:
- The Knee Brace (best). Sit or kneel. Plant one elbow on your knee. Hold the phone with both hands, tucking your elbows against your torso. This creates three contact points and cuts hand shake by roughly 70% compared to standing with arms extended.
- The Tree Anchor. Press one edge of the phone against a tree trunk, fence post, or large rock. Use your hand to press the phone firmly against the surface. The solid contact point eliminates rotational shake — the kind that blurs fine details like leaf serrations.
- The Ground Tripod. For plants growing close to the ground, place the phone directly on the soil, propped against a small stone or stick at the angle you need. Use the voice-command shutter or a 3-second timer to avoid touching the phone during capture.
Avoid: holding the phone with one hand at arm’s length. This is the default pose and the worst possible approach. Your arm is a pendulum, and pendulums don’t hold still.
Step 2: Set Focus on the Identification Feature, Not the Whole Plant
Auto-focus in low light loves to lock onto the background or the brightest patch in frame — neither of which is likely to be the part of the plant you need to see. Tap-to-focus is mandatory, not optional.
Ask yourself: if I could only show a botanist one square inch of this plant, which square inch would matter most? That’s your focus target. For most plants, the priority order is:
- Leaf underside (where hairs, glands, and spore cases live)
- Stem node (where leaves attach — the junction reveals petiole structure)
- Flower center (stamen count, ovary position)
- Fruit/seed head (cross-section if possible)
Lock focus by tapping and holding on your phone screen. On iPhone, this activates AE/AF Lock. On Android, it’s usually a long-press. The screen will show a “Locked” indicator. This prevents the camera from hunting for focus during the night mode capture and ruining the shot.
Step 3: Dial the Exposure Compromise
Night mode will try to make the scene as bright as possible. That’s great for a city skyline but terrible for plant identification, where blown-out highlights destroy the subtle textures you’re trying to capture.
Before you press the shutter, look at the live preview and ask yourself: can I see the leaf veins? If the preview looks unnaturally bright — if it feels like someone turned on a lamp in the forest — swipe down on the exposure slider. A slightly darker image with preserved highlight detail is always more useful for identification than a bright image where half the plant is glowing white.
As a field rule: set exposure so the brightest part of the frame (usually the sky through canopy gaps or a light-colored leaf) just barely holds its texture. If the sky is a solid white circle and the leaf surface is washed out, you’ve gone too bright.
Step 4: Shoot in Burst and Pick Later
Night mode takes time. On most phones, it’s 1–8 seconds per capture. That’s too long for a single-take strategy in the field. Wind gusts, shifting light, and your own inevitable micro-movements mean shot #1 might be blurry while shot #3 is perfect.
Take three shots minimum. Between each shot, check the result quickly — zoom in on the leaf margin or stem detail and confirm it’s sharp at the pixel level. If it isn’t, try a different brace position. If wind is the problem (leaves moving during the capture window), wait for a lull. Wind in forests comes in gusts — there’s almost always a 3–5 second still window between them.
Step 5: Don’t Forget the Flash Photo (For a Different Reason)
Wait — isn’t this whole guide about night mode? Yes, and night mode is better for true-to-life color and texture. But flash photos serve one purpose that night mode can’t: they reveal surface glossiness.
A flash photo at close range creates a hard reflection if the leaf surface is waxy or glossy. That reflection is actually useful information — many plant families (like the Lamiaceae or mint family) have characteristically glossy leaves, while others (like lamb’s quarters with its matte, dusty coating) don’t. Flash also reveals translucent venation patterns in petals and thin leaves that night mode might blend into uniform color.
Take one flash photo per plant, from about 8–12 inches away, straight-on to the leaf surface. Don’t use it as your primary ID shot — but keep it in the set as supplementary data.
Night Mode vs. Flash vs. Natural Light: What Each One Captures
Here’s a comparison of the three photo types and what identification features each one preserves in low-light conditions. A complete field photo set uses at least two of these — don’t rely on just one.
| Feature | Night Mode | Flash | Natural Light (No Assist) |
|---|---|---|---|
| Leaf vein detail | Excellent — multi-exposure stacking preserves fine linear structures | Poor — flash flattens veins into uniform green | Poor in low light — shadows hide secondary veins |
| Color accuracy | Good — computational white balance handles mixed lighting | Poor to terrible — flash creates blue/white cast that shifts greens toward gray | Variable — depends entirely on ambient light quality |
| Surface texture (hairs, bumps) | Excellent — side-lit textures are well-preserved | Fair — direct flash eliminates shadow detail that defines texture | Poor in flat light, good in raking light |
| Stem cross-section detail | Good — preserves internal structure if properly focused | Poor — flash bounces off wet stem surfaces | Poor in low light |
| Depth and 3D structure | Good — multiple exposures preserve depth information | Poor — flash makes everything look flat | Moderate |
| Edge detail (leaf margins) | Excellent — the sharpest for serration, lobing, and dentition | Good — flash creates a dark edge halo that defines the outline | Fair to poor |
| Color of sap/latex | Good if properly lit | Fair — flash can wash out subtle color differences | Poor |
| Petals and delicate structures | Excellent — preserves translucency and subtle color gradients | Poor — flash burns through thin petals | Fair |
| Speed of capture | Slow (1–8 seconds) | Instant | Instant |
| Works in wind? | Poor — subject movement ruins multi-exposure | Good — freezes motion | Good — but may need high ISO |
The key insight from this table: night mode excels at texture, detail, and color — the exact features that matter most for plant identification. Flash provides a useful supplementary shot for surface reflectance and outline definition but shouldn’t be your primary image. Natural light without any assist is rarely adequate in the low-light situations we’re discussing.
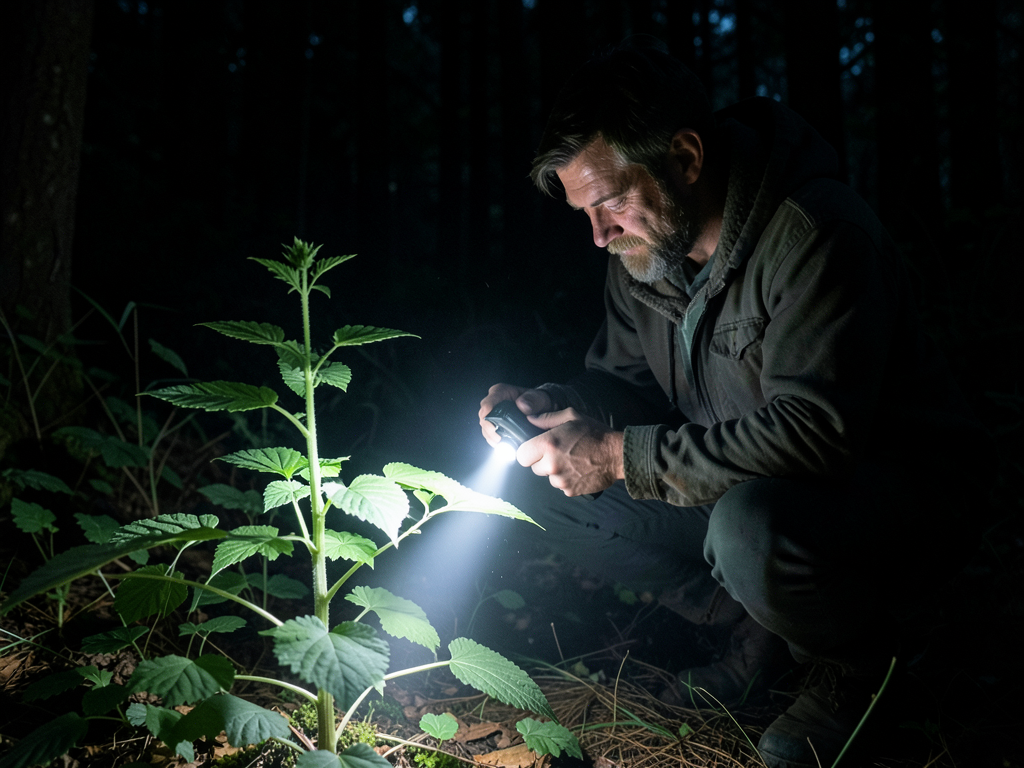
The 4-Angle System: Every Plant ID Photo Needs These Shots
A single photo of a plant, no matter how sharp, is almost never sufficient for confident identification. Professional botanists and experienced foragers photograph plants from four specific angles — and when you submit a plant for identification in a forum or app, these are the views the experts will ask for.
Here’s the checklist. If you walk away from a plant with fewer than three of these four angles, you don’t have enough data.
| Angle | What It Captures | Night Mode Considerations | When This Angle Is Critical |
|---|---|---|---|
| 1. Leaf Underside | Trichomes (hairs), spore patterns (ferns), gland placement, vein architecture | Point the phone upward from below the leaf. The sky becomes your backlight — lower exposure to preserve vein silhouettes. | Fern identification, mint family (square stems + gland placement), distinguishing Solanum species |
| 2. Stem-Node Junction | Petiole attachment style, stipule presence/absence, stem cross-section shape, sap color | Get in close. Night mode works best at 6–12 inches for phones with macro-capable lenses. | Distinguishing Apiaceae (carrot family) from toxic lookalikes, identifying hollow vs. solid stems |
| 3. Whole Plant Habit | Growth form (rosette vs. upright vs. creeping), leaf arrangement (alternate vs. opposite vs. whorled), overall scale | Step back 3–5 feet. Brace against your knee. The phone will need the full night mode duration for this distance. | Confirming plant family before drilling into species, noting habitat context, documenting patch size for sustainable harvest decisions |
| 4. Flower/Fruit Close-Up | Petal count, stamen number, ovary position, fruit type and structure | The hardest shot in low light. Flowers are small, complex, and easily blown by wind. Use the 3-second timer, brace against the ground, and wait for still air. | The definitive identifier for most flowering plants — without this angle, many species-level IDs are educated guesses |
A practical note on sequencing: Shoot the flower or fruit close-up first if there’s any wind at all. Flowers are the most wind-sensitive subject. Get that shot when the air is still, then work through the other three angles. Leaves and stems will wait. A nodding flower cluster in a breeze will not.
Phone Settings You’re Probably Ignoring
Night mode accounts for about 60% of the result. The other 40% comes from settings most people have never touched on their phone. These aren’t obscure — they’re built into every modern camera app but buried in menus that manufacturers don’t advertise.
Resolution: Don’t Use “Efficient” or “HEIF Max”
Most phones default to a compressed format — HEIF on iPhone, High Efficiency on Samsung — that saves storage space by discarding fine detail data. For plant identification, fine detail data is literally the only thing that matters.
Switch your camera to “Most Compatible” (iPhone) or “High Efficiency OFF” (Android) so your photos save as JPEG or RAW files. Even better: if your phone supports RAW capture (Apple ProRAW, Samsung Expert RAW, Google’s RAW mode), use it. RAW files preserve the unprocessed sensor data, including shadow detail that compressed formats aggressively discard.
The downside: RAW files are 5–10× larger. Delete the duds when you get home.
Grid Lines: Turn Them On for a Reason Most People Miss
The 3×3 grid overlay isn’t just for composition. For plant photography, it serves a specific technical purpose: the grid intersections show you where your phone’s lens is sharpest. Most smartphone lenses are sharpest at the center grid square and fall off noticeably at the edges.
Place your focus target — the leaf underside, the flower center, the stem node — in the center grid square. This guarantees you’re using the sharpest part of the lens for the detail that matters most.
The Timer: It’s Not Just for Selfies
We covered stabilization in Step 1, but even the best bracing introduces shake when your finger taps the shutter button. A 3-second timer eliminates this completely: set the timer, brace the phone, tap the shutter, and let go. The phone fires on its own, with zero contact-related vibration.
This one change — switching from finger-tap to 3-second timer — produces a sharper image than any stabilization trick, any lens improvement, any software algorithm. The physics is simple: the moment you touch the phone, it moves. The moment you stop touching it, it stops moving. Let it settle for three seconds and fire clean.
Manual White Balance (If Your App Supports It)
Auto white balance in low light drifts toward blue/orange extremes. Manual white balance set to “Daylight” or ~5500K produces the most color-accurate plant photos because it matches the color temperature that field guides, herbarium specimens, and reference databases use.
If your default camera app doesn’t offer manual white balance, third-party apps like Halide (iPhone), ProShot (Android), or Lightroom Mobile (both) do. For foraging photography specifically, Lightroom Mobile’s built-in camera shoots RAW with manual controls and the free version covers everything you need.
Pro Tips for Tricky Lighting Scenarios
Scenario: Dense Forest Understory, Midday
The problem: Diffuse but dim overhead light creates a uniform gray-green murk. No shadows, no highlights, no contrast — everything looks the same color.
The fix: Use your phone’s flashlight or a friend’s phone light as a side-light. Hold the light source at a 45-degree angle to the plant, about 12 inches away. This creates directional shadows that reveal leaf texture, stem ridges, and surface hairs. The camera’s night mode will balance the mixed lighting reasonably well. Take one shot with side-lighting and one without — the side-lit image will almost always show more texture detail.
Scenario: Evening Foraging During Golden Hour
The problem: Golden hour light is warm, directional, and beautiful for landscape photos. It’s also terrible for color-accurate plant photos because the yellow-orange cast shifts leaf colors toward brown. A plant with blue-green leaves and a reddish stem might photograph as all-brown.
The fix: Don’t fight the golden light — wait 15–20 minutes until the sun drops below the horizon and the light shifts to twilight blue. That’s when night mode becomes genuinely useful: the even, cool-toned ambient light produces the most color-accurate images of any outdoor condition. The phone’s white balance sensor handles twilight better than it handles golden hour.
Scenario: High Wind, No Still Windows
The problem: The plant won’t stop moving, night mode requires stability, and you can’t come back tomorrow.
The fix: Switch to flashlight-assisted natural light mode instead of night mode. Hold the phone’s flashlight steady on the target area while shooting in standard photo mode with flash disabled. The flashlight provides enough illumination for a fast shutter speed, and fast shutter speeds freeze motion. The image won’t be as clean as a proper night mode shot, but it’ll be sharp — and sharp beats pretty every time for plant identification.
Scenario: Wet Plants After Rain (Glare Problem)
The problem: Water droplets on leaves act like tiny mirrors, reflecting the sky, your phone, or the flash back into the lens. The result is a photo full of point-reflections that obscure the leaf surface.
The fix: Give the plant a gentle shake before photographing. Wait 60 seconds for the remaining micro-droplets to settle. If the plant is too delicate to shake, use your hand or a hat to shade the plant from direct skylight reflections — even in dim conditions, the sky is bright enough to cause droplet reflections that confuse autofocus and obscure surface texture.
Quick Answers: 7 Questions Every Forager Asks About Night Mode Photography
Instead of a traditional FAQ format, here’s the rapid-fire version. Each question answered in two sentences or fewer — because you’re probably reading this on your phone in the field and want the answer without scrolling through paragraphs.
1. “Does night mode work on older phones?” If your phone was released in 2019 or later and received a major OS update, it almost certainly has night mode. iPhone 11 and newer, Samsung Galaxy S10 and newer, Google Pixel 3 and newer. Older phones can still use the flashlight-as-fill-light technique from the Pro Tips section.
2. “How long should night mode exposure be for plants?” Let the phone decide automatically — it reads the scene better than a manual setting will. Typical plant photos in twilight conditions require 2–4 seconds. If the phone wants more than 8 seconds, the light is too low for reliable detail capture no matter what mode you use.
3. “Why are my night mode photos still blurry?” Almost certainly wind moving the leaves during the multi-exposure capture, not hand shake. Wait for a wind lull. If no wind and still blurry, your hands are moving more than you think — use the 3-second timer.
4. “Should I use a tripod?” A tripod is ideal for maximum sharpness but impractical for most foraging walks. The knee-brace technique produces 80% of the stability benefit at 0% of the gear weight. Get good at the knee brace before buying gear.
5. “What’s better — night mode or a dedicated macro lens clip-on?” Night mode for the whole plant, a macro lens for tiny features (flower centers, seed details, individual hairs). The two tools solve different problems. A $15 clip-on macro lens plus night mode covers more ID scenarios than either tool alone.
6. “Can I use night mode for mushroom photography on the forest floor?” Yes — mushrooms on the dark forest floor are night mode’s ideal subject. They’re still, ground-level (easy to brace against), and full of identification-critical surface details (gill attachment, stem texture, cap margin) that night mode captures beautifully.
7. “Does night mode work through a phone case?” Yes, unless the case covers or smudges a lens. Clean the lens area of your case before every foraging trip. Fingerprint smudges on the lens are the #1 cause of “why do my photos look hazy?” complaints across all photography conditions, not just low light.
Putting It All Together: A 60-Second Field Routine
When you find an interesting plant in low light, here’s the compressed version of everything above:
- Brace (knee, tree, or ground — 5 seconds)
- Tap-to-focus on the most important identification feature (2 seconds)
- Lock exposure (long-press, swipe down slightly if too bright — 3 seconds)
- Shoot the 4 angles — flower first if windy, then underside, node, habit (40 seconds)
- Take one flash photo for surface reflectance data (5 seconds)
- Add a voice memo or text note with location and date (5 seconds)
Sixty seconds total, repeatable every time, and you walk away with everything a botanist or plant ID app needs to give you a confident answer.
The Bottom Line
Your phone’s night mode feature was designed for city skylines and dimly-lit dinners. Accidentally, it’s also one of the most useful foraging tools you already own. The computational photography that makes a skyline glow at midnight is the same technology that reveals the vein pattern on a wild grape leaf at dusk, the subtle stem ridges on a mint family plant in forest shade, and the spore pattern on a fern frond at dawn.
The gap between “I saw an interesting plant but couldn’t get a good photo” and “here’s a confirmed edible species I identified from my own field images” is roughly six inches — the distance from the default one-handed hold to the two-handed knee brace. Master the stabilization, learn the four angles, and stop losing plants to bad light.
The plants aren’t disappearing. Your ability to capture them just got a lot better.