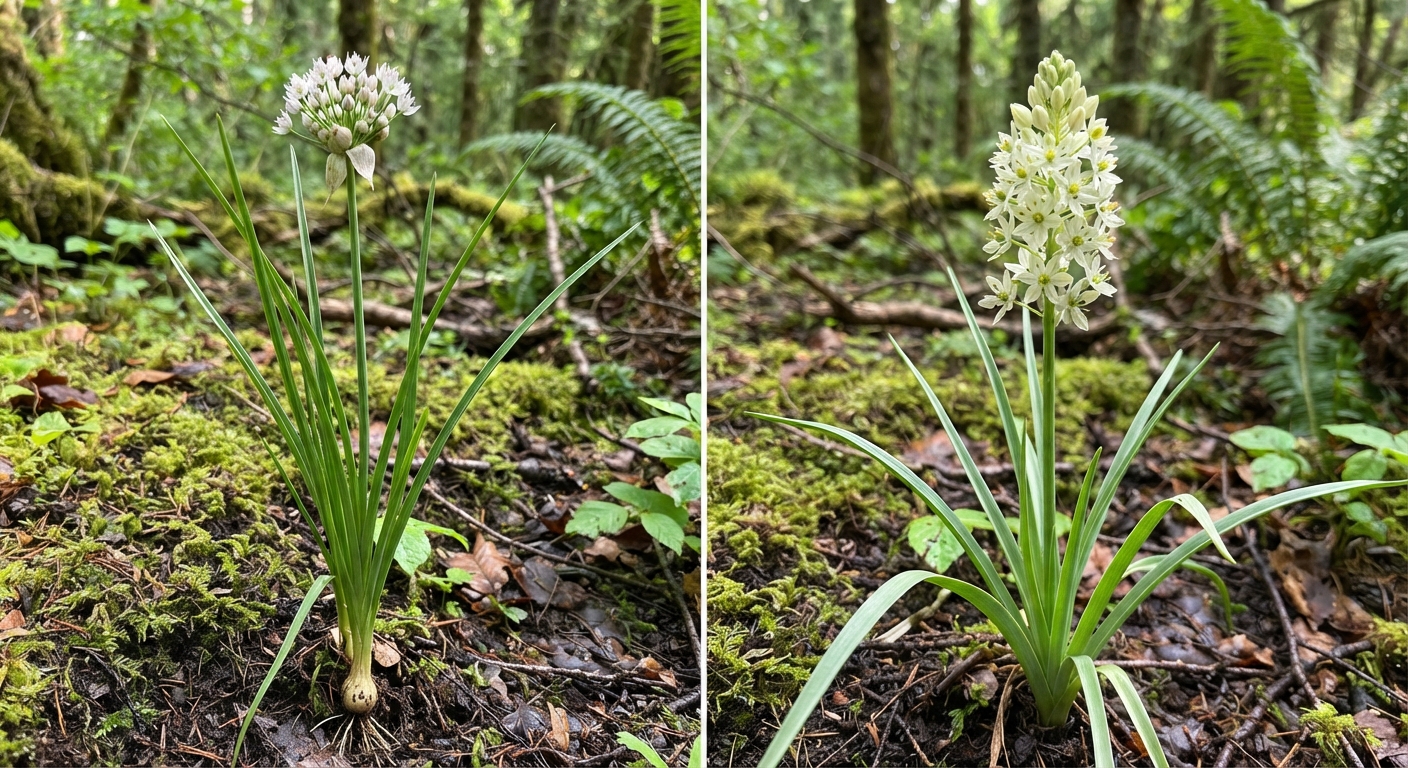
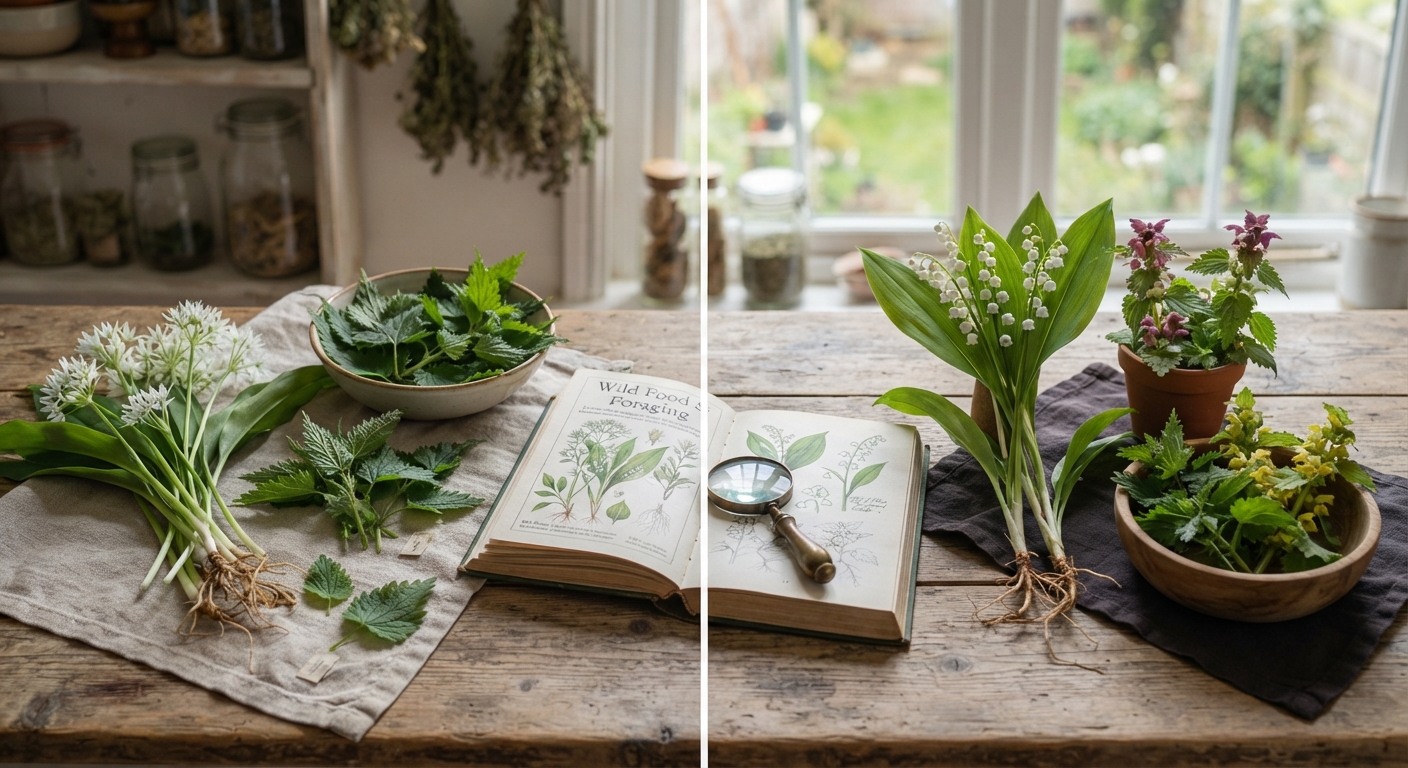
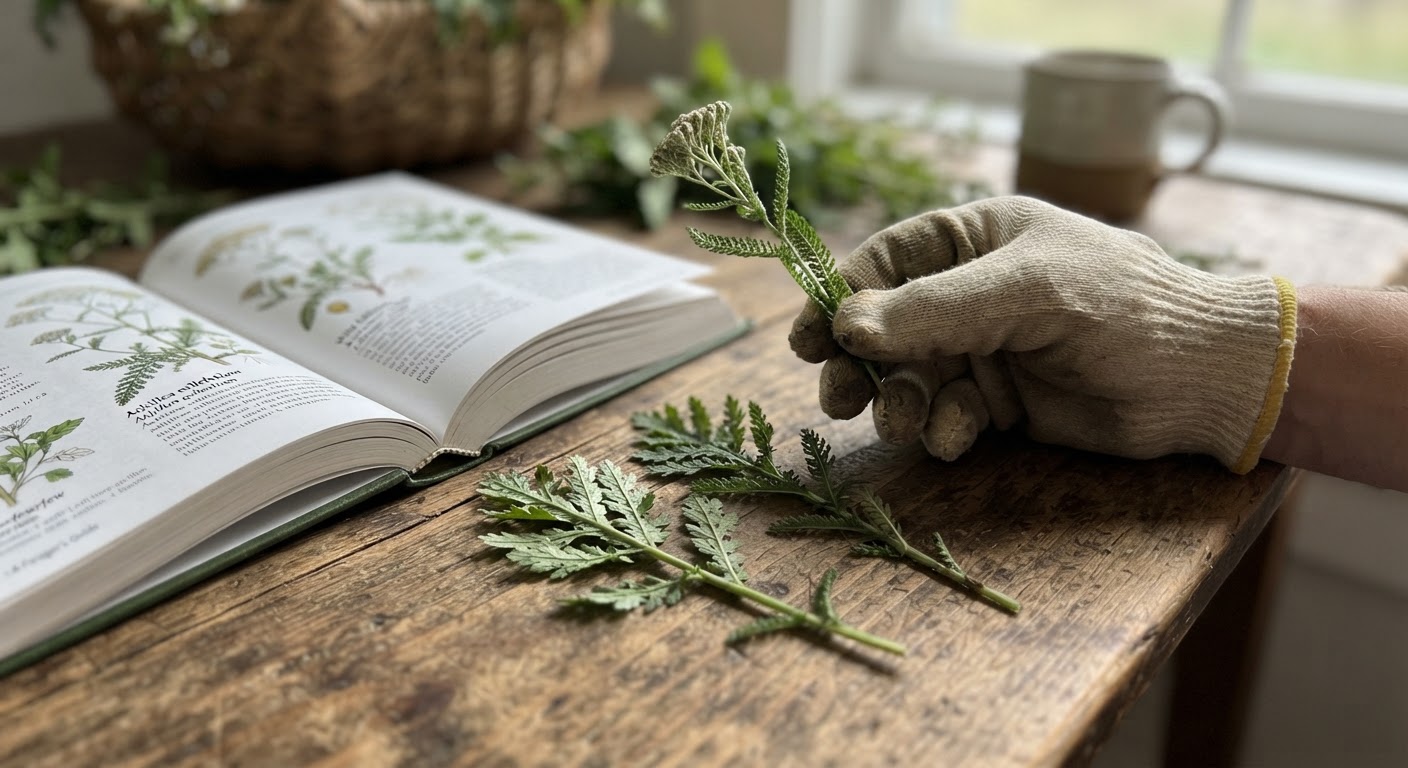
How to Test If a Plant Is Edible in the Wild (The Universal Edibility Test, Done Right)
Search “how to test if a plant is edible in the wild” and you’ll get the same seven steps on a hundred survival sites, copy-pasted since the 1970s. What almost none of them tell you is what those steps are actually for, when they’ll fail you, and why the people who teach the test for a living mostly hope you’ll never have to use it.
So before I walk you through the method step by step — and I will — I want to reframe the whole thing, because the way this test is usually presented is genuinely dangerous. It’s not a foraging tool you use to expand your menu on a weekend hike. It’s an emergency procedure with a real failure rate, a 16-hour minimum time cost, and a list of situations where running it at all is a mistake. Get those warnings first, and the steps that follow will make a lot more sense.
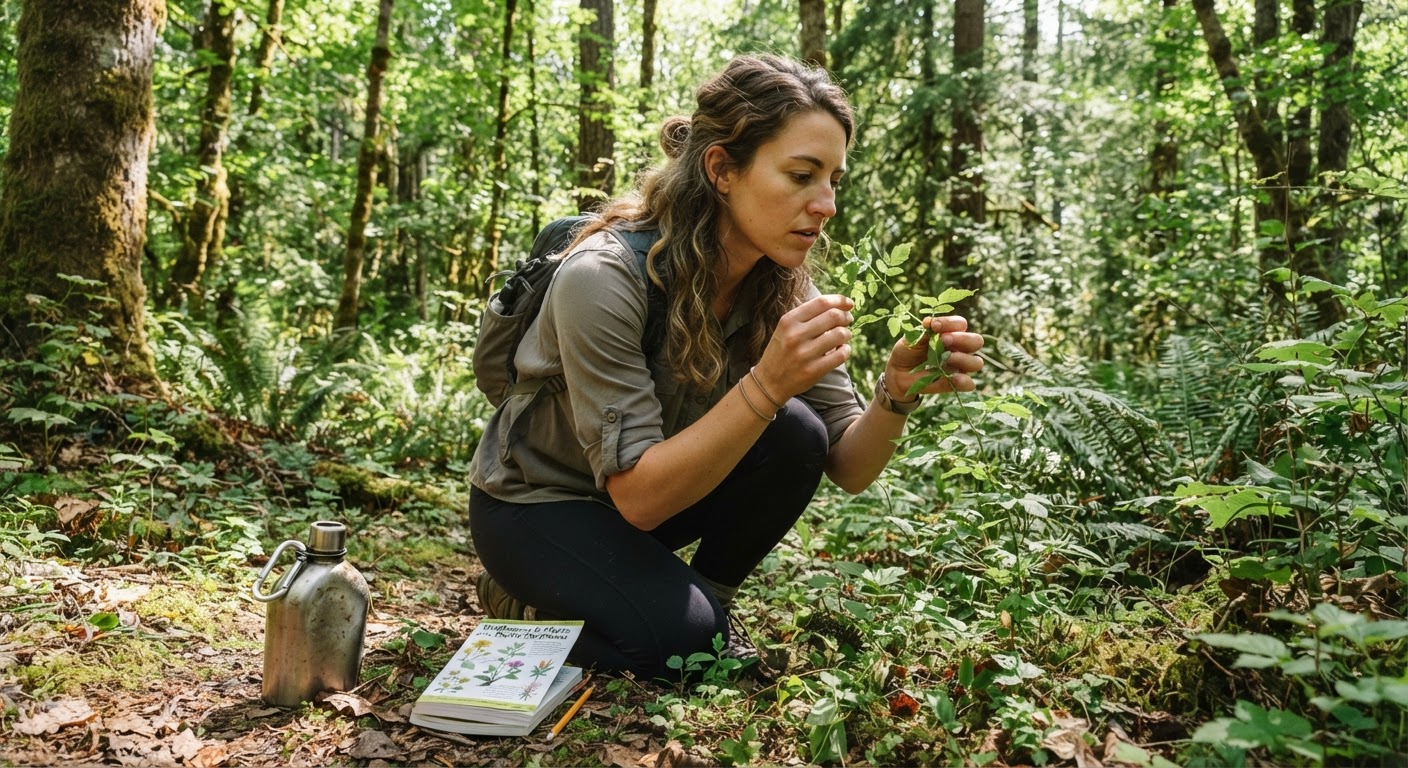
The Test You’ve Been Reading About Is a Last Resort
Here’s the honest version, and it’s the thing most articles leave out. The universal edibility test was formalized for military and wilderness survival training, for a specific person in a specific bind: someone stranded, genuinely out of food, with no way to positively identify the plants around them, who has to decide whether an unknown plant will keep them alive or put them in the ground.
Notice what that scenario isn’t. It isn’t you on a Saturday hike, curious about the pretty green thing by the creek. It isn’t a way to “discover” new wild foods. And it isn’t a shortcut around learning plant identification. If you can name a plant — really name it, with confidence — you don’t need this test at all. A positive identification beats a toxicity screen every single time.
The test only answers one question: “Will a small amount of this plant make me acutely sick right now?” That’s it. It does not tell you if a plant is nutritious. It does not tell you if it’s safe to eat in large quantities over weeks. It does not catch toxins that build up in your body slowly, or cause organ damage years later, or only harm you in combination with something else. It’s a crude screen for immediate, acute poisoning — and nothing more.
That single clarification should change how you read everything that follows. Most people who “know” the universal edibility test actually know a party trick. The real method is slower, stricter, and easier to get wrong than the internet version suggests.
Before You Test Anything: The 6-Question Gate
The biggest mistake people make with this test is running it on the wrong plant at the wrong time. Here’s the gate I’d make you pass before you so much as touch a leaf. If you fail any one of these, you don’t proceed — you find another plant, or you find another way.
| Gate question | Why it matters | What to do if you fail it |
|---|---|---|
| Is this a plant — not a mushroom or fungus? | The test was never designed for fungi. Amatoxin mushrooms can kill you days later with no early warning signs the test would catch. | Never test a mushroom. If you can’t ID it, it stays on the ground. |
| Is there enough of it to justify the risk? | A lone specimen isn’t worth 16-plus hours of fasting and risk for a handful of calories. | Move on. Look for something abundant, or a known edible. |
| Is the plant fresh and healthy? | Mold, mildew, and decay add secondary risks the test isn’t screening for. | Skip damaged, insect-riddled, or decaying specimens. |
| Are you already fed and hydrated? | The test begins with an 8-hour fast. Starting it already starving or dehydrated clouds your judgment and doubles your risk. | Eat and drink first if you can, then plan the test. |
| Is it outside a known-toxic family? | The carrot family (parsley/hemlock) and nightshade family contain species where a tiny error is fatal. Testing them is Russian roulette. | Don’t test anything in the carrot/parsley or nightshade families, period. |
| Do you have any real alternative? | The test exists for when there’s nothing else. If you know a safe plant nearby, the smart move is to eat that. | If you know one safe plant, choose it over any test. |
Read that table once and the theme is consistent: the test earns its keep only when you’ve run out of better options. Most of the time, there is a better option — a plant you already know, or the discipline to walk away hungry rather than gamble.
The Universal Edibility Test, Step by Step
If you’ve passed the gate and genuinely have no other choice, here’s the full method, in the exact order it should run. I’ve added the reasoning behind each step, because blindly following a list is how people cut corners.
Step 1: Fast for 8 hours (nothing but water)
Before the test, go eight hours without eating anything and drinking only clean water. You’re building a clean baseline. If a reaction happens, you need to know it came from the plant — not from the granola bar you had an hour ago or some lingering lunch.
This is also the step everyone ignores. If you’re already hungry, eight hours of fasting feels like cruelty, and the temptation to shorten it is enormous. Don’t. A muddied baseline makes the whole test worthless, and you’ll have wasted the time and the risk for no information.
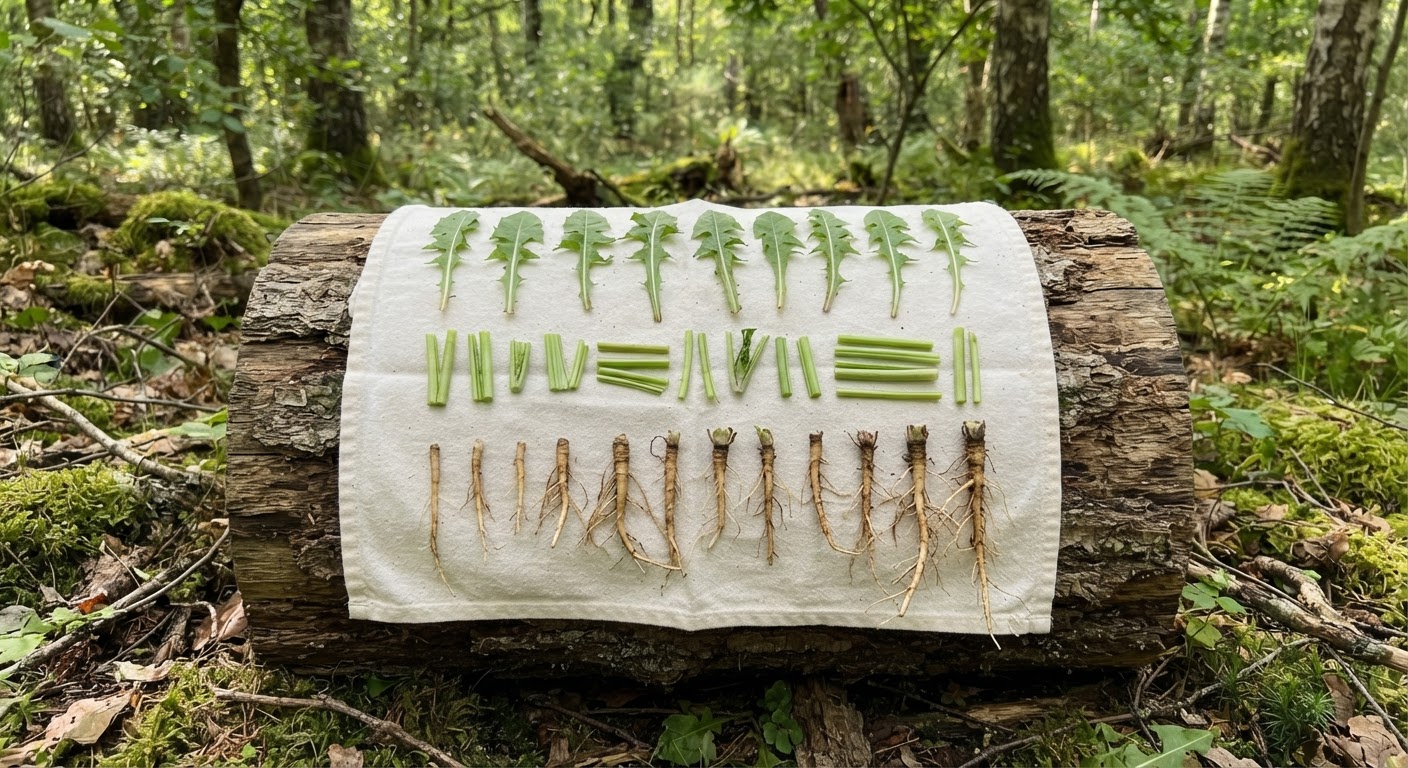
Step 2: Separate the plant into its parts
Different parts of the same plant can be wildly different in toxicity. Potato tubers are food; potato leaves and green sprouts will make you sick. Elderberry fruit, once cooked, is fine; the raw berries, leaves, and stems are not. So you test one part at a time, and you never mix them.
Pull the plant apart into root, stem, leaf, bud, and flower. Pick the single part you’re most likely to eat — usually the most abundant or most tender — and set the rest aside. Label or mentally track which part you’re testing. Do not test multiple parts on the same day; if a reaction happens, you need to know which part caused it.
Step 3: The skin contact test
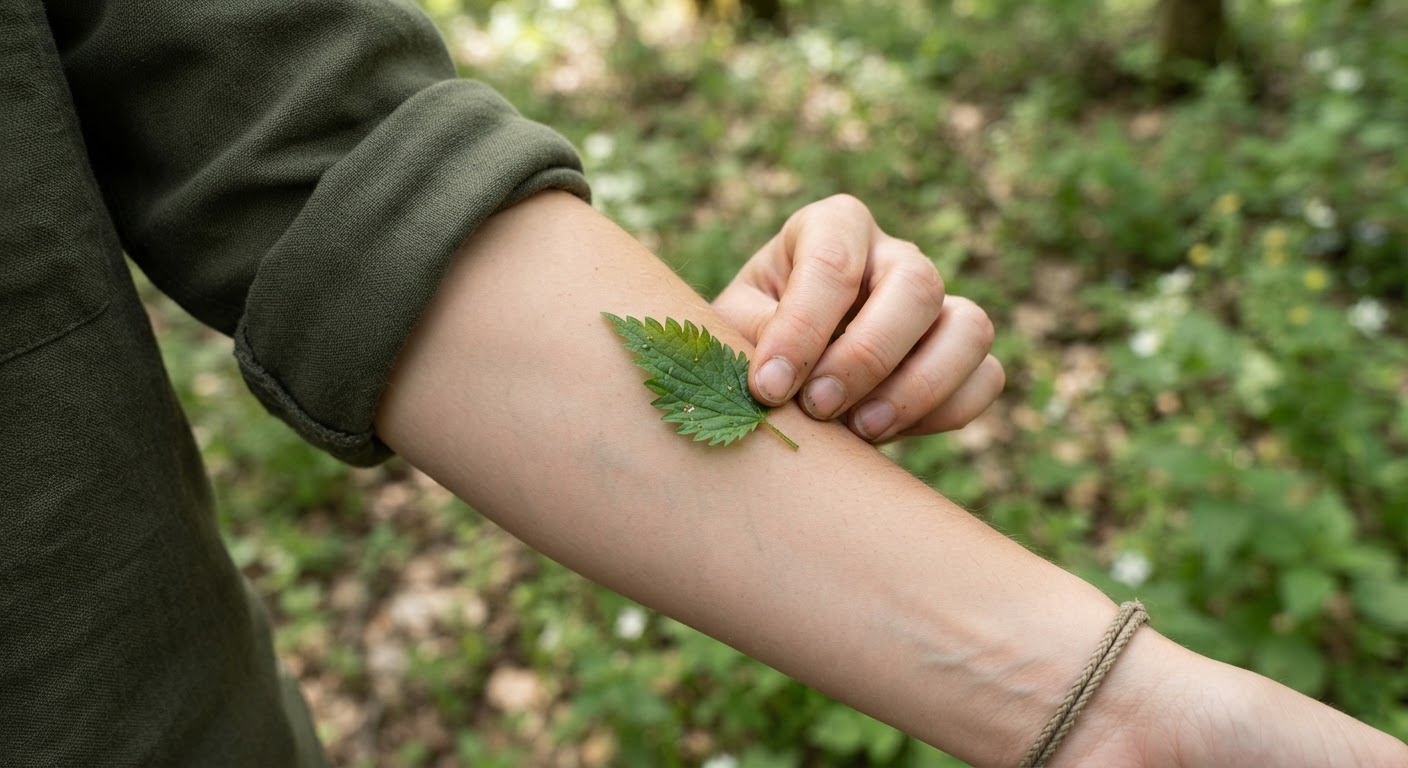
Take a small piece of the chosen part and rub it firmly against the soft skin of your inner wrist or inner elbow. Hold it there — don’t just tap it — and leave it in place or keep it pressed for about 15 minutes.
What you’re screening for here is contact dermatitis: plants that cause rash, itching, burning, or blistering on skin contact. Poison ivy, poison oak, and stinging nettle are the famous ones, but plenty of other plants irritate skin. If your skin turns red, swells, itches, or develops a rash, the plant fails — do not proceed to your mouth.
Wait out the full 15 minutes. Skin reactions are often delayed, and a five-minute check is a five-minute hole in your screening.
Step 4: The lip test
If your skin stayed calm, move to a new, small piece of the same part and touch it briefly to the outside of your lip. Hold it there for about three minutes, paying attention to any tingling, burning, numbness, or itch.
This step screens for immediate oral irritants — compounds that react with the thin, sensitive skin of your lips before you commit to putting the plant in your mouth. Any sensation that isn’t “nothing” is a fail. Numbness is especially important: many toxic plants contain alkaloids that deaden sensation, and numbness is a warning, not a feature.
Step 5: The mouth test
If your lip is fine, place a small piece on your tongue and hold it there — no chewing, no swallowing — for about 15 minutes. Then chew it lightly and hold the pulp in your mouth for another 15 minutes, again without swallowing.
You’re now screening for bitter, soapy, or burning tastes and for any oral or throat irritation. Most genuinely toxic plants taste aggressively unpleasant at this stage — that bitter, astringent “spit this out right now” flavor is your body’s built-in alarm. Trust it. If anything tastes wrong, burns, or numbs, spit everything out and rinse your mouth thoroughly with clean water.
Step 6: Swallow a small amount, then wait 8 hours
If the plant has passed every stage so far, swallow a small amount — think a single small leaf or a pea-sized bite, not a mouthful — and then do nothing else. No other food, no other plants, nothing but water, for eight full hours.
This is the first real internal test, and it’s the long one. Your body needs time to react, and GI symptoms — nausea, cramping, vomiting, diarrhea — can take hours to appear. If any of those show up, the plant fails, and you should drink clean water, rest, and, if symptoms are severe, get to help.
Step 7: Eat a slightly larger amount, then wait 8 more hours
If the first swallow produced no reaction, eat a larger amount — still modest, maybe a small handful of leaves or a few bites — and wait another eight hours. Still no other food, still just water.
This confirms the result at a more realistic serving size. A plant that’s fine in a pea-sized dose can still cause trouble at the amount you’d actually need to eat to feel fed. If the second, larger dose passes cleanly, you can treat that single part of that single plant species as likely safe to eat in moderation.
That’s the full test: a minimum of roughly 16 hours from start to finish, testing one part of one plant at a time. If you want to test another part, you start the whole process over.
What Each Step Is Actually Screening For (and What It Misses)
Here’s the table I wish every survival site included, because it’s where the test’s real limits live. Read the last column carefully — it’s the reason this method should humble you.
| Phase | What it’s screening for | Time cost | What it cannot catch |
|---|---|---|---|
| Fasting (8 hr) | A clean baseline so reactions can be traced | 8 hours | — |
| Separation | Isolating which part is the problem | ~15 min | Cross-contamination between parts |
| Skin contact | Contact dermatitis, surface irritants | 15 min | Anything absorbed only through the gut |
| Lip touch | Immediate oral irritants | 3 min | Delayed or internal toxicity |
| Tongue & mouth | Bitter/soapy/burning taste, oral irritation | 30 min | Toxins with no taste or mouth effect |
| Small swallow | Acute GI reaction, immediate poisoning | 8 hours | Slow-acting, cumulative, or organ-damaging toxins |
| Larger swallow | Reaction at a realistic serving size | 8 hours | Long-term harm from repeated or heavy use |
The pattern is unavoidable: every step screens for acute problems, and none of them screen for chronic ones. A plant can sail through all seven steps and still be harmful in ways the test can’t detect — cumulative liver damage, kidney strain over weeks, or a toxin that only matters when you eat a lot of it over a long time. The test is a filter, not a guarantee, and treating it as a guarantee is how the method gets people hurt.
Pro Tips From People Who’ve Actually Had to Use It
Theory is cheap; here are the field notes that change how you’d actually run this.
Test during daylight, with your judgment sharp. The test demands patience and attention to subtle signals — a faint tingle, a slight itch. Running it exhausted, in the dark, or while dehydrated is asking for a missed warning. If you can, rest, rehydrate, and start in the morning.
Keep a “fail log” in your head. If a plant fails at the skin stage, note why and what it looked like. In a survival situation you may circle back through the same patch of plants repeatedly, and re-testing the same dud costs you eight-hour fasts you don’t have.
The bitter taste is your best single signal. Most toxic plants announce themselves with an unmistakably bitter, burning, or soapy taste at the mouth stage. It’s not foolproof — some deadly compounds are tasteless — but when your tongue says “spit this out,” listen the first time.
Never shortcut the timing. The eight-hour waits feel endless when you’re hungry, and that’s exactly when people talk themselves into shortening them. A four-hour wait is not a faster test; it’s a worthless one. The toxins you’re waiting for often take six-plus hours to show.
One plant, one part, one day. Never test two plants or two parts in the same window. If a reaction happens, you need to know exactly what caused it. Overlap the tests and you’ll be guessing about the one thing you can’t afford to guess about.
Prefer known plants, always. This is the tip that matters most, and it’s more of a philosophy than a technique. Your time in the woods is better spent learning five plants you can identify cold than memorizing a 16-hour test for unknowns. The test is a safety net; plant knowledge is the floor you actually walk on.
Your Questions, Answered in a Table
People ask me the same handful of questions about this test, so here they are in a skimmable form.
| Question | The short answer |
|---|---|
| Is the universal edibility test actually safe? | Safer than eating an unknown plant blindly, but not “safe.” It’s a survival last resort with real limits, not a routine foraging method. |
| How long does the full test take? | A minimum of about 16 hours per plant part — two 8-hour waiting windows plus the smaller steps. Testing multiple parts multiplies that. |
| Can I use it on mushrooms or berries? | No on mushrooms, ever. Berries are technically plants, but the test is still risky; a confirmed ID is always better. |
| What if I have allergies? | Don’t run this test if you have known food or plant allergies, anaphylaxis risk, or a compromised immune system. The risk isn’t worth it. |
| Can I shorten the test if I’m starving? | No. The waiting windows are the whole point. Shortening them produces a false “pass” that can be fatal. |
| Does the test catch every poison? | No. It catches acute, immediate reactions. It misses slow-acting, cumulative, and organ-damaging toxins entirely. |
| What’s better than this test? | Positive identification. Learning to confidently name a plant — across several features — beats any toxicity screen. |
The Bottom Line
The universal edibility test is a genuinely useful emergency tool, and it’s also one of the most misunderstood pieces of survival knowledge on the internet. Used correctly — as a last resort, on the right plant, with the full timing respected — it can keep an uninformed bite from turning into a medical emergency. Used casually, or rushed, it’s a false sense of security with a body count.
If you take one thing from this, take the reframe: the goal in the wild is never to test a plant, it’s to know the plant. Every hour you’d spend running a 16-hour edibility test on an unknown is better spent learning to positively identify the safe, abundant plants around you. Identification first, testing as a distant fallback, certainty before curiosity.
When you’re out there with no signal and a rumbling stomach, the difference between “I’m fairly sure this is safe” and “I know this plant” is the difference between a meal and a mistake. That’s exactly why I built Edible Plant Identifier — point your camera at any leaf and it helps you identify what you’re looking at, with clear notes and lookalike warnings, and it works fully offline so it’s there when the trail isn’t. It’s not a replacement for real field knowledge or expert advice, but it’s a fast, honest second opinion when you need one.