Most people think foraging starts with a plant. It doesn’t.
It starts with a shift in how you see the world around you. The dandelions in the sidewalk crack, the purple berries on that bush you’ve walked past a hundred times, the “weed” your neighbor pulls from their garden every spring — suddenly they’re not background noise anymore. They’re food. Free, nutritious, and hiding in plain sight.
That mental shift is the real starting line. Everything else — the field guides, the identification skills, the seasonal timing — builds on top of it. And that’s exactly how this guide is structured: from the moment you decide to start, through your first positive plant identification, all the way to your first wild-foraged meal.
No prior knowledge assumed. No assumptions about where you live. Just a clear, chronological path from “I’m interested” to “I just harvested something wild and ate it.”
What Foraging Actually Is (and What It Isn’t)
Before you pick up a field guide, let’s get one thing straight: foraging is not a survival skill. Not primarily, anyway.
The survival-foraging narrative — popularized by YouTube and reality TV — paints wild food as a last-resort option for when the grid goes down. That framing creates two problems. First, it makes foraging feel extreme and intimidating, something you only attempt with a machete and a worried expression. Second, it misses the point entirely.
Foraging is a form of ecological literacy. It’s learning to read a landscape the way you’d read a book — understanding what grows where, why it grows there, what season it belongs to, and how everything connects. The food is a byproduct of that knowledge. A delicious byproduct, but a byproduct nonetheless.
In practical terms, here’s what foraging looks like for most people: 20 minutes in a local park or green space, a small bag of greens you identified with 100% certainty, a rinse in the kitchen sink, and a handful of wild ingredients tossed into a salad or omelette. Not dramatic. Not dangerous. Just… useful.
What foraging is:
- A slowly-built relationship with your local ecosystem
- A skill you develop plant by plant, season by season
- Something you can do in city parks, backyards, and suburban edges — not just deep wilderness
- Free, nutritious food that you’re literally tripping over
What foraging isn’t:
- Something you learn in a weekend
- An excuse to wander onto private property without permission
- A replacement for grocery shopping (at least not immediately)
- A competition to harvest the most exotic thing possible
The Forager’s Toolkit: What You Actually Need (and What’s Optional)
One of the biggest barriers for beginners is the feeling that you need to buy a bunch of specialized gear before you can start. You don’t. Your first foraging outing can happen with stuff you already own.
That said, a few inexpensive items dramatically improve the experience. Here’s the breakdown — essentials versus nice-to-haves:
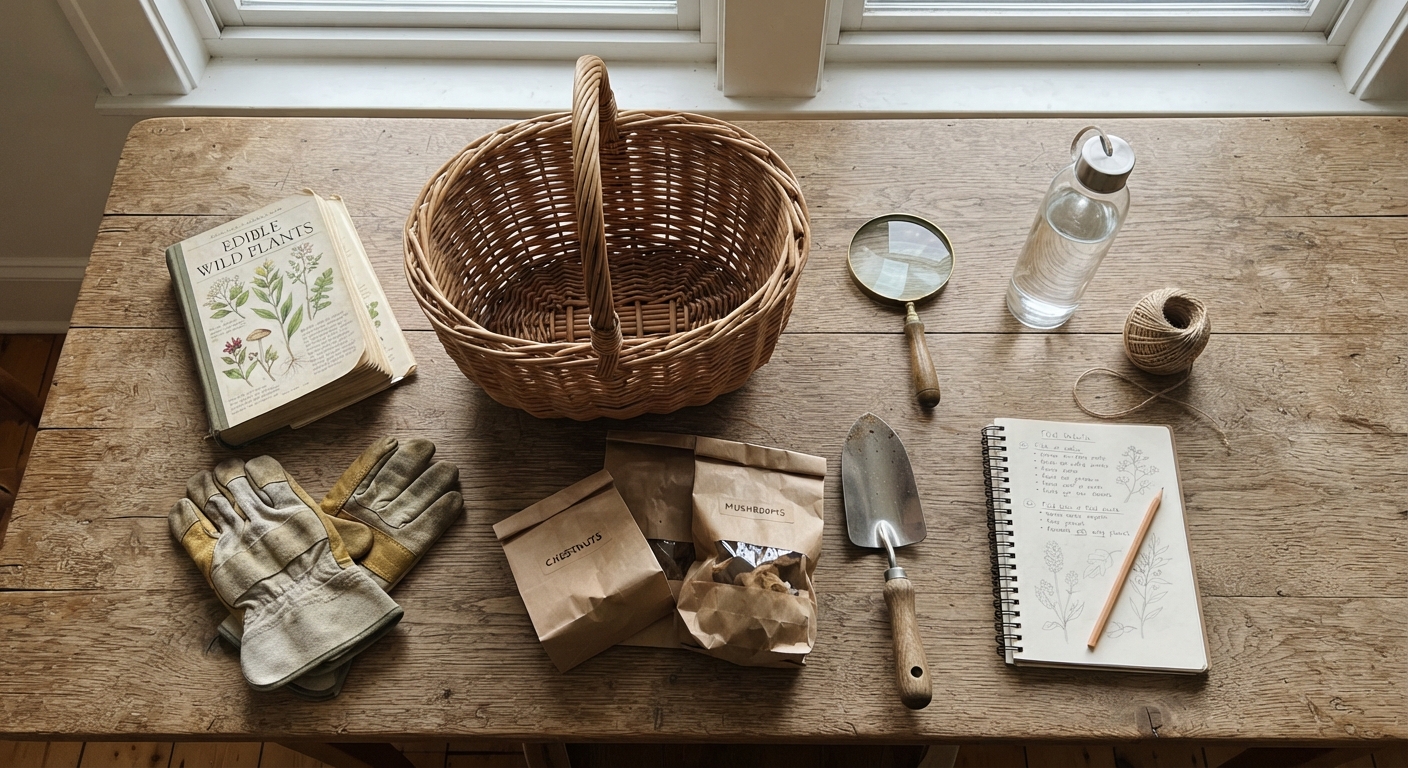
| Item | Priority | Why You Need It | Approx. Cost |
|---|---|---|---|
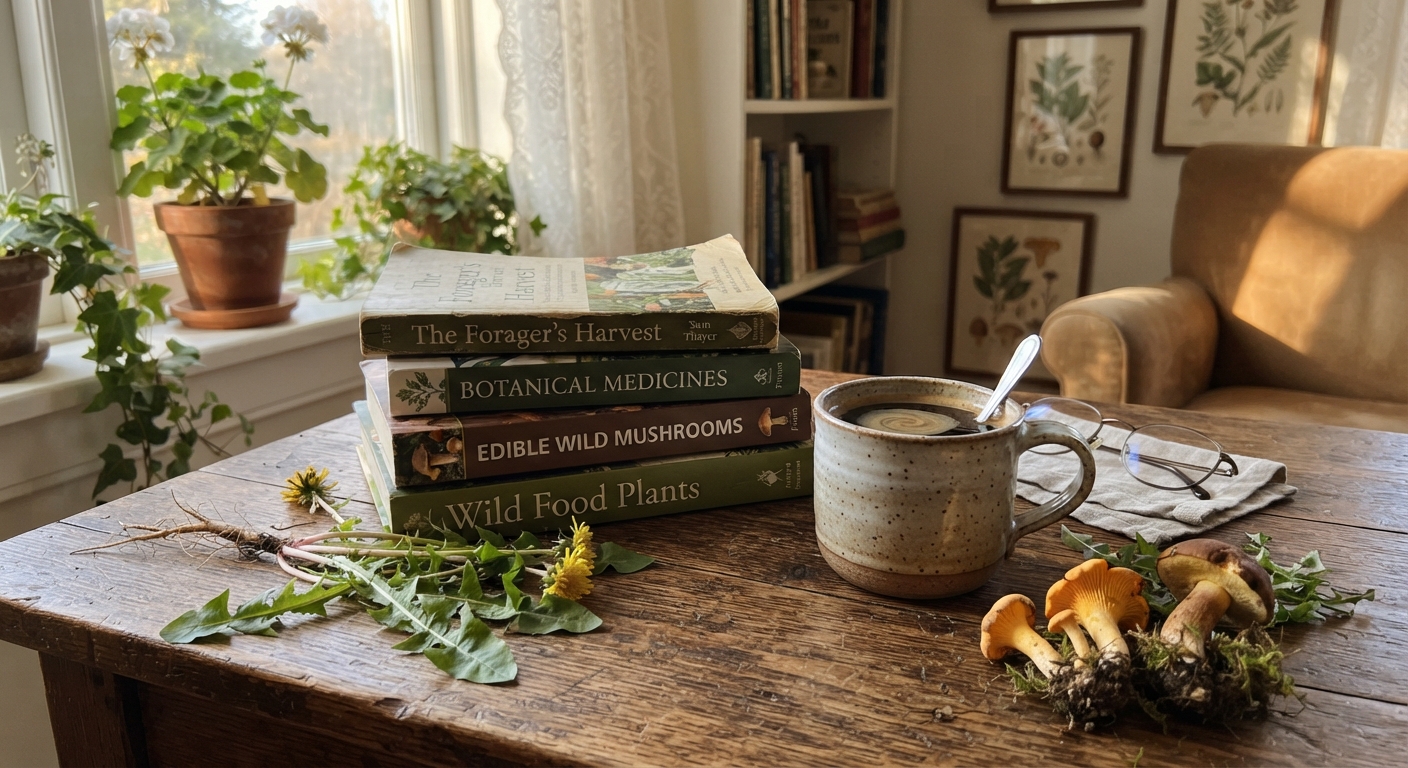
| Field guide for your region | Essential | Phone apps misidentify plants regularly. A region-specific guide with clear photos is your safety net. | $15–25 |
| Paper bags or cloth sacks | Essential | Plastic bags trap moisture and wilt your harvest within hours. Paper or cloth breathes. | $0–5 |
| Gardening gloves | Essential | Stinging nettles, thistles, and brambles don’t care that you’re a beginner. | $5–10 |
| Water bottle | Essential | Dehydration sneaks up on you outdoors. Also useful for rinsing muddy roots on the spot. | Already own |
| Notebook + pencil | Highly recommended | Sketch the plants you find, note locations and dates. You’ll build a personal harvest calendar. | $3–5 |
| Magnifying glass or loupe | Highly recommended | Some plant features — tiny hairs on stems, vein patterns on leaves — are impossible to see with the naked eye. | $5–15 |
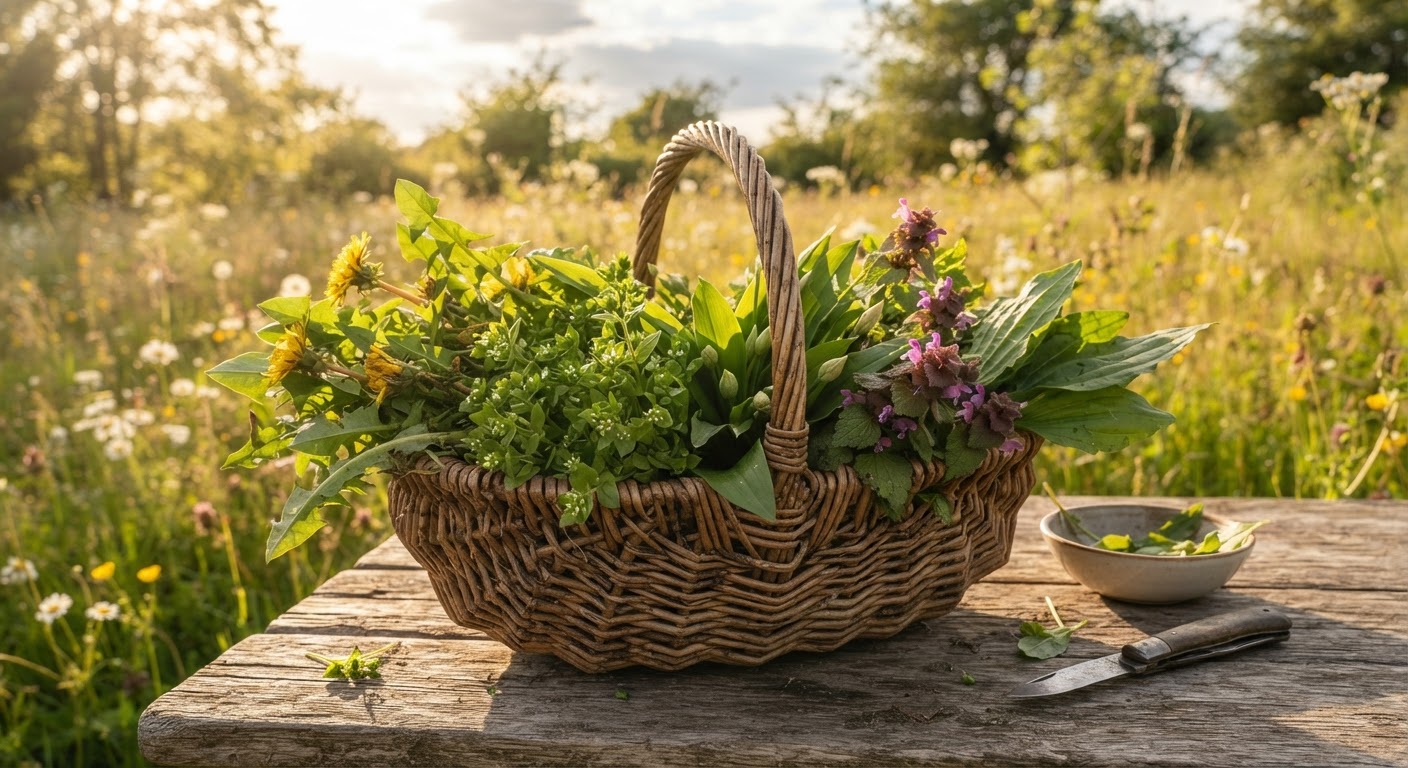
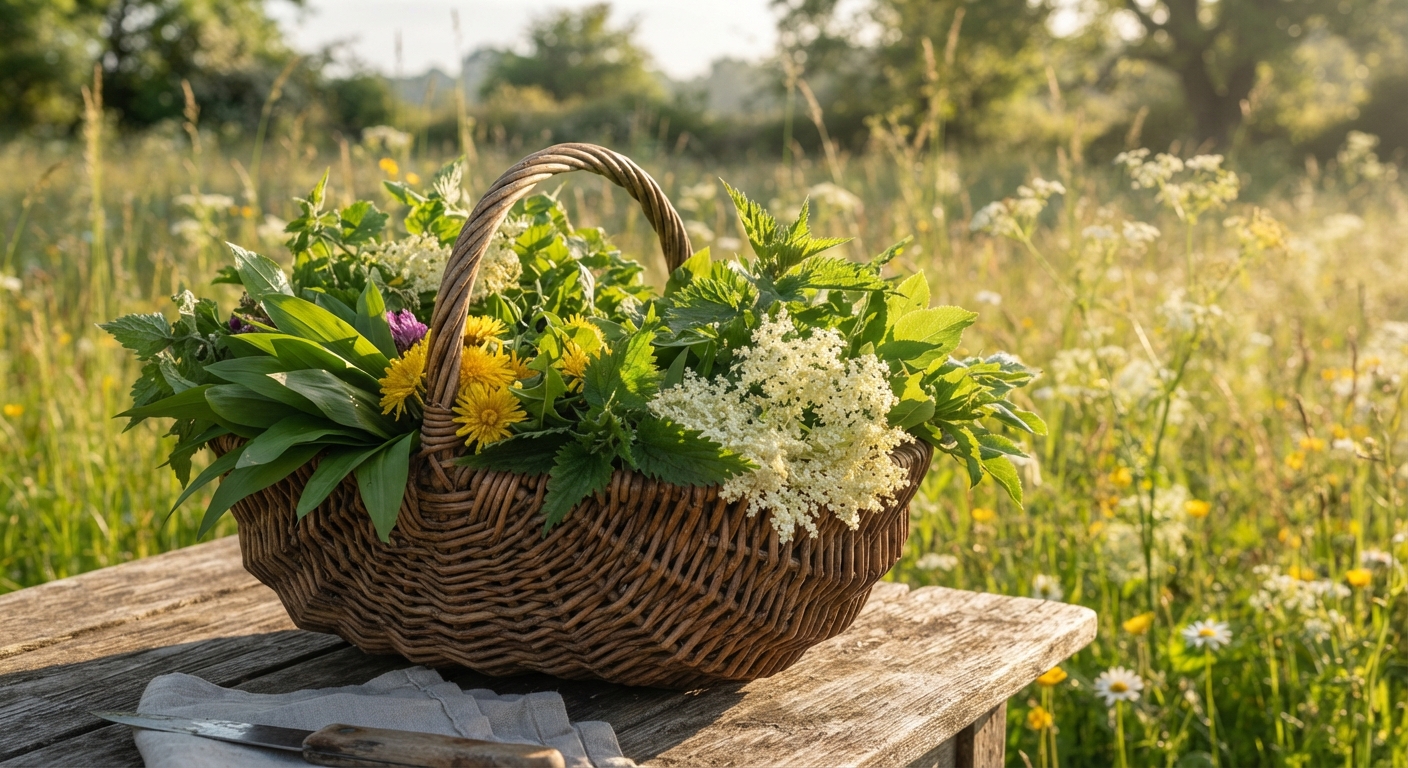
| Basket | Nice to have | Looks the part, keeps things ventilated, and prevents squishing. But any breathable bag works fine. | $10–20 |
| Hori-hori knife or trowel | Nice to have | Makes digging roots significantly easier. A kitchen knife wrapped in a cloth works in a pinch. | $15–25 |
| GPS/smartphone with offline map | Nice to have | Mark productive spots. Most phone map apps let you drop pins — use them. | Already own |
| Plant identification app | Supplementary only | Use as a starting point for research, never as your sole ID method. PictureThis and iNaturalist are decent. | Free–$30/yr |
A quick reality check on apps: plant identification apps have gotten remarkably good. They’re also wrong often enough that trusting one exclusively is like crossing a street while only looking left. Use them as a clue, not a verdict. A physical field guide — one specific to your region — should always have the final say.
Your First Week: The 5 Plants Every Beginner Should Learn Before Anything Else
Here’s a truth that saves beginners months of frustration: not all edible wild plants are beginner-appropriate. Some are tricky to identify. Some have dangerous lookalikes. Some only appear for two weeks in spring and then vanish. For your first week of learning, you want plants that are:
- Unmistakable — they don’t have toxic lookalikes that could fool a beginner
- Abundant — you can actually find them, not hunt for hours
- Widespread — they grow across most of North America (and often globally)
- Useful in the kitchen — you’ll actually want to cook with them
These five plants tick all four boxes. Spend your first week studying photos, watching identification videos, and — most importantly — finding them in person. Don’t harvest anything yet. Just find them, confirm the ID against your field guide, and take notes.
Dandelion (Taraxacum officinale)
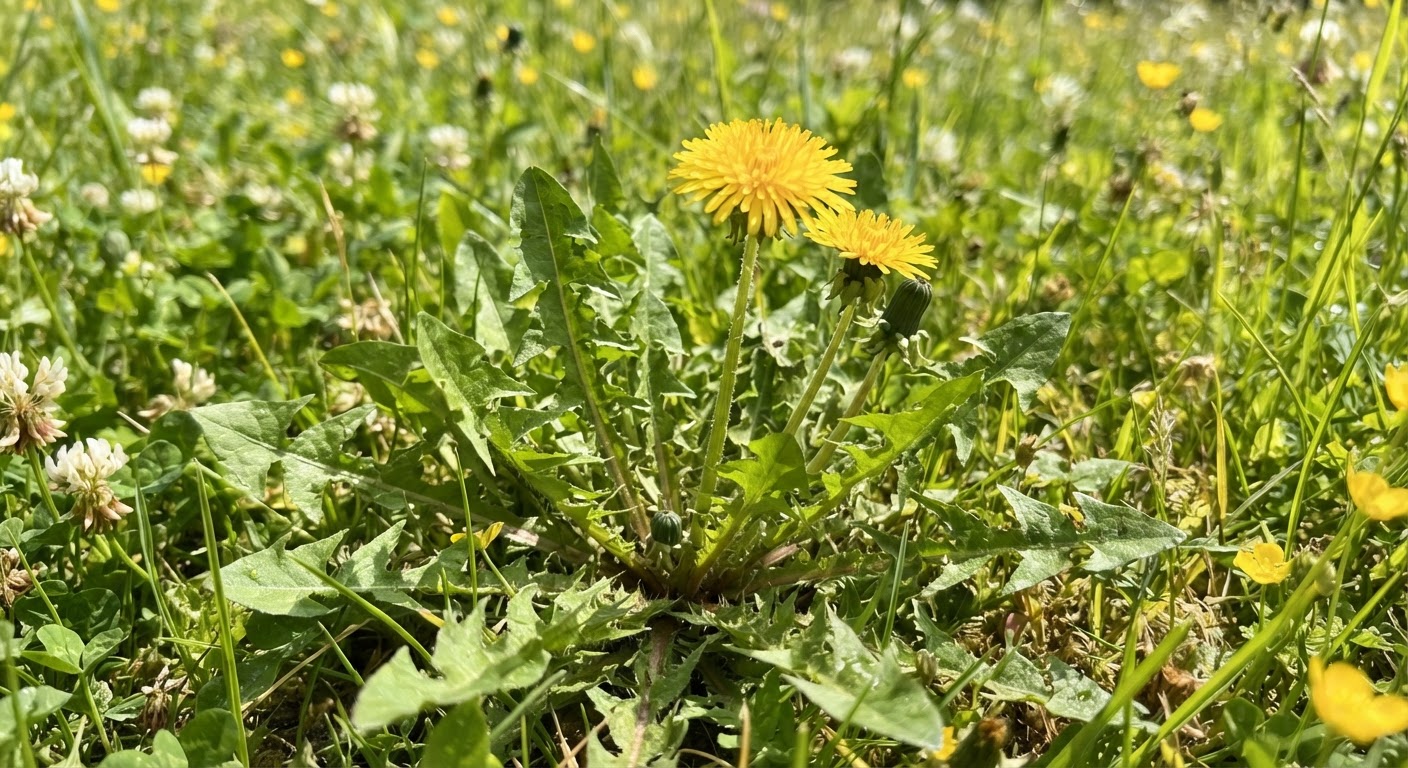
The gateway plant. Everyone knows what a dandelion looks like, which makes it the single safest entry point into foraging. Every part is edible: young leaves in salads (harvest before flowers appear for less bitterness), flowers for wine or fritters, roots roasted for a coffee substitute. The jagged leaves grow in a basal rosette — no central stem, all leaves emerging from the crown at ground level.
Look for: the deep-toothed leaves (hence “dent-de-lion,” lion’s tooth), hollow flower stalks that ooze white latex when broken, and the single yellow flower head per stalk. No other plant has all three features.
Chickweed (Stellaria media)
If dandelion is the gateway, chickweed is the gateway green you’ll actually cook with regularly. It tastes mild and slightly sweet — closer to spinach than to “wild.” Chickweed forms low, sprawling mats in gardens, lawns, and disturbed soil. It thrives in cool weather and often disappears once summer heat arrives.
The identification key: chickweed has a single line of tiny hairs running along one side of the stem — and only one side. Rotate the stem between your fingers and you’ll see the hairs switch sides at each leaf node. No other plant does this. It’s such a reliable field mark that veteran foragers call it the “chickweed mohawk.”
Plantain (Plantago major / P. lanceolata)
Not the banana. Broadleaf plantain is the flat, oval-leaved weed growing in sidewalk cracks and compacted soil absolutely everywhere. Narrow-leaf plantain has long, ribbed leaves and is equally edible. Both are leafy greens best harvested young — older leaves get fibrous and need longer cooking. The vertical seed stalks of narrow-leaf plantain are edible too and taste faintly mushroomy.
Look for: parallel veins running the length of the leaf (unlike the branching veins of most plants), and the distinctive flower/seed spikes that rise on tall, leafless stalks. If you can find a lawn, you can find plantain.
Wild Garlic / Field Garlic (Allium vineale)
If it smells like garlic or onion, it’s safe. That’s the golden rule of the Allium family, and it makes wild garlic virtually foolproof. The leaves are hollow, round, and grass-like — but crush one between your fingers and the smell is unmistakable. Use the leaves like chives; dig up the bulbs (which are small but potent) for a more concentrated flavor.
One critical caution: never identify an Allium by sight alone. Always crush and smell. A handful of toxic bulbs — death camas, star-of-Bethlehem — can superficially resemble wild garlic but have zero onion/garlic odor. Smell confirms safety.
Violets (Viola sororia / Viola odorata)
Common blue violets blanket lawns and woodland edges in spring. Both the leaves and flowers are edible — leaves taste like mild spinach, and flowers add a gorgeous purple splash to salads. The flowers are also high in vitamin C. The key identification feature is the distinctive five-petaled flower with a spurred lower petal, paired with heart-shaped, slightly serrated leaves.
One plant per outing. That rule from the safety guides applies here, hard. When you finally go out to harvest, pick one species at a time. Learn dandelion thoroughly before adding chickweed. Learn chickweed before adding violets. The most common foraging emergencies happen when beginners try to learn too many plants too fast and confuse two different species at the moment of harvest.
When Things Grow: A Season-by-Season Quick Reference
Foraging is seasonal by nature. Knowing what’s available when prevents the discouraging experience of wandering around in August looking for spring greens. Here’s a general overview for temperate North America — adjust based on your specific climate:
| Season | What’s Available | What You’re Doing | Key Tip |
|---|---|---|---|
| Early Spring (Mar–Apr) | Dandelion greens, chickweed, wild garlic, violet leaves, nettles, garlic mustard | Prime green-harvesting season. This is when leaves are tender, before plants flower and turn bitter. | Harvest greens before flowers open — bitterness spikes after blooming |
| Late Spring (May–Jun) | Dandelion flowers, violet flowers, elderflowers, wild rose petals, mulberries (South) | Flower harvesting and the beginning of berry season. | Flowers are delicate — harvest into rigid containers, not bags |
| Summer (Jul–Aug) | Wild blackberries, raspberries, purslane, lamb’s quarters, plantain seeds, sumac | Peak berry season plus heat-tolerant greens like purslane. Early morning harvesting avoids wilt. | Go before 9 AM for the firmest berries and crispest greens |
| Early Fall (Sep–Oct) | Black walnuts, acorns, rose hips, autumn olives, mushrooms (chanterelles, hen of the woods) | Nuts, late berries, and mushroom season. Requires the most processing (acorns need leaching). | Acorn foraging requires a cold-leaching process — don’t skip this step |
| Late Fall (Nov) | Persimmons (after frost), late mushrooms, hardy greens, pine needles (for tea) | The last fresh harvests before winter. Persimmons need a hard frost to lose their astringency. | Pine needle tea: Eastern white pine only. Avoid yew, which looks similar but is toxic |
| Winter (Dec–Feb) | Rose hips (frozen on the bush), pine needles, chickweed (mild regions), tree sap (late winter) | Mostly dormant season. Good time to study field guides, plan spring outings, identify trees by bark. | The learning season — build your plant knowledge while the world sleeps |
Adjust this chart for your latitude. In Florida, “spring greens” arrive in January. In Minnesota, they might not appear until late April. Local foraging Facebook groups and subreddits are excellent resources for real-time seasonal information specific to your region.
Your First Foraging Outing: A Walkthrough
You’ve studied your five beginner plants. You’ve assembled your basic gear. It’s time. Here’s what a first outing actually looks like, step by step, so you know exactly what to expect.
Before You Leave
- Check regulations. Public parks, national forests, state land, and city property all have different foraging rules. Some allow it, some prohibit it, some require permits. A quick Google search for “[your location] foraging regulations” takes five minutes and saves you from uncomfortable conversations with park rangers.
- Pick a familiar location. Your first outing should be somewhere you already know — a local park, a friend’s backyard, a walking trail you’ve been on before. You’re learning to identify plants, not navigate unfamiliar terrain. Stacking both challenges is unnecessary.
- Tell someone where you’re going. Basic outdoor safety that applies regardless of experience level.
- Charge your phone and download offline maps. You probably won’t need them. Do it anyway.
In the Field
Step one: Observe before you touch. Walk slowly through your chosen area and just… look. Notice what’s growing. Dandelions? Plantain? That sprawling mat of chickweed? You’re training your eyes to scan for specific shapes and growth patterns rather than generic “green stuff.” This takes about ten minutes and it’s the single most underrated foraging skill.
Step two: Find a candidate plant. Spot something that looks like one of your five beginner plants. Approach it. Don’t pick it yet.
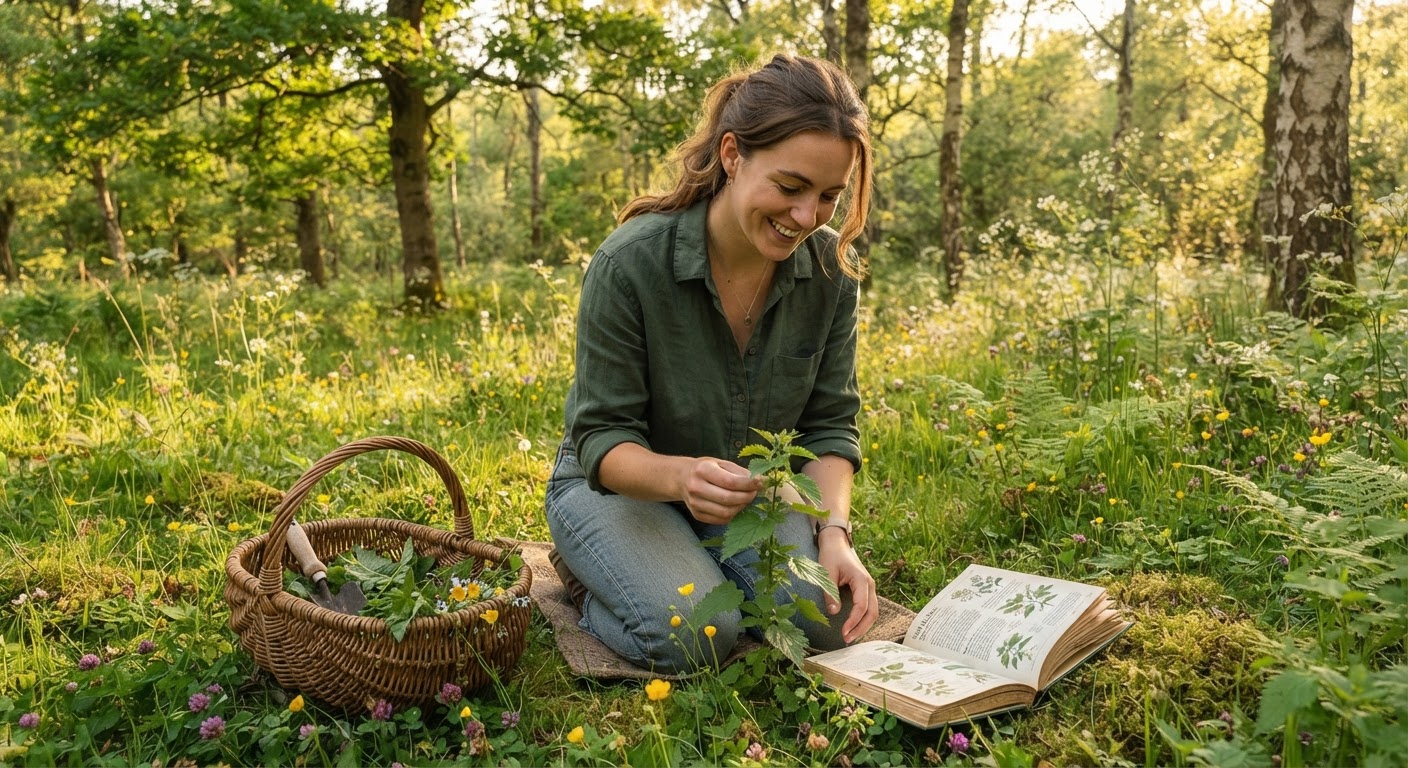
Step three: Work through your field guide. Open your guide to the relevant species page. Methodically check every identification feature listed — leaf shape, stem characteristics, flower structure, growth habit, habitat. The guide says narrow-leaf plantain has parallel veins; does yours? The guide says chickweed has a single line of hairs on one side of the stem; check by rotating the stem between your fingers. Every single feature needs to match. If one doesn’t, walk away.
Step four: The smell test (Allium only). If it might be wild garlic or wild onion, crush a leaf and smell it. No onion/garlic smell = not an Allium = do not eat.
Step five: Take a photo and a note. Even if you’re confident, document what you found. Note the date, location, and what the plant looked like. These notes become your personal harvest calendar for next year.
Step six: Harvest — minimally. Take one plant or one small handful. Not because the plant is endangered (these five are aggressively common), but because you don’t yet know how much you’ll actually use in the kitchen. Beginners routinely harvest far more than they end up eating. Start small, learn what you like, scale up later.
After You Get Home
Step seven: Re-identify on the counter. Before anything goes in your mouth, confirm the ID one more time at home. Kitchen lighting is better than forest lighting. You’ll spot details you missed outdoors.
Step eight: Wash thoroughly. Wild plants grow in wild places. Dirt, bugs, bird droppings — it all needs to come off. Soak greens in cool water for a few minutes, gently agitate, rinse, repeat until the water runs clear.
Step nine: The tiny taste test. For your first time with any new wild plant, eat a small amount — a single leaf or flower — and wait 30 minutes. Individual allergies to wild plants exist, even common ones like dandelion. It’s rare, but testing with a tiny portion first costs you nothing.
Step ten: Cook something simple. Wild greens in an omelette. Flowers in a salad. Garlic leaves chopped over pasta. Don’t plan an elaborate wild-food dinner on your first harvest. Simple dishes let the ingredient speak for itself.
From Field to Plate: Your First Wild Food Meal
Let’s make this concrete. Here’s a dead-simple first meal using your earliest spring harvests:
Wild Greens Omelette (serves 1, prep time 10 minutes)
- 2–3 eggs
- A handful of young dandelion leaves, washed and roughly chopped
- A smaller handful of chickweed, washed
- A few wild garlic leaves, finely chopped (or chives from your garden)
- Salt, pepper, butter
Melt butter in a pan over medium heat. Sauté the dandelion greens for about a minute — this takes the raw edge off. Add chickweed and cook for just 30 more seconds. Pour beaten eggs over the greens, sprinkle wild garlic on top, and cook like a regular omelette. Season with salt and pepper.
That’s it. You just ate a foraged meal. It won’t be the most exotic thing you’ve ever tasted, but I guarantee you’ll remember it longer than most restaurant dinners.
The wild garlic does most of the heavy lifting flavor-wise. Dandelion adds an earthy, slightly bitter complexity (this is a feature, not a bug — bitterness is what our modern salad greens are bred to lack). Chickweed is the mild, inoffensive base that makes the whole thing work.
The Mistakes I See Beginners Make Most Often
After talking to hundreds of new foragers over the years, certain patterns repeat. Here are the ones worth avoiding from day one:
| Mistake | Why It Happens | How to Avoid It |
|---|---|---|
| Harvesting before confirming ID | Excitement overrides caution. “It looks just like the picture!” | Harvest = confirmed ID first, picking second. Never in reverse order. |
| Trusting a single ID feature | Rushing through the identification process. “It has jagged leaves, must be dandelion.” | Check 3+ features minimum. Dandelion = jagged leaves + hollow stem + milky sap + single flower per stalk. |
| Harvesting near roads or sprayed areas | Convenience. The plant is right there, easy to reach. | Minimum 50 feet from roads. Never from manicured lawns unless you know 100% they’re unsprayed. |
| Foraging on private property without asking | Assuming “nobody will care” about a few weeds. | Ask first. Most landowners say yes. Some will even point you toward the best spots. |
| Overharvesting (even common species) | Enthusiasm plus lack of proportion sense. A full grocery bag of dandelion greens is way more than you’ll eat before it wilts. | Harvest what you’ll use in 2–3 days maximum. Wild greens wilt faster than store-bought. |
| Eating too much of a new plant at once | “It’s just a salad, how bad could it be?” | Small taste test first. Wait 30 minutes. Your digestive system needs time to adapt to new wild foods. |
| Using only an app for identification | Convenience bias. Apps are fast and feel authoritative. | App = hypothesis. Field guide = confirmation. If they disagree, trust the guide. |
| Giving up after one “failed” outing | Unrealistic expectations. “I walked around for an hour and only found dandelions.” | Dandelions are a win. One confirmed plant per outing is progress. This isn’t grocery shopping. |
“But What About…?” — Beginner Questions Answered Honestly
Do I need a permit to forage?
It depends entirely on where you are. National Forests typically allow personal-use foraging without a permit (with limits — often a gallon per person per day). National Parks generally prohibit it. State parks vary wildly. City parks often have their own rules. A five-minute search for “[your city/county] foraging regulations” gives you the real answer.
What if I’m allergic to something I forage?
Treat wild foods exactly like you’d treat any new food introduction. Tiny taste first, wait 30 minutes, proceed if nothing happens. Plant allergies are rarer than nut or shellfish allergies, but they absolutely exist. If you have severe pollen allergies (especially ragweed), approach plants in the Asteraceae family (dandelion, chicory) with extra caution — they share allergenic compounds.
What’s the one rule I absolutely cannot break?
100% positive identification before you put anything in your mouth. Not 90%. Not “pretty sure.” Not “my app says it’s fine.” There is no second place in plant identification. The only thing that counts as 100% is: you’ve checked every identification feature in your field guide, every single one matches, and you’ve confirmed against at least one other reliable source. This is non-negotiable.
Can I forage in city parks?
Often yes, but check first. City parks are surprisingly productive foraging locations — disturbed soil favors many edible “weeds.” The main concern in urban areas isn’t legality as much as contamination: avoid spots directly next to roads (exhaust residue), areas that look manicured (likely sprayed), and any location near industrial runoff.
How do I know if a plant has been sprayed with pesticides?
You often can’t tell by looking. Pesticide residue on plants is typically invisible. This is why the “ask if you’re on unfamiliar turf” rule exists. When foraging in parks or public spaces, look for telltale signs of spraying: uniformly weed-free areas, dead/dying vegetation in patches, that chemical smell after rain. When in doubt, skip it. Your health isn’t worth a handful of free greens.
Do I really need a physical field guide? Why can’t I just use my phone?
Three reasons: (1) Apps misidentify plants — often confidently and dangerously. (2) Phones die, get dropped in streams, and lose signal in wooded areas. (3) The process of flipping through a field guide, comparing multiple images, and reading detailed descriptions builds identification skills more deeply than swiping through an app. Use both if you want — but always let the book have the final say.
What about mushrooms? Should beginners forage those?
No. Start with plants. Mushroom foraging is a separate skillset with much higher stakes — some toxic mushrooms cause irreversible liver failure with no antidote. After a full year of confident plant foraging, if you want to learn mushrooms, do it alongside an experienced mentor. Never self-teach mushroom identification from books or videos alone.
Your 30-Day Roadmap
If you’ve read this far, you’re serious about starting. Here’s a concrete plan for your first month — not a rigid schedule, but a framework that builds skills in the right order.
Days 1–7: Study your five beginner plants. Look at photos. Watch identification videos on YouTube (search “[plant name] identification” and watch 2–3 different videos per plant). Walk around your neighborhood and try to spot dandelions and plantain — both are almost certainly growing within a block of where you live. Don’t harvest anything. Just look, identify, and confirm.
Days 8–14: Get your gear together. Buy or borrow a regional field guide. Assemble your foraging kit. Find the regulations for your area. Join one local foraging group on Facebook or Reddit — seeing what other people in your area are finding will teach you as much as any guide.
Days 15–21: First harvest outing. One plant. Dandelion is the obvious choice. Follow the field walkthrough above — observe, identify, confirm, harvest minimally, re-identify at home, taste test, cook a simple dish.
Days 22–28: Add a second plant. Chickweed or wild garlic. Same process, same care. Compare your notes from the two outings — notice what conditions each plant prefers (dandelions love full sun, chickweed prefers partial shade).
Days 29–30: Reflect and plan. What worked? What was harder than expected? What plants do you want to learn next? Write a short list of 3–5 new plants to tackle in month two. Late spring berries might be your next target — wild blackberries and raspberries are widespread and easy to identify.
The Only Thing Standing Between You and Your First Harvest
Is the decision to go look.
Foraging has a uniquely low barrier to entry compared to almost any other food skill. You don’t need land, you don’t need expensive equipment, and you don’t need anyone’s permission (as long as you’re in a legal foraging area). The plants are already out there. They’ve been out there your whole life — you just never had a reason to notice them.
Now you do.
Start with dandelions. Build from there. Your first wild omelette is waiting somewhere within walking distance, and it’ll taste better than you expect.