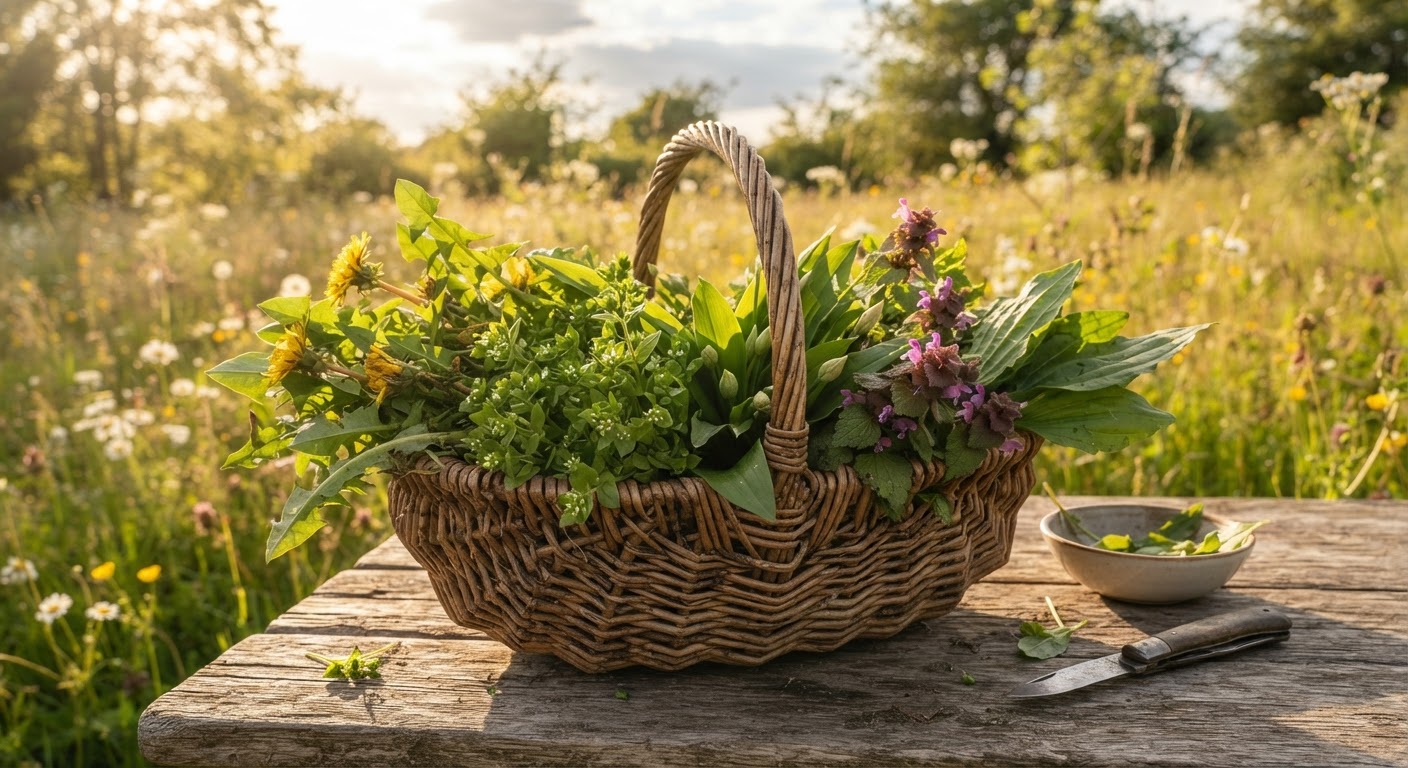
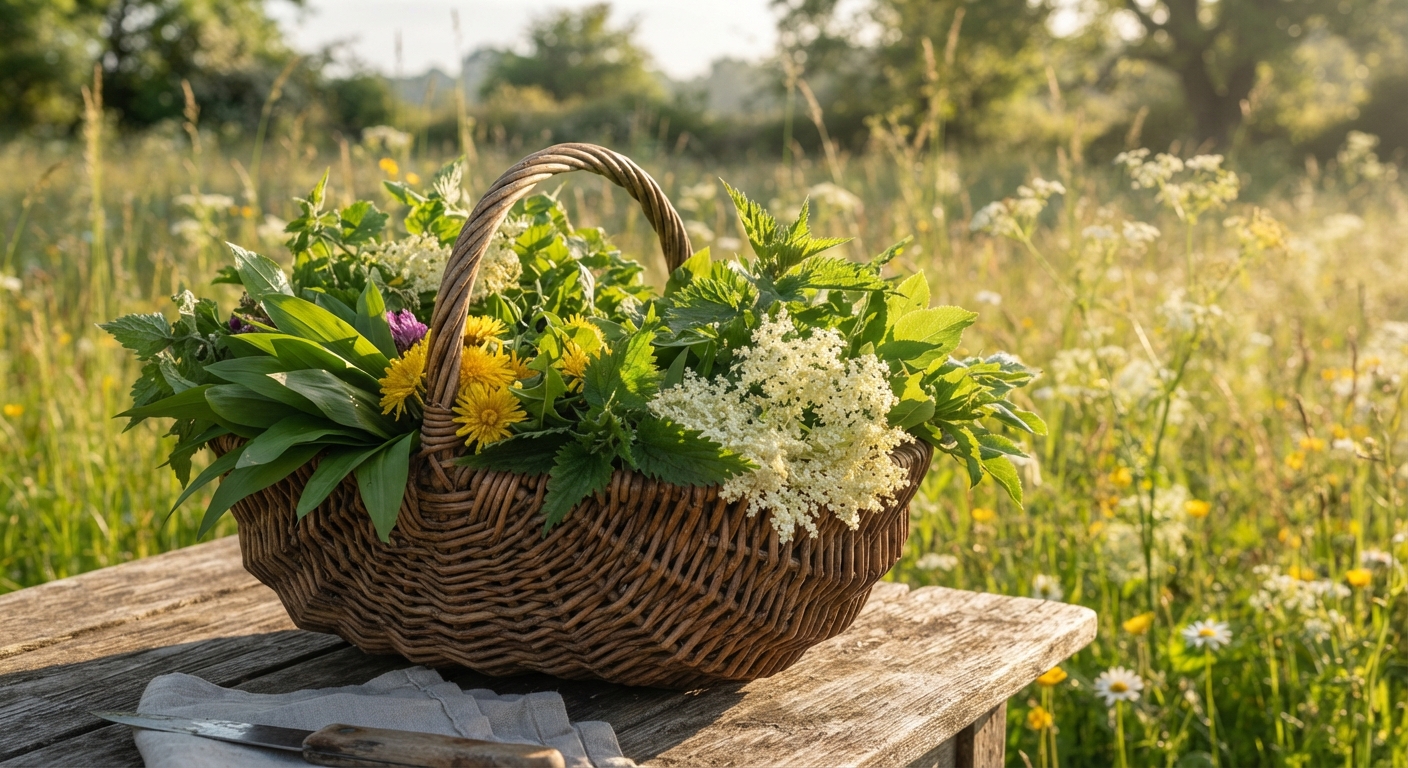
Foraging Wild Vegetables: The Complete Field-to-Table Guide
You already know which wild greens are edible. You’ve read the lists — dandelion, lamb’s quarters, purslane, nettle — and you can name them on sight. But naming a plant and turning it into a reliable vegetable supply are two different skills, and most guides stop right at the part where you’d actually use the knowledge. They tell you what to pick but not how to think about picking it, not when to pick for peak flavor, not how to wash it so you don’t eat a bug, not how to store a surplus without it wilting into sad green slime by morning.
This is the guide that picks up where the lists left off. It walks through the whole workflow — building a mental map of where greens actually grow near you, the ID method that separates confident foragers from guessers, the harvesting timing that matters, the ten-minute kitchen setup that makes cleaning painless, a three-tier cooking system that works for every wild green you’ll encounter, and the preservation methods that let you eat spring nettles in November. No plant names to memorize. This is the system.
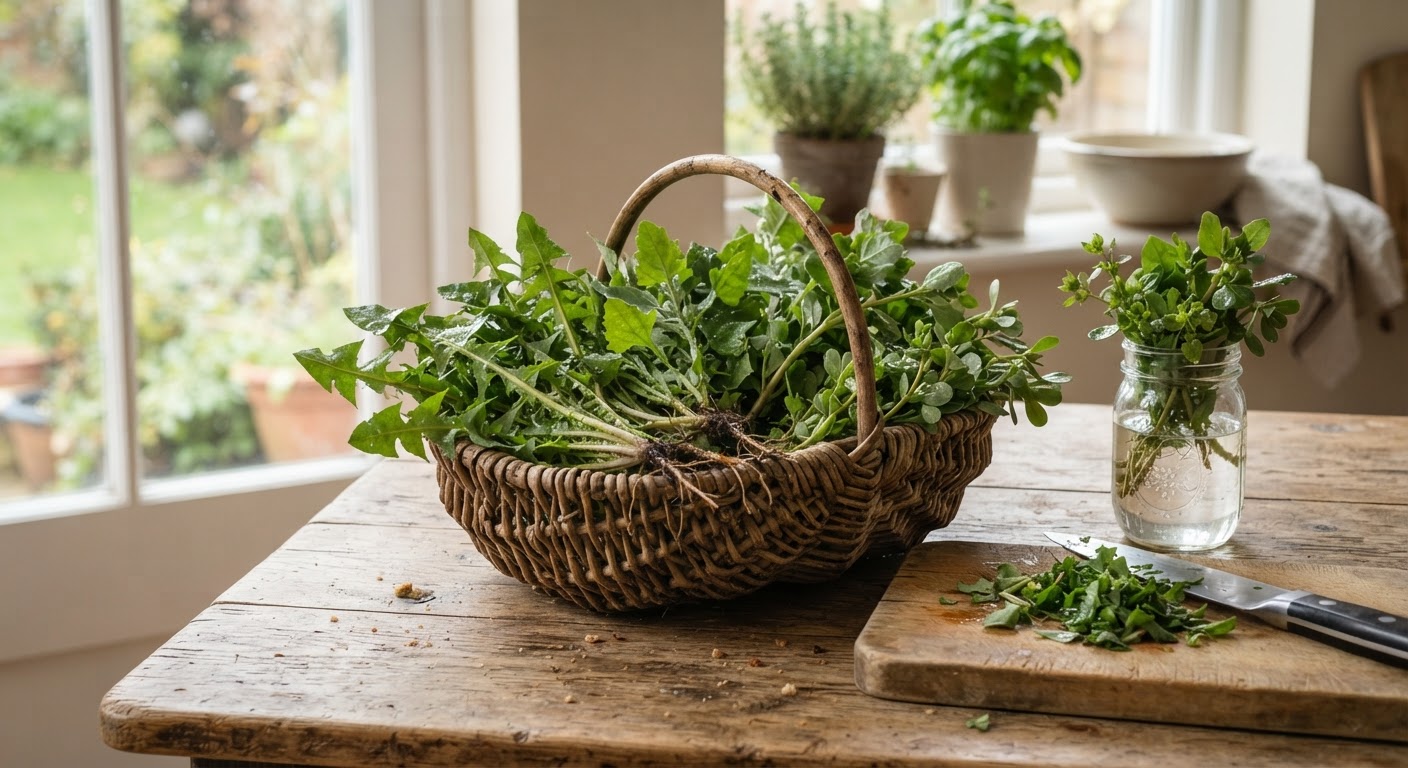
Where Wild Vegetables Actually Grow: Build Your Foraging Map
The first mistake foragers make: driving to a “nature area” and hoping. The second mistake: walking the same park trail every time and finding less than last visit. Wild vegetables don’t grow randomly. They cluster around predictable microhabitats — and once you understand those, you’ll start seeing free greens everywhere: your neighborhood, the parking lot behind the grocery store, the edge of the school baseball diamond.
The Five Microhabitats That Always Produce
Disturbed ground. Construction sites, field edges, vacant lots, and alley cracks. Dandelion, purslane, lamb’s quarters, and plantain all thrive in soil that’s been recently churned. The logic is simple: disturbed soil brings buried seeds to the surface where they can sprout, and most “weeds” evolved specifically for this scenario.
Shaded creek banks. Moist, semi-shaded edges along streams and drainage ditches are gold mines for watercress, chickweed, wood sorrel, and nettle. The moisture levels stay consistent, and the shade prevents the toughening that full sun causes in leafy greens.
Orchard edges and field margins. The strips between farmland and wild growth — fence rows, hedgerows, and the edges of mowed areas — are classic foraging spots. Curly dock, wild garlic, and garlic mustard love these transitions.
Old gardens and compost areas. Where food was once grown or scraps were dumped, wild greens sprout readily. Lamb’s quarters and purslane are especially fond of fertile, previously cultivated soil.
Urban parks and cemeteries (unsprayed areas only). Mowed lawns that aren’t sprayed with herbicides produce dandelion, plantain, and chickweed in abundance. Always confirm the mowing schedule and spray policy before harvesting. A chemically treated park is a non-starter no matter how lush the greens look.
Build a mental map of these spots within a 15-minute walk or drive from your home. Three reliable microhabitats within easy reach is better than one perfect spot an hour away, because foraging works best as a habit, not an expedition.
The 3-Source Positive ID Workflow
Knowing how to identify a wild vegetable is more valuable than knowing which vegetables are edible. This is the identification method experienced foragers actually use, and it’s built around one principle: never eat anything you haven’t confirmed through at least two independent sources.
Here’s the practical workflow:
- Field observation. You spot a plant in the wild. Note its leaf shape, stem type (round, square, ridged), growth pattern (rosette, branching, clumping), flowers or seed heads if present, and any distinctive smell or texture.
- Primary source check. Open a physical field guide or a trusted plant ID app. Match the plant against the description and photo. Not just “kind of similar” — every feature should line up.
- Cross-reference. Check a second independent source — a different guide, a different app, or a second opinion from an experienced forager. If the two sources disagree, the plant doesn’t get eaten. Full stop.
- Know the lookalikes. Before eating any wild green, look up its toxic lookalikes and confirm you can distinguish them. Many edible greens have a poisonous cousin that’s just similar enough to fool someone in a hurry.
This method feels slow at first. After a few months of consistent foraging, you’ll recognize most of your regular greens in a single glance. But the habit of cross-checking should stick. It’s what separates confident foragers from reckless ones.
Wild Vegetable Flavor Profiles: A Treatment Framework
Not all wild greens are created equal. Some taste like arugula, some taste like lemon, and some taste like regret unless you blanch them first. Knowing where a green falls on the flavor spectrum tells you how to cook it without needing to Google every time.
| Wild Vegetable | Flavor Category | Bitterness Level | Texture | Best Treatment |
|---|---|---|---|---|
| Chickweed (Stellaria media) | Mild, almost sweet | Very low | Tender, delicate | Eat raw |
| Lamb’s quarters (Chenopodium album) | Mild, spinach-like | Low | Medium-tender | Quick sauté |
| Purslane (Portulaca oleracea) | Lemony, slightly salty | None | Succulent, crunchy | Eat raw or quick sauté |
| Wood sorrel (Oxalis spp.) | Sharp, lemony | None | Delicate | Raw garnish |
| Amaranth (Amaranthus spp.*) | Mild, nutty | Low | Medium | Quick sauté |
| Broadleaf plantain (Plantago major) | Mild, slightly bitter | Low-medium | Gets stringy with age | Sauté or cook longer |
| Dandelion (Taraxacum officinale) | Earthy, bitter | High (increases with age) | Tough when mature | Blanch, then sauté |
| Curly dock (Rumex crispus) | Tart, lemony | Medium-high | Fibrous when old | Blanch, then cook |
| Stinging nettle (Urtica dioica) | Rich, green, deep | Low (once cooked) | Softens fully when cooked | Must cook/steam |
| Watercress (Nasturtium officinale) | Peppery, sharp | Low | Crisp | Eat raw |
| Garlic mustard (Alliaria petiolata) | Garlicky, slightly bitter | Medium | Tender young, tough old | Pesto or sauté |
| Wild garlic (Allium spp.) | Garlicky, oniony | None | Leafy, tender | Raw or sauté |
This table is the shortcut. Look up the plant, see which category it falls into, and follow the treatment. I’ve grouped the “flavor categories” three ways — mild and raw-safe, moderate and sauté-ready, bitter or tough and needs blanching — which brings us to the cooking section below.
Harvest Like a Farmer, Not a Tourist
Tearing off whatever looks green is the tourist approach. It works once or twice, then the patch starts looking sparse and you wonder why. The farmer approach takes ten seconds longer per plant and keeps your foraging spots productive for years.
Which Part to Take
Leafy greens: Take the young, tender leaves from the outside of the rosette or the top few inches of growth. Older leaves at the base are tougher, more bitter, and more likely to have insect damage. Leave the growing tip intact so the plant keeps producing.
Stems (purslane, nettle): Take the top 4–6 inches of young stem growth with leaves attached. The lower stems get woody fast.
Flowers and buds (dandelion, wild garlic): Pick just before or just after opening. Too early and there’s nothing to eat; too late and it’s gone seedy.
Roots (dandelion, wild garlic): Only dig roots when the plant is mature and abundant. Digging kills the plant, so only do it when the patch is large enough to lose a few, and never take more than 10% of a patch by the roots.
Timing by Plant Maturity
The single biggest factor in wild greens quality is when in the plant’s life cycle you harvest. Too early and there’s barely a leaf. Too late and it’s bitter, tough, or gone to seed. Here’s the rule of thumb:
- Seedling stage (just sprouted): Great for tender greens like lamb’s quarters and amaranth — these are essentially microgreens at this point.
- Pre-flowering rosette stage: The sweet spot for most wild greens. Leaves are full-sized but still tender. Dandelion is at its least bitter here.
- Flowering stage: Leaves start getting tougher and more bitter as the plant redirects energy to reproduction. Still edible, but expect a stronger flavor.
- Seed stage: Leaves are mostly done. Time to collect seeds (amaranth, lamb’s quarters) or move on to a different plant.
The 10% Rule
Never take more than about 10% of a single patch. This sounds conservative, but it’s the minimum that keeps a patch productive visit after visit. Over-harvesting kills your own supply. The 10% rule applies per patch, not per species — a massive dandelion field can handle a bagful from one corner, but a small backyard patch should only lose a handful.
Your Kitchen Cleaning Station: A 10-Minute Setup
Wild greens come with dirt, bugs, grit, and the occasional hitchhiking snail. That’s not a problem — it’s just how outdoor food works. But cleaning them properly before they hit the counter is non-negotiable, and having a dedicated routine makes it fast.
Here’s the setup:
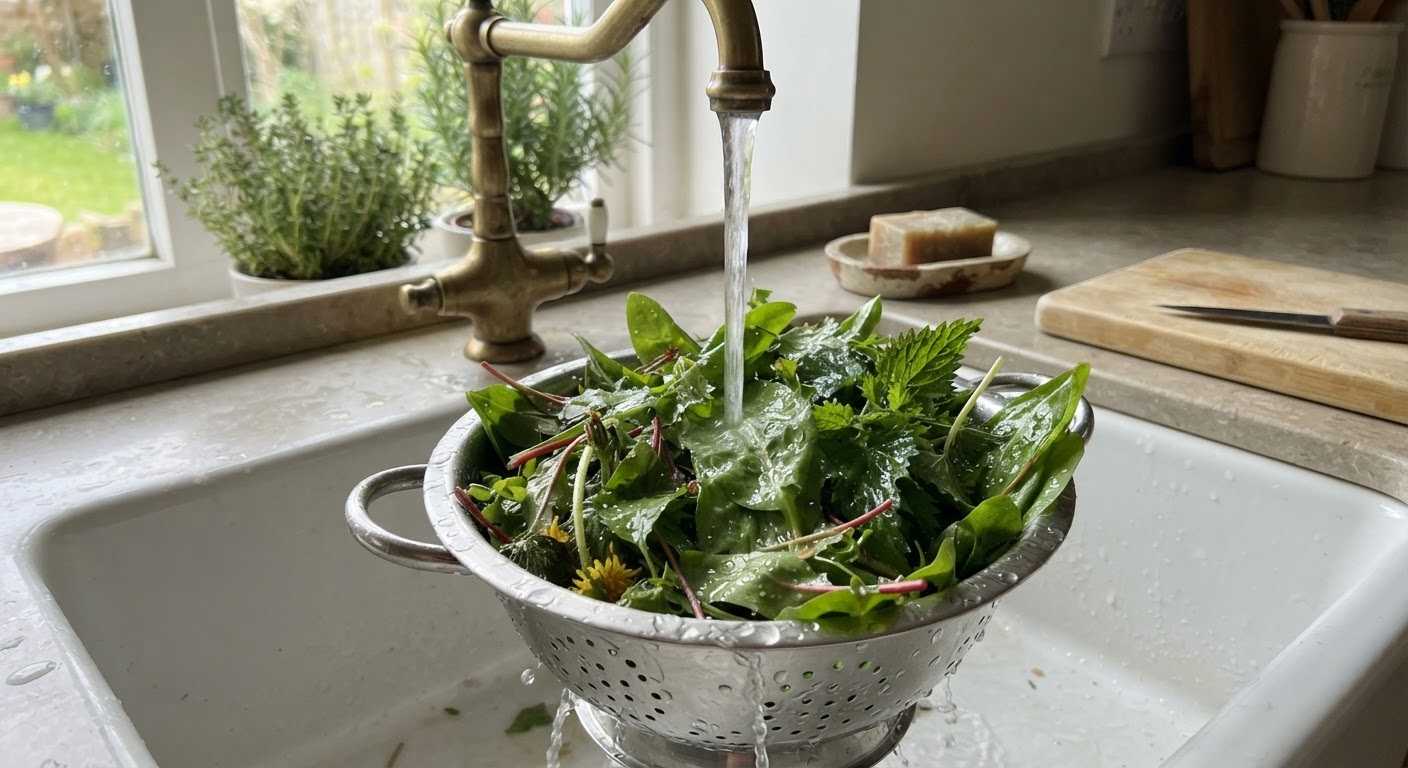
- Cold water bath. Fill a large bowl or a clean sink with cold water. Dump in the greens and swish them around vigorously for 30 seconds. Lift them out (don’t pour — pouring dumps the grit right back onto the leaves).
- Second rinse. Repeat in fresh cold water. Most greens need two baths. Heavily soiled plants like nettle or plants from damp soil sometimes need three.
- Inspect. Spread the cleaned greens on a towel or in a colander. Look for damaged leaves, remaining bugs, and any stems that look too woody. Pull those out now.
- Dry. A salad spinner works perfectly. No spinner? Lay greens on a clean towel, roll it up gently, and pat. Excess water dilutes flavor and makes sautéing steam instead of sear.
The whole process takes under ten minutes for a basketful of greens. If you’re harvesting regularly, it becomes as automatic as washing store-bought lettuce — just with a bit more bug evacuation.
Cook Them Right: The Three-Tier System
Every wild vegetable falls into one of three cooking tiers. Learn the tiers once and you’ll never have to look up “how to cook [random plant]” again.
Tier 1: Eat Raw
These greens are tender, mild, and safe to eat straight from the field (after washing). Cooking them is an option, not a requirement.
Chickweed, purslane, wood sorrel, watercress, young lamb’s quarters.
Use them exactly like salad greens. Toss with a sharp vinaigrette — lemon juice, olive oil, salt — or scatter over sandwiches, eggs, or grain bowls. Wood sorrel and purslane make excellent garnishes because of their distinctive flavors: lemony brightness and salty crunch, respectively.
Pro tip: Wild greens have stronger flavors than lettuce. Mix them 50/50 with a milder green (even iceberg works) if you’re not used to the intensity.
Tier 2: Quick Sauté (2–5 Minutes)
These greens are a step tougher or more flavorful than Tier 1 but still tender enough to cook directly. No blanching required.
Lamb’s quarters, amaranth, plantain (young), garlic mustard, wild garlic.
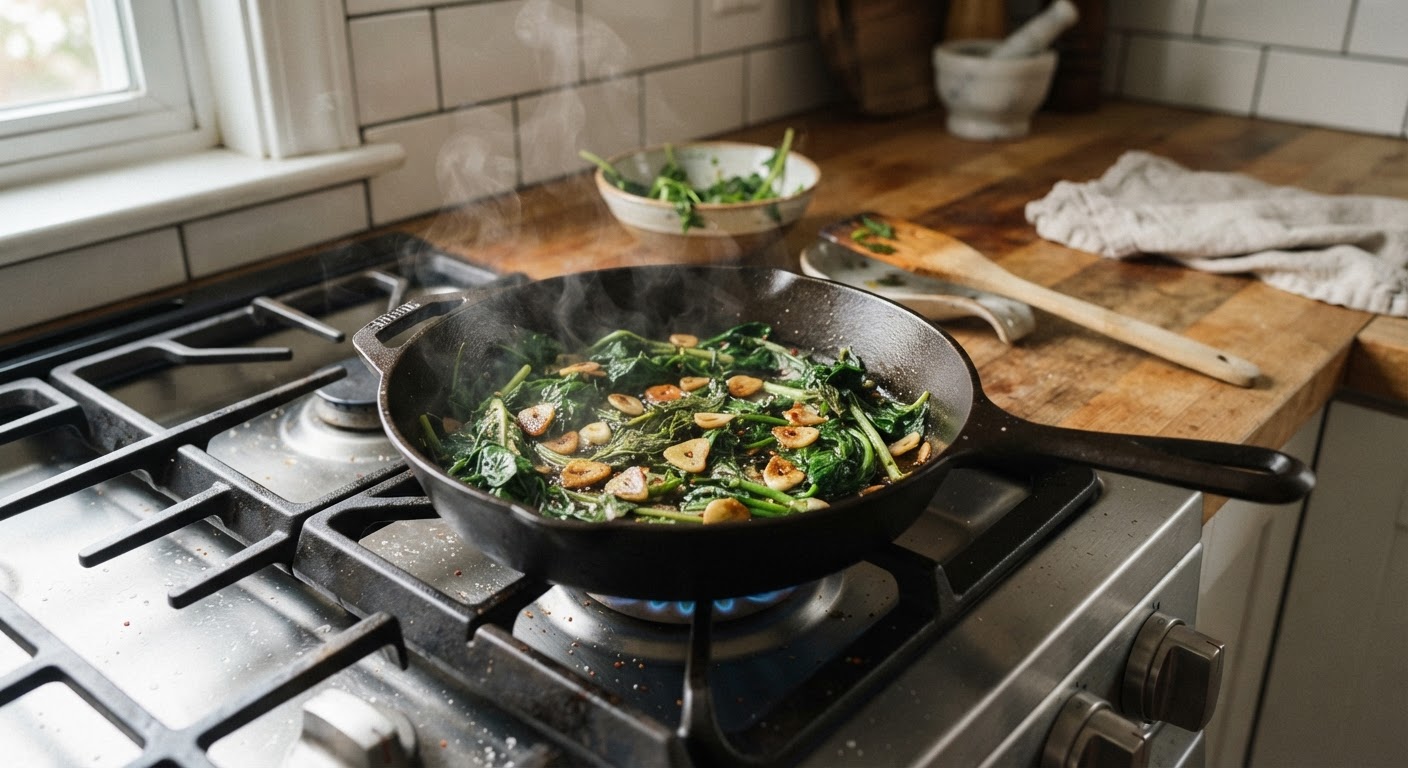
The basic method: heat olive oil in a pan over medium-high, add sliced garlic or wild garlic, toss in the greens, and cook until wilted — 2 to 4 minutes. Finish with a squeeze of lemon, salt, and a pinch of chili flake. That’s it. This method works for essentially every Tier 2 green.
Pro tip: Wild greens shrink dramatically when cooked. A colander full of raw greens becomes a modest side dish. Harvest more than you think you need — roughly three times what looks reasonable raw.
Tier 3: Must Cook Through (Blanch → Cook)
These greens need heat to become safe, palatable, or both. Skipping the blanch means bitterness, stinging, or tough fibers.
Dandelion (especially summer leaves), stinging nettle, curly dock, mature plantain.
Blanching method: Drop the greens into a pot of rapidly boiling water. Nettles need 30–60 seconds (this kills the sting completely). Bitter greens like summer dandelion benefit from 1–2 minutes, sometimes with a water change to remove dissolved bitterness. Curly dock needs a solid 2–3 minutes.
After blanching, drain and squeeze out excess water. From here, you can sauté them (add to a hot pan with oil and garlic), drop them into soup, blend into pesto, or freeze them for later.
Pro tip: Save the blanching water. For nettles, it’s essentially nettle tea — rich, green, and drinkable on its own. For other greens, use it as a soup base or let it cool and water your plants with it. Waste nothing.
Cooking Method Quick Reference
| Tier | Examples | Method | Time | Texture Result |
|---|---|---|---|---|
| Tier 1 — Raw | Chickweed, purslane, wood sorrel, watercress | Salad, sandwich, garnish | 0 min | Crisp, fresh |
| Tier 2 — Sauté | Lamb’s quarters, amaranth, plantain, wild garlic | Hot pan + oil + garlic | 2–5 min | Wilted, tender |
| Tier 3 — Blanch first | Nettle, dandelion, curly dock | Boil → squeeze → sauté/soup | 30s–3 min blanch + cook | Soft, mellow |
Preserve the Surplus: Year-Round Wild Greens
The best problem in foraging: too much. A productive dandelion patch or a nettle stand in early spring can yield far more than you can eat in a week. That surplus is free food for November, December, and January — if you preserve it right. Here are the four methods that actually work for wild greens.
| Method | Best For | Shelf Life | Texture Change | Effort Level |
|---|---|---|---|---|
| Freezing (blanch → freeze) | Nettle, dandelion, lamb’s quarters, amaranth | 6–12 months | Softens; best for cooked dishes | Medium |
| Drying (dehydrator or low oven) | Nettle, plantain, curly dock | 12+ months | Crumbles; best for tea or powder | Low |
| Pesto (blend → freeze in ice cube trays) | Wild garlic, garlic mustard, dandelion greens, nettle | 6+ months in freezer | Smooth paste; ready to use | Medium |
| Fermentation (salt brine) | Purslane, chickweed, wild garlic | 3–6 months in fridge | Tangy, crunchy | Medium-High |
Freezing Wild Greens
This is the most versatile method. Blanch the greens first (30–60 seconds), plunge into ice water to stop cooking, squeeze out all the water, pack into freezer bags with as little air as possible, and freeze. When you’re ready to use them, drop them frozen straight into soup, pasta, or a hot pan. Don’t thaw on the counter — they’ll turn to mush.
Drying Wild Greens
Spread leaves in a single layer on a dehydrator tray or a baking sheet in the oven at the lowest setting (around 150°F / 65°C). Check every hour. Once the leaves crumble when you press them, they’re done. Store in airtight jars. Dried greens are excellent for tea (especially nettle) or ground into a powder that you can stir into soups, smoothies, or sauces.
Making Wild Green Pesto
This is the preservation method most people don’t think of, and it’s arguably the best. Blend your wild greens (wild garlic, garlic mustard, dandelion, nettle — or a mix) with olive oil, nuts (walnuts, pine nuts, or sunflower seeds), lemon juice, salt, and parmesan if you like it. Pour into ice cube trays and freeze. Each cube is a ready-made flavor bomb for pasta, rice, toast, or eggs.
Season Chart: What’s Available When
Knowing what’s available each season means you stop scrambling in summer and starving in winter. The chart below covers temperate North America and Europe — adjust timing by a few weeks depending on your latitude and altitude.
| Wild Vegetable | Jan | Feb | Mar | Apr | May | Jun | Jul | Aug | Sep | Oct | Nov | Dec |
|---|---|---|---|---|---|---|---|---|---|---|---|---|
| Dandelion | ✅ | ✅✅ | ✅✅ | ✅ | ✅ | ✅ | ✅✅ | ✅ | ||||
| Lamb’s quarters | ✅ | ✅✅ | ✅✅ | ✅ | ||||||||
| Purslane | ✅ | ✅✅ | ✅✅ | ✅ | ||||||||
| Chickweed | ✅ | ✅✅ | ✅ | ✅ | ✅✅ | ✅ | ||||||
| Stinging nettle | ✅ | ✅✅ | ✅✅ | ✅ | ||||||||
| Wild garlic | ✅✅ | ✅✅ | ✅ | |||||||||
| Wood sorrel | ✅ | ✅✅ | ✅✅ | ✅ | ✅ | ✅ | ||||||
| Plantain | ✅ | ✅✅ | ✅✅ | ✅ | ✅ | ✅✅ | ✅ | |||||
| Curly dock | ✅✅ | ✅✅ | ✅ | |||||||||
| Amaranth | ✅ | ✅✅ | ✅✅ | ✅ | ||||||||
| Watercress | ✅ | ✅✅ | ✅ | ✅ | ✅ | ✅✅ | ✅ | ✅ | ||||
| Garlic mustard | ✅✅ | ✅✅ | ✅ |
✅ = available, ✅✅ = peak season (best quality and abundance). Blanks mean the plant isn’t in season or isn’t worth picking.
Key insight: Spring and early summer are the foraging gold rush — nearly everything is at peak quality. But fall has its own rewards: dandelion rosettes reappear with vigor after the first rains, and chickweed bounces back with cooler temperatures. If you preserved spring surplus (especially nettle and wild garlic pesto), you’re set through winter.
Pro Tips That Save You Years of Trial and Error
Mark your spots with a phone photo and GPS pin. Next time you find a great nettle patch or a field full of lamb’s quarters, drop a pin on your map app. Take a photo of the surroundings. Within a season you’ll have a personal foraging map that tells you what’s where and when it’s ready.
Harvest before rain, not after. Wet greens are harder to wash, spoil faster in the fridge, and wilt more quickly. Harvest the day before a rain forecast if you can.
Carry a dedicated foraging bag. A cloth or mesh bag lets air circulate, which prevents the greens from sweating and wilting in transit. Plastic bags turn a basket of vibrant greens into a soggy mess within an hour.
Start a “wild vegetable rotation.” Don’t harvest the same patch every week. Rotate between two or three spots for the same plant, giving each patch 2–3 weeks to regrow. This keeps all your spots productive and prevents you from accidentally over-harvesting.
Learn the bitter-taming technique. Salt, acid, and fat are the three tools. A pinch of salt before cooking cuts bitterness. A squeeze of lemon at the end brightens it. Fat (olive oil, butter, sesame oil) rounds out the sharp edges. This combination makes even aggressively bitter dandelion greens taste good.
Grow your own “wild” vegetables. Many of the best wild greens — purslane, lamb’s quarters, amaranth, dandelion — are trivially easy to cultivate in a garden bed or even a large pot. Sprinkle seeds from a wild harvest into a pot of soil, water, and wait. You’ll have a controlled supply without leaving your balcony.
Frequently Asked Questions
Is it safe to eat wild vegetables from my own yard? Almost certainly, as long as your yard hasn’t been treated with herbicides, pesticides, or fertilizers recently. The big concern with urban and suburban foraging isn’t the plants — it’s the soil. If you know what’s been applied to your lawn and it’s been a few months since the last treatment, the wild greens growing there are as safe as anything in the produce aisle.
Can I mix different wild greens in one meal? Absolutely, and it’s often the best approach. A mix of mild greens (chickweed, lamb’s quarters) with a smaller amount of stronger-flavored ones (dandelion, wild garlic) creates a more complex and balanced dish than any single green alone. Think of it like a salad mix — variety is the point.
What’s the biggest beginner mistake? Harvesting too late in the plant’s life cycle. Young greens are almost universally more tender, less bitter, and easier to identify than their mature counterparts. When in doubt, pick younger.
Do I need special equipment? A pair of scissors or a small knife, a cloth bag, and a field guide. That’s it. Gloves if you’re harvesting nettles. The gear you already have in your kitchen handles the rest.
How long do fresh wild greens last in the fridge? Most wild greens keep 2–3 days in the fridge in a breathable bag or wrapped in a damp towel. Nettles are sturdier (4–5 days). Chickweed is the most delicate and is best eaten within 24 hours. If you can’t eat them quickly enough, that’s what preservation is for.
What if I’m not 100% sure about a plant? Don’t eat it. This isn’t a rule you bend. A plant you can’t identify with certainty stays on the ground. Take a photo, look it up at home, come back another day. The plant will still be there.
The Bottom Line
Wild vegetables aren’t a novelty survival trick. They’re a legitimate food source that’s free, nutritious, growing within walking distance of most people, and — once you learn the system — easier to work with than anything from the grocery store. The plants don’t need to be planted, watered, fertilized, or shipped. They just show up.
The system breaks down into four skills: where to look (microhabitats near home), how to confirm (the 3-source ID workflow), how to treat (the three cooking tiers), and how to save (preserve the surplus). Learn those four and you’ll have a year-round vegetable supply that costs nothing but time and attention.
Start with one microhabitat and two plants. Get comfortable with those. Then expand. The learning curve is gentler than it looks, and the payoff — a basket of free, fresh greens on a Tuesday evening — is hard to beat.
Harvest responsibly, identify with certainty, and when in doubt, leave it in the ground.
Foraging wild vegetables becomes second nature once you’ve done it a few times — but the first walk through a field with a basket and no internet signal is where most people stall. “Is this dandelion or cat’s ear? Is this purslane or spurge?” When the phone has no bars and the field guide is on the kitchen table, a tool you can point at a leaf and get an instant answer makes the difference between a confident harvest and an anxious walk back to the car.
That’s the problem Edible Plant Identifier was built to solve. Point your camera at any leaf or plant in the field and it tells you what it is, whether it’s a known edible, what to look out for (lookalikes, toxic relatives), and — importantly — what it tastes like and how to cook it. It works fully offline, so the forest not having a cell tower isn’t a problem. You don’t need it for the plants you already know. You need it for the ones you don’t yet.