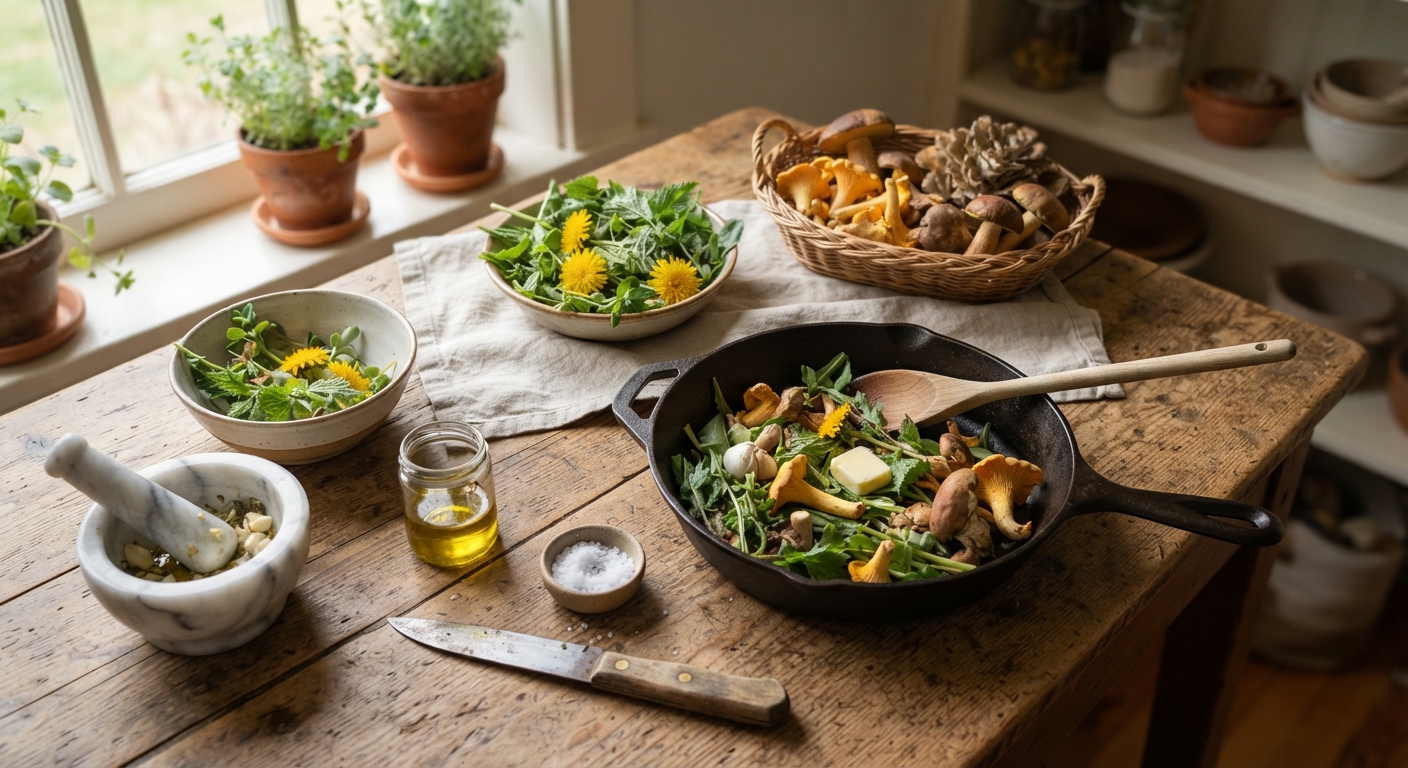
A handful of dandelion leaves won’t impress anyone sitting on the kitchen counter. Neither will a paper bag of stinging nettles or a basket of purslane that’s starting to wilt. What separates “I found some weeds” from “I made an incredible meal” isn’t the foraging — it’s everything that happens after you walk through the door.
Most foraging guides treat the kitchen like an afterthought. Find the plant, identify it, and… somehow dinner happens. But here’s the reality: wild ingredients behave differently from grocery store produce. Nettles need blanching before they stop stinging. Purslane releases a mucilaginous gel when overcooked. Dandelion roots require a two-hour slow roast to unlock their chocolatey notes.
This guide is about closing that gap. You already know how to find wild food — or you’re learning. Now let’s make it taste incredible.
Wild Flavors Are Not Broken Versions of Supermarket Produce
Before touching a single pan, understand this: wild plants don’t taste like their domesticated cousins. They taste like themselves — which means bolder, more complex, and sometimes challenging.
That bitterness in dandelion greens? It’s not a flaw. It’s the same bitter complexity that chefs pay premium prices for in radicchio and arugula. The slight sliminess of purslane? Welcome to the same texture family as okra and nopales, beloved across entire culinary traditions.
What makes wild flavors different:
| Wild Ingredient | Cultivated Equivalent | Key Flavor Difference | Best Cooking Approach |
|---|---|---|---|
| Dandelion greens | Arugula, endive | Sharper bitterness, mineral finish | Blanch first for salads; pair with fat and acid |
| Purslane | Spinach (texture), purslane has no cultivated twin | Lemony tang, succulent crunch, slight mucilage | Raw in salads, quick stir-fry, never boil |
| Stinging nettle | Spinach, kale | Earthier, more savory, slight oceanic note | Always cook to neutralize sting; soups and pestos |
| Lamb’s quarters | Spinach, Swiss chard | Sweeter, more minerally, nuttier | Steam or sauté; avoid overboiling |
| Wood sorrel | Sorrel (cultivated) | Brighter lemon tang, more delicate | Raw garnish; never cook — flavor vanishes with heat |
| Cattail shoots | Asparagus, cucumber | Milder sweetness, tender-crisp | Quick sauté in butter; eat raw in salad |
| Wild garlic | Scallions, chives | More pungent, garlicky depth | Raw or lightly cooked; use like green onions |
| Burdock root | Parsnip, salsify | Earthier, more savory, lingering sweetness | Slow braise, pickle, or stir-fry thin slices |
| Chickweed | Baby spinach, microgreens | Delicate, slightly sweet, corn-like | Raw; wilts instantly when heated |
| Daylily buds | Green beans, asparagus | Sweet, vegetal, slight crunch | Sauté with butter; tempura-fry unopened buds |
The takeaway: stop trying to make wild foods taste like grocery store vegetables. Learn what they actually taste like, then cook them in ways that make those flavors shine.
Kitchen Prep: What Nobody Tells You About Handling Wild Ingredients
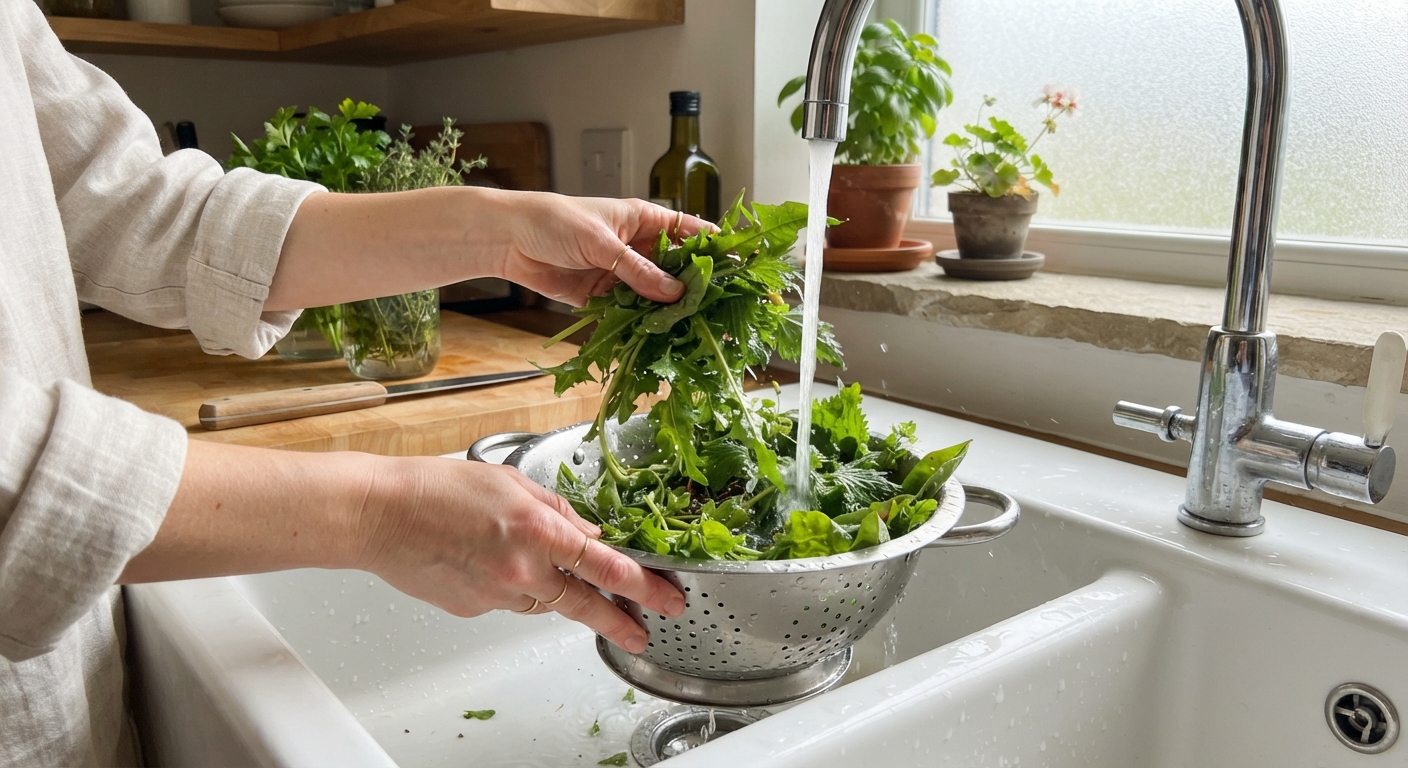
Foraged food arrives in your kitchen carrying the outdoors — dirt, tiny insects, the occasional slug that hitched a ride. Supermarket produce gets washed at the packing facility. Your dandelion greens? They got rained on and then a squirrel walked over them.
The prep workflow that actually works:
Step 1: The Multi-Soak Method (Don’t Skip This)
Fill the largest bowl you own with cold water. Submerge everything — greens, roots, flowers, all of it. Swish gently for 30 seconds, then let it sit. You’ll see silt drift to the bottom and small creatures float to the surface.
Drain. Refill. Do it again.
The third soak should run clear. If it doesn’t, keep going. I’ve soaked particularly sandy chickweed five times before it ran clean. The extra five minutes saves you from gritty salad — a trade worth making every single time.
Pro tip: Add a splash of white vinegar to the first soak. It encourages bugs to abandon ship and helps remove any surface residues. Just don’t forget to rinse thoroughly after — you’re not pickling your salad greens.
Step 2: The Spin Cycle
A salad spinner is the single best $20 investment a forager can make. Wet greens = sad salad. Wet greens also steam rather than sauté when they hit the pan, turning your crispy stir-fry into a soggy mess.
Spin in small batches. Don’t cram the basket full — you’ll get better results with three half-loads than one overload.
For delicate flowers (violets, elderflowers, clover blossoms), skip the spinner. Lay them flat on a clean dish towel and pat dry gently. They bruise easily, and bruised flowers taste like disappointment.
Step 3: Sort by Intended Use
This step changed my kitchen game completely. Before touching a knife, separate your haul into three piles:
- Eat raw tonight — tender leaves, flowers, anything delicate. Use within 24 hours.
- Cook within 2-3 days — sturdier greens like nettles, lamb’s quarters, mature dandelion leaves. Store wrapped in damp paper towel in the crisper.
- Preserve for later — roots, berries, mushrooms, large batches. Blanch and freeze, dehydrate, pickle, or ferment.
Making these decisions upfront prevents the 3 AM realization that you forgot about the chicken of the woods sitting in the fridge for a week.
The Seasonality Problem: Cooking What’s Actually Available
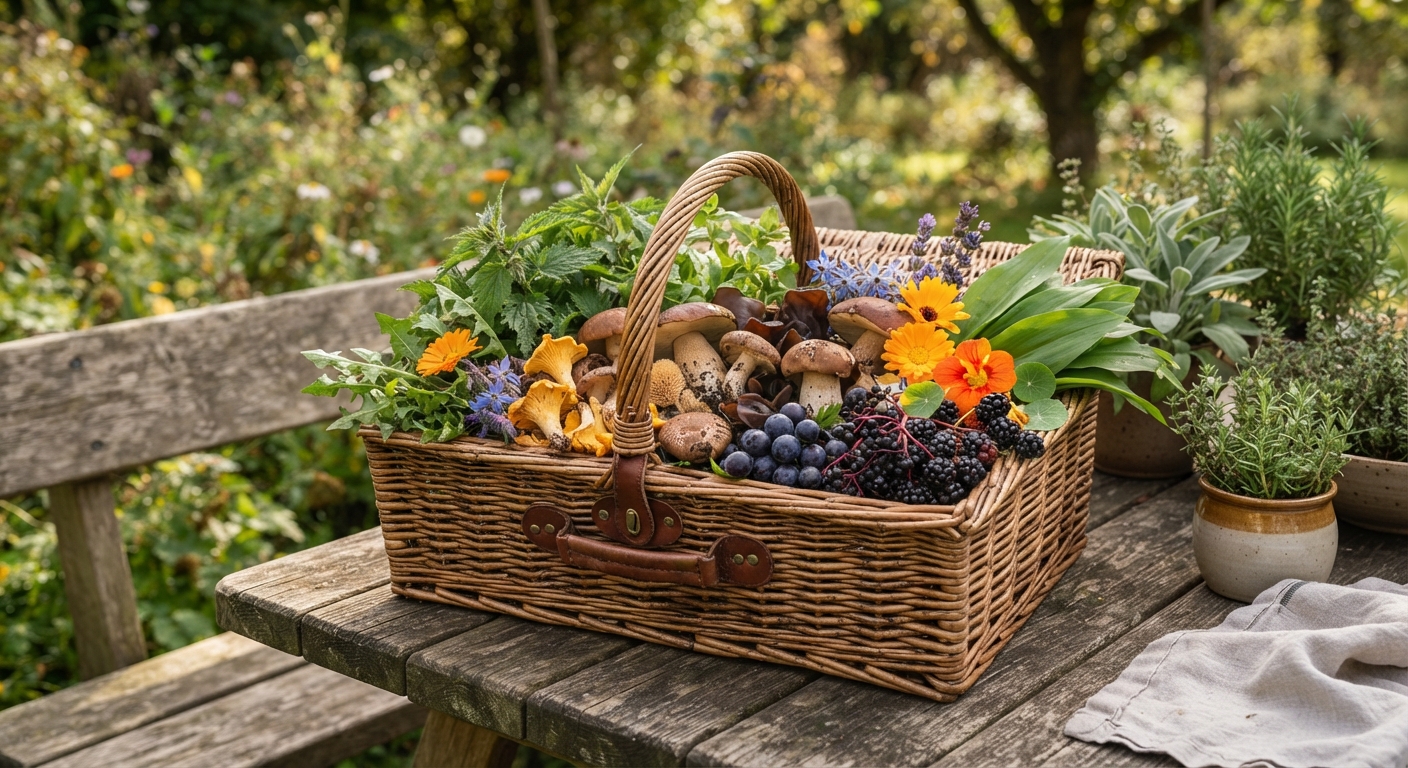
Foraged cooking runs on nature’s clock, not yours. You don’t decide when nettles are tender — spring decides. You don’t get to postpone blackberry season because you’re busy that weekend. This constraint is actually the secret to great wild cooking: it forces you to cook with peak-season ingredients, which is exactly what good chefs do voluntarily.
Spring Foraged Recipes
Spring is the forager’s jackpot for tender greens. Everything is young, mild, and bursting with nutrients after the winter dormancy.
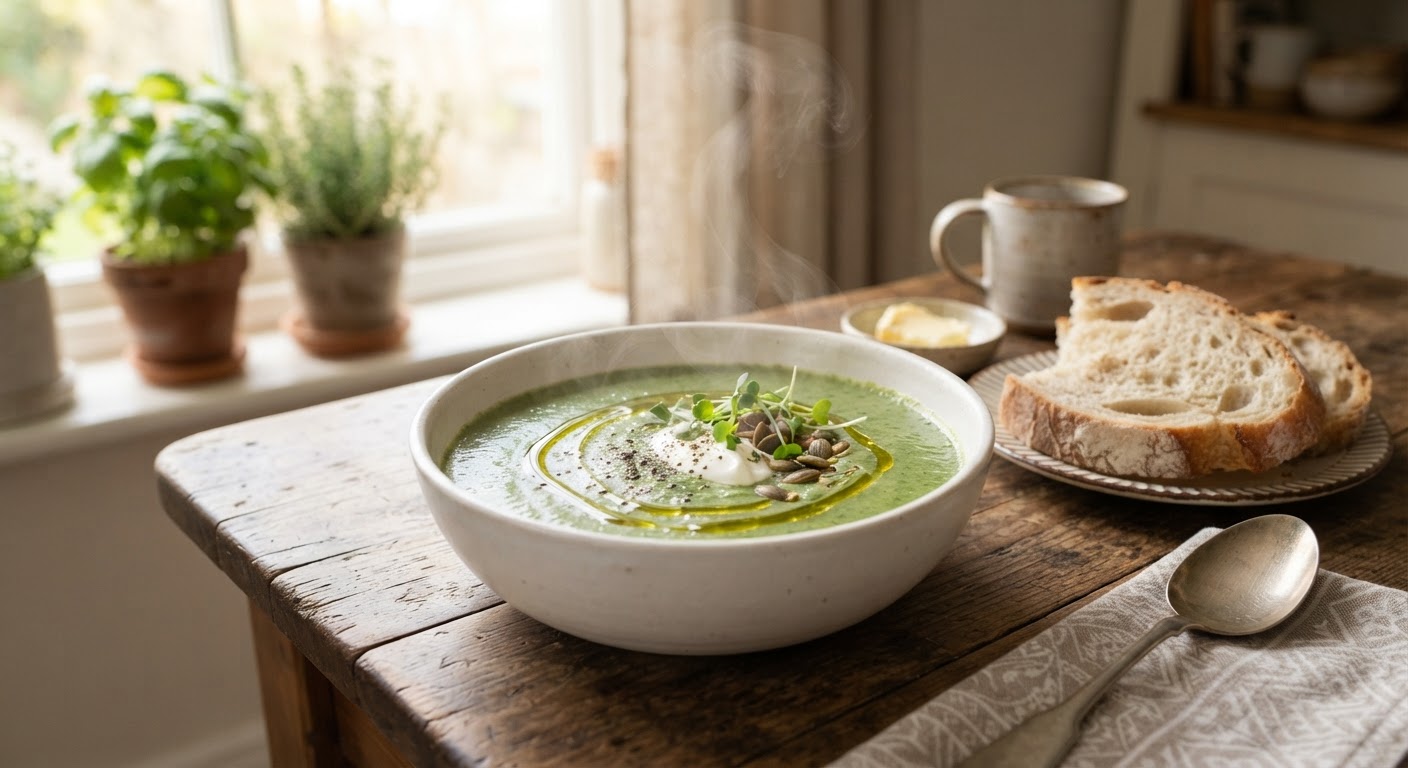
Creamy Nettle and Potato Soup
This soup converted three different friends who swore they’d “never eat weeds.” The nettles melt into the potato base, turning the whole thing forest-green and deeply savory.
What you need: 4 cups fresh nettle tops (gloves for handling), 2 medium potatoes diced, 1 onion, 3 cups vegetable stock, 2 tablespoons butter, salt, black pepper, splash of heavy cream.
What you do: Sauté onion in butter until translucent — about 5 minutes. Add potatoes and stock, simmer 15 minutes until potatoes are fork-tender. Drop in the nettles (using tongs — they still sting raw!), simmer 3 more minutes until wilted. Blend until silky smooth. Stir in cream, season with salt and pepper.
Why this works: Nettles lose their sting completely after 60 seconds in boiling liquid. Their flavor — earthy, mineral, slightly reminiscent of the ocean — pairs beautifully with creamy potato. The soup freezes perfectly, so make a double batch.
Dandelion Flower Fritters
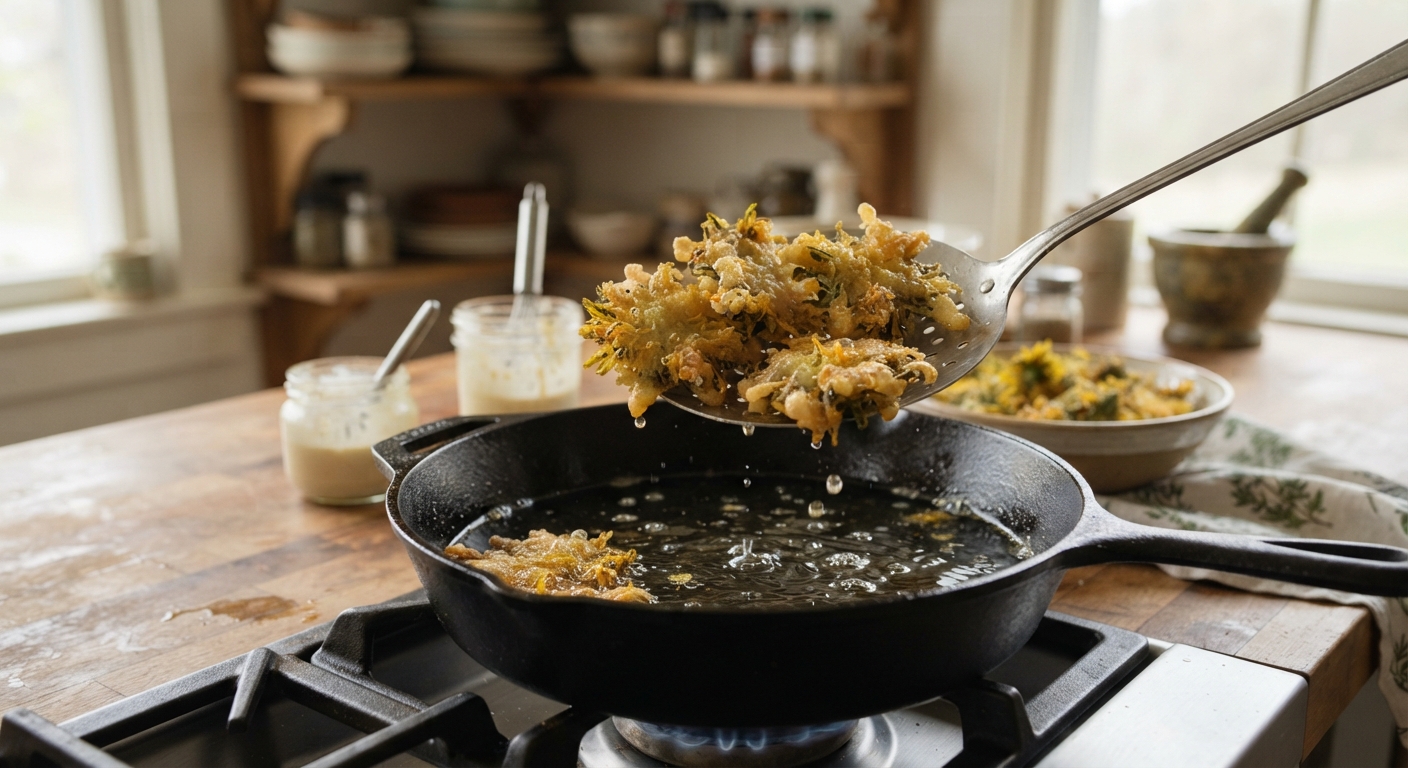
If you’ve only eaten dandelion leaves, you’re missing the best part. The flowers transform into something magical when battered and fried — crispy outside, tender inside, with a honey-like sweetness that catches people off guard.
What you need: 20-30 dandelion flower heads (picked from unsprayed areas, stems removed), 1 cup flour, 1 egg, ¾ cup cold sparkling water, pinch of salt, oil for frying.
What you do: Whisk flour, egg, sparkling water, and salt into a thin batter — it should coat the back of a spoon. Heat ½ inch of oil in a skillet to 350°F. Dip each flower into batter, let excess drip, fry 60-90 seconds per side until golden. Drain on paper towels, sprinkle with flaky salt.
Why this works: The carbonation in sparkling water creates a lighter, crispier batter than still water ever could. And the flower’s natural sugars caramelize slightly during frying, adding a subtle sweetness that contrasts perfectly with the salt.
Wild Garlic Pesto
Wild garlic (ramsons, field garlic, or onion grass — the allium family is generous) makes a pesto that will ruin store-bought basil pesto for you forever.
What you need: 3 cups wild garlic leaves, ½ cup walnuts or pine nuts, ½ cup good olive oil, ⅓ cup grated Parmesan, squeeze of lemon, salt.
What you do: Toast nuts until fragrant. Blitz everything except oil in a food processor. Stream in oil while running until you reach your preferred consistency. Season to taste.
Why this works: Raw wild garlic is pungent but not harsh — it has the green freshness of basil plus the savory punch of garlic. The lemon brightens it; the nuts give it body. Spread on toast, toss with pasta, spoon over roasted vegetables.
Summer Foraged Recipes
Summer shifts from greens to fruits, flowers, and sturdier stalks. This is when your kitchen starts smelling like a farmer’s market.
Purslane and Watermelon Salad with Feta
Purslane’s lemony snap and succulent crunch were made for summer salads. This combination — adapted from a dish I first ate at a tiny restaurant in Oaxaca — uses watermelon’s sweetness to balance purslane’s tang.
What you need: 2 cups purslane (tender stems and leaves), 2 cups cubed watermelon, ½ cup crumbled feta, ¼ red onion thinly sliced, fresh mint, olive oil, lime juice, flaky salt.
What you do: Toss purslane, watermelon, red onion, and torn mint in a bowl. Dress with olive oil and lime juice — go light, you want the purslane to shine. Top with feta and flaky salt. Serve immediately.
Why this works: The salad hits every note — sweet (watermelon), salty (feta), sour (purslane’s natural acidity plus lime), and fresh (mint). The purslane’s slight crunch gives it texture that lettuce-based salads lack. Don’t dress it until the moment you serve — purslane wilts faster than you’d think.
Daylily Tempura
Daylilies (Hemerocallis fulva) are the gift that keeps giving. Unopened flower buds, when battered and fried, taste like a cross between green beans and sweet corn. Just confirm you have the right Hemerocallis species — ornamental lilies (Lilium) are not the same thing.
What you need: 2 cups daylily buds, 1 cup ice-cold soda water, ¾ cup flour, ¼ cup cornstarch, pinch salt, oil at 350°F.
What you do: Whisk soda water, flour, cornstarch, and salt — don’t overmix, lumps are fine. Dip buds in batter, fry in batches for 2 minutes until crisp. Eat immediately with flaky salt or a dipping sauce of soy sauce and rice vinegar.
Why this works: Tempura batter (with cornstarch and ice-cold liquid) stays shatteringly crisp much longer than flour-only batters. The buds cook through in the same time it takes the batter to turn golden — no par-cooking needed.
Wild Berry Shrub
Not a plant recipe but arguably the best thing you can make with a summer berry haul. A shrub is a drinking vinegar — sweet, tart, and endlessly refreshing mixed with sparkling water or cocktails.
What you need: 2 cups wild blackberries or raspberries, 1 cup sugar, 1 cup apple cider vinegar.
What you do: Mash berries and sugar together in a jar. Let macerate 24 hours in the fridge. Strain through cheesecloth, pressing to extract every drop. Stir in vinegar. Bottle and refrigerate — keeps 6 months.
Why this works: The sugar draws out the berries’ juice and natural pectin. The vinegar preserves and brightens. A tablespoon in sparkling water is the most refreshing drink you’ll find in August.
Fall Foraged Recipes
Autumn is root season. The plants are pulling nutrients underground, concentrating sugars into taproots and tubers. This is when your kitchen starts smelling like roasting vegetables and earthy warmth.
Burdock Root Kinpira
Kinpira is a Japanese cooking technique — julienned root vegetables sautéed and glazed with soy and mirin. Burdock (gobo in Japanese) was made for this preparation. The root’s earthy depth and satisfying chew pair perfectly with sweet-salty glaze.
What you need: 2 medium burdock roots (scrubbed, not peeled — cut into matchsticks), 1 carrot (matchsticks), 1 tablespoon sesame oil, 1 tablespoon soy sauce, 1 tablespoon mirin, 1 teaspoon sugar, toasted sesame seeds.
What you do: Soak burdock matchsticks in cold water 10 minutes (removes excess tannins, prevents browning). Drain and pat dry. Heat sesame oil in a skillet over medium-high. Stir-fry burdock and carrot 3-4 minutes until beginning to soften. Add soy, mirin, and sugar — cook 2 more minutes until glaze coats everything. Top with sesame seeds.
Why this works: Burdock needs aggressive heat to tame its fibrous texture. The matchstick cut maximizes surface area for caramelization. Julienning might feel fussy but it’s the difference between “chewy but good” and “I’d order this at a restaurant.”
Acorn Flour Pancakes
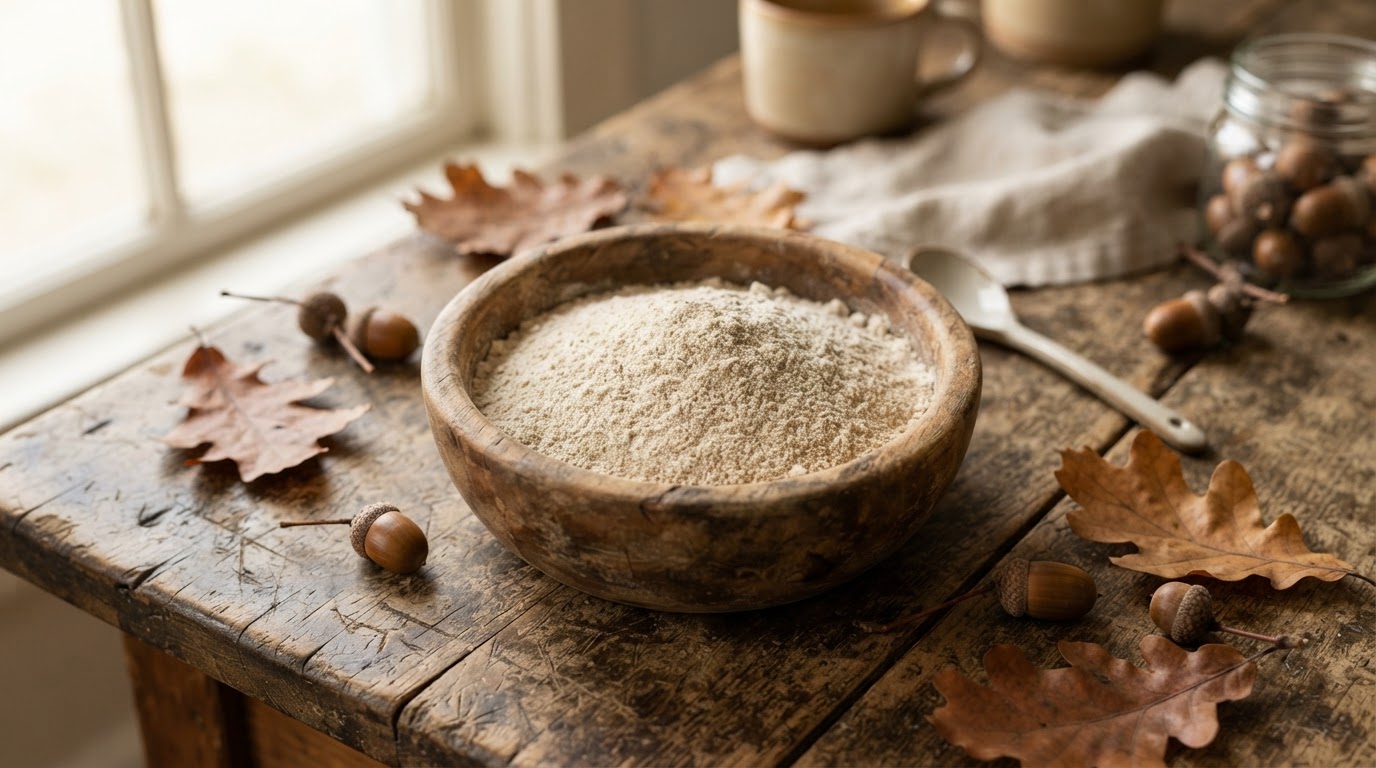
Processing acorns into flour is a commitment — you’ll soak them for days to leach out the bitter tannins. But the result is a nutty, slightly sweet flour with no gluten, which means pancakes that are simultaneously hearty and delicate.
What you need: 1 cup processed acorn flour, ½ cup all-purpose flour, 2 teaspoons baking powder, 1 tablespoon sugar, pinch salt, 1 egg, 1 cup milk, 2 tablespoons melted butter.
What you do: Whisk dry ingredients. Whisk wet ingredients separately, then combine — don’t overmix, lumps are fine. Cook on a buttered griddle over medium heat, flipping when bubbles form on the surface and edges look set. Serve with maple syrup and toasted walnuts.
Why this works: The all-purpose flour provides structure; the acorn flour provides flavor. Without that gluten backbone, pure acorn pancakes crumble apart. This 2:1 ratio gives you the best of both.
Rose Hip Jam
Rose hips sit on bushes well into fall, getting sweeter after the first frost. Turning them into jam takes patience but rewards you with a jar of pure autumn — tart, floral, and so high in vitamin C that one spoonful beats an entire orange.
What you need: 4 cups rose hips (tops and stems removed), 2 cups water, 2 cups sugar, juice of 1 lemon.
What you do: Simmer hips in water 30 minutes until soft. Press through a food mill or fine sieve to remove seeds and those irritating tiny hairs. Return pulp to pot, add sugar and lemon juice. Boil until mixture reaches 220°F or passes the cold-plate wrinkle test. Jar and process, or refrigerate for immediate use.
Why this works: The lemon juice isn’t just for flavor — the acid helps activate pectin for a proper set. And pushing the pulp through a sieve is non-negotiable. Rose hip hairs are famously irritating; you do not want them in your jam.
Winter Foraged Recipes
Winter foraging is lean but rewarding. Focus on roots, dried berries, and the few hardy greens that persist through frost.
Roasted Jerusalem Artichoke Soup
Jerusalem artichokes (also called sunchokes) are the tubers of a native North American sunflower. They’re available all winter in unfrozen ground and roast up sweet, nutty, and almost creamy. Just be warned about the nickname “fartichokes” — the inulin fiber they contain can cause, well, digestive enthusiasm in some people. Start with a small bowl.
What you need: 1 lb Jerusalem artichokes, scrubbed and roughly chopped, 1 onion, 2 cloves garlic, 3 cups stock, 2 tablespoons olive oil, salt, pepper, thyme.
What you do: Toss artichokes, onion, and garlic with olive oil, salt, and thyme. Roast at 400°F for 30 minutes until caramelized and tender. Transfer to a pot with stock, simmer 10 minutes, blend until velvety. Thin with more stock if needed.
Why this works: Roasting before blending transforms the sunchokes from raw-potato-starchy into caramelized-nutty-sweet. The soup needs nothing else — maybe a drizzle of good olive oil and some cracked pepper. It’s winter in a bowl.
Candied Angelica Stems
Angelica is a striking plant — tall, architectural, with celery-like stems that transform into something magical when candied. The stems have a unique flavor: herbal, slightly musky, almost licorice-like. Candying preserves them and turns them into an elegant dessert garnish or standalone treat.
What you need: Young angelica stems (spring-harvested and frozen, or fall second-growth), sugar, water, superfine sugar for coating.
What you do: Cut stems into 3-inch lengths. Blanch 2 minutes, drain, peel off the fibrous outer layer. Make a simple syrup (equal parts sugar and water). Simmer stems in syrup 20 minutes, then let them sit in the syrup overnight. Next day, drain, roll in superfine sugar, and dry on a rack for 24 hours.
Why this works: The overnight soak in syrup lets the sugar fully penetrate the stems. The final sugar coating seals in moisture and gives them that sparkly crystalline look. Store these in an airtight jar — they’ll last months and make any dessert look professional.
Flavor Pairing: What Wild Ingredients Love
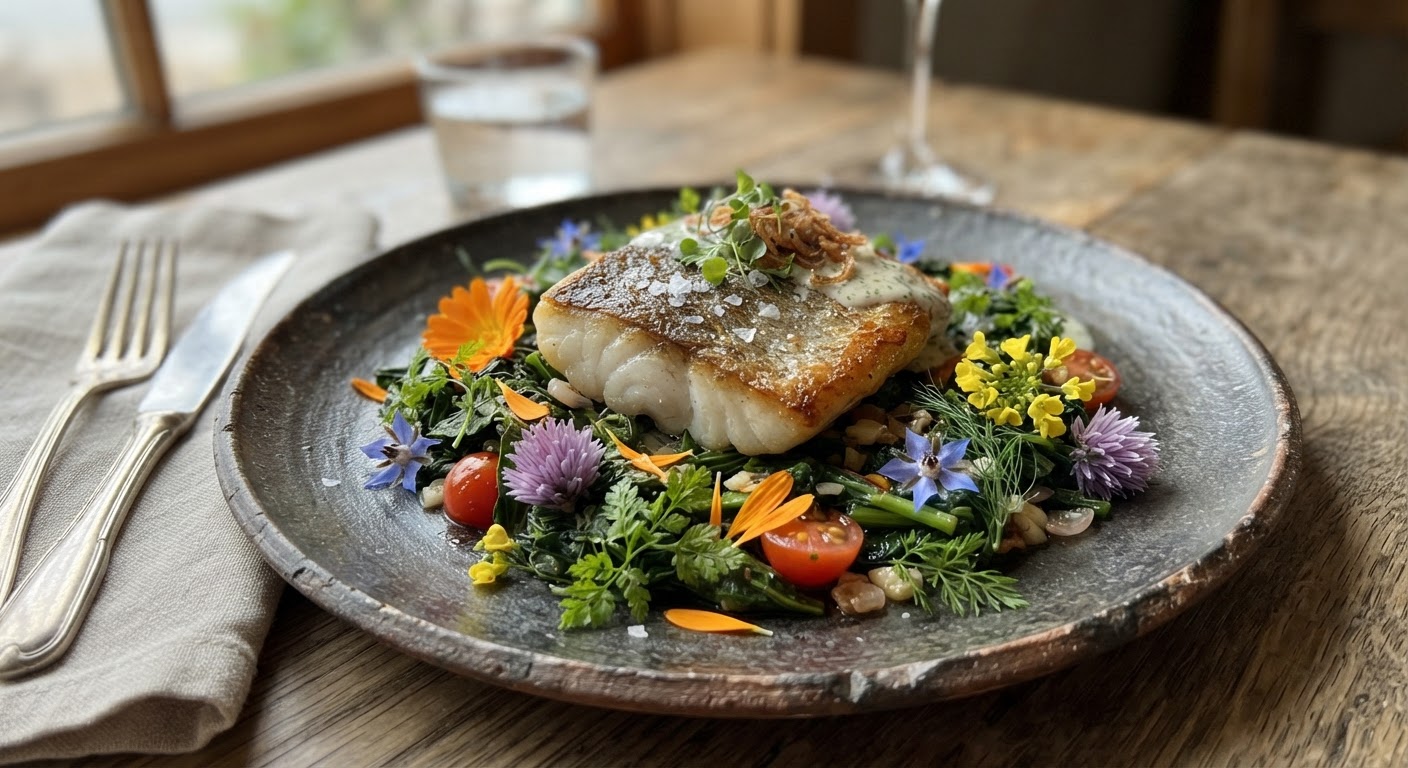
Cooking with wild ingredients gets exponentially easier once you understand what they like to hang out with. These aren’t rules — they’re shortcuts discovered through trial, error, and the occasional inedible experiment.
| Wild Ingredient | Fat Best Friends | Acid Best Friends | Aromatic Best Friends | Avoid Pairing With |
|---|---|---|---|---|
| Dandelion greens | Bacon fat, olive oil, butter | Lemon, apple cider vinegar | Garlic, chili flake, anchovy | Sweet dressings (amplifies bitterness) |
| Stinging nettle | Butter, cream, olive oil | Lemon, white wine vinegar | Nutmeg, garlic, black pepper | Nothing — nettles play well with everything |
| Purslane | Olive oil, sesame oil | Lime, sumac | Cilantro, cumin, chili | Heavy cream sauces (mucilage + dairy = gluey) |
| Wild garlic | Butter, olive oil, walnut oil | Lemon juice | Black pepper, chili | Strong competing herbs like rosemary |
| Wood sorrel | Olive oil (light) | Needs no acid — it IS the acid | Black pepper, delicate herbs | Heat (flavor vanishes when cooked) |
| Burdock root | Sesame oil, pork fat | Rice vinegar, mirin | Soy sauce, ginger, chili | Lemon (flavor clash with root’s earthiness) |
| Chickweed | Butter, cream | Lemon, white wine | Black pepper, nutmeg | Bold spices (too delicate) |
| Cattail shoots | Butter, brown butter | Lemon, capers | Garlic, parsley | Heavy tomato sauces |
| Lamb’s quarters | Olive oil, butter, bacon | Red wine vinegar | Garlic, cumin, coriander | None — it’s as versatile as spinach |
| Wild mushrooms | Butter, olive oil | Sherry vinegar | Thyme, garlic, shallots | Overpowering spice blends |
This table has saved more of my dinners than I’d like to admit. When in doubt: fat + acid + one aromatic. That formula rescues almost any wild ingredient.
The Weekend Forager’s Meal Plan
Theory is great. Here’s what a weekend of wild cooking actually looks like when you put everything together.
Saturday Morning — Forage: Hit your spot early, before the sun gets hot. Target 3-4 different ingredients — a green, a flower or fruit, and a root if the season allows. More variety means more interesting meals.
Saturday Afternoon — Process: Soak, spin, sort. Cook and eat the delicate stuff tonight; prep and store the rest.
Saturday Dinner — The Show-Off Meal:
- Starter: Wild green salad with whatever’s tender (chickweed, young dandelion, purslane) dressed simply with olive oil, lemon, salt
- Main: Pan-seared protein (fish, chicken, or tofu) with sautéed wild greens and wild garlic butter
- Dessert: Candied angelica or wild berry shrub spritzer
- Beverage: Dandelion root “coffee” — roasted, ground, brewed like French press
Sunday — The Batch Work:
- Turn remaining greens into pesto or blanched-and-frozen portions
- Pickle any extra roots
- Dehydrate mushrooms for the pantry
- Start that shrub or infused vinegar you’ve been thinking about
This rhythm — forage Saturday, cook Saturday night, preserve Sunday — keeps the work manageable and the payoff constant.
Your Wild Kitchen Questions, Answered
“Do I really need to cook everything from the wild? Can’t I just eat it raw?”
Some wild greens — purslane, chickweed, wood sorrel, young dandelion — are excellent raw. Others absolutely must be cooked. Nettles sting until heat breaks down the irritant compounds. Mature dandelion greens are unbearably bitter raw. Wild mushrooms should never be eaten uncooked — their cell walls are made of chitin, which humans can’t digest without heat. When uncertain, research that specific plant. “When in doubt, cook it” isn’t a bad default.
“How do I store wild greens so they don’t wilt by the next day?”
Treat them like fresh herbs, not like supermarket lettuce. Wrap unwashed greens in damp paper towels, place in a partially open plastic bag, and put them in the crisper drawer. Most wild greens will hold 3-5 days this way. Exception: chickweed and miner’s lettuce — these are delicate and should be used within 24 hours. Never store wet greens; surface moisture accelerates spoiling.
“Can I substitute wild greens one-for-one in regular recipes?”
Sometimes, but not always. Nettles substitute beautifully for spinach in any cooked dish. Purslane’s texture (slightly mucilaginous) means it doesn’t swap cleanly into raw spinach recipes — it’ll change the mouthfeel of your dish. Dandelion greens are significantly more bitter than any supermarket green, so start by replacing 25% of the greens in a recipe with dandelion, taste, and adjust up.
“What kitchen equipment makes wild cooking easier?”
A salad spinner (mentioned earlier — non-negotiable), a good blender for soups and pestos, a mandoline for uniform root slices, and a digital scale. The scale matters because wild ingredient sizes vary wildly — three “handfuls” of chickweed could be three ounces or nine, and that changes your recipe dramatically. Weigh your wild ingredients at least the first few times you cook with them.
“Are there any wild foods that become toxic when cooked wrong?”
Elderberries (Sambucus nigra) contain cyanogenic glycosides when raw — they must be cooked to be safe. Pokeweed (Phytolacca americana) requires a specific triple-boil process; skip a boil and you’re in trouble. Morels must be cooked thoroughly — raw or undercooked morels cause gastrointestinal distress. These aren’t reasons to avoid these ingredients; they’re reasons to follow the preparation instructions carefully.
“How do I get my family to actually eat this stuff?”
Start with wild garlic pesto on pasta — it’s familiar, delicious, and the word “wild” sounds exciting rather than threatening. Dandelion flower fritters are basically savory pancakes that happen to contain flowers. Nettle soup, when blended smooth and finished with cream, looks and tastes like a fancy restaurant soup — nobody needs to know it’s “weeds” until after they’ve asked for seconds. The gateway drug approach works: introduce wild ingredients in familiar formats, then gradually get more adventurous.
“What’s the one foraged meal I should make to really understand wild cooking?”
Dandelion, start to finish. Harvest young leaves for salad and flowers for fritters in spring. Dig roots in fall, slow-roast them, and brew the “coffee.” It’s the same plant expressing itself three completely different ways — bitter greens, sweet flowers, earthy roots. Once you’ve tasted all three preparations, you’ll understand something fundamental about wild food that no guide can teach you.
The Kitchen Is Where Foraging Comes Alive
Finding wild food is a skill. Identifying it correctly is a discipline. But cooking it — transforming something that grew without human intervention into a meal that makes people close their eyes and sigh — that’s where foraging becomes something more than a hobby.
Start with one recipe. Nettle soup if it’s spring. Purslane salad if it’s summer. Burdock kinpira if it’s fall. Make it once, badly — because the first attempt is almost always bad. Then make it again, adjusting. That’s how you develop instinct, not just knowledge.
The plants aren’t going anywhere. They’ll be there next week, next season, next year. What changes is you — your palate, your confidence, your ability to look at a pile of weeds and see dinner instead of yard waste.
Now go cook something wild.