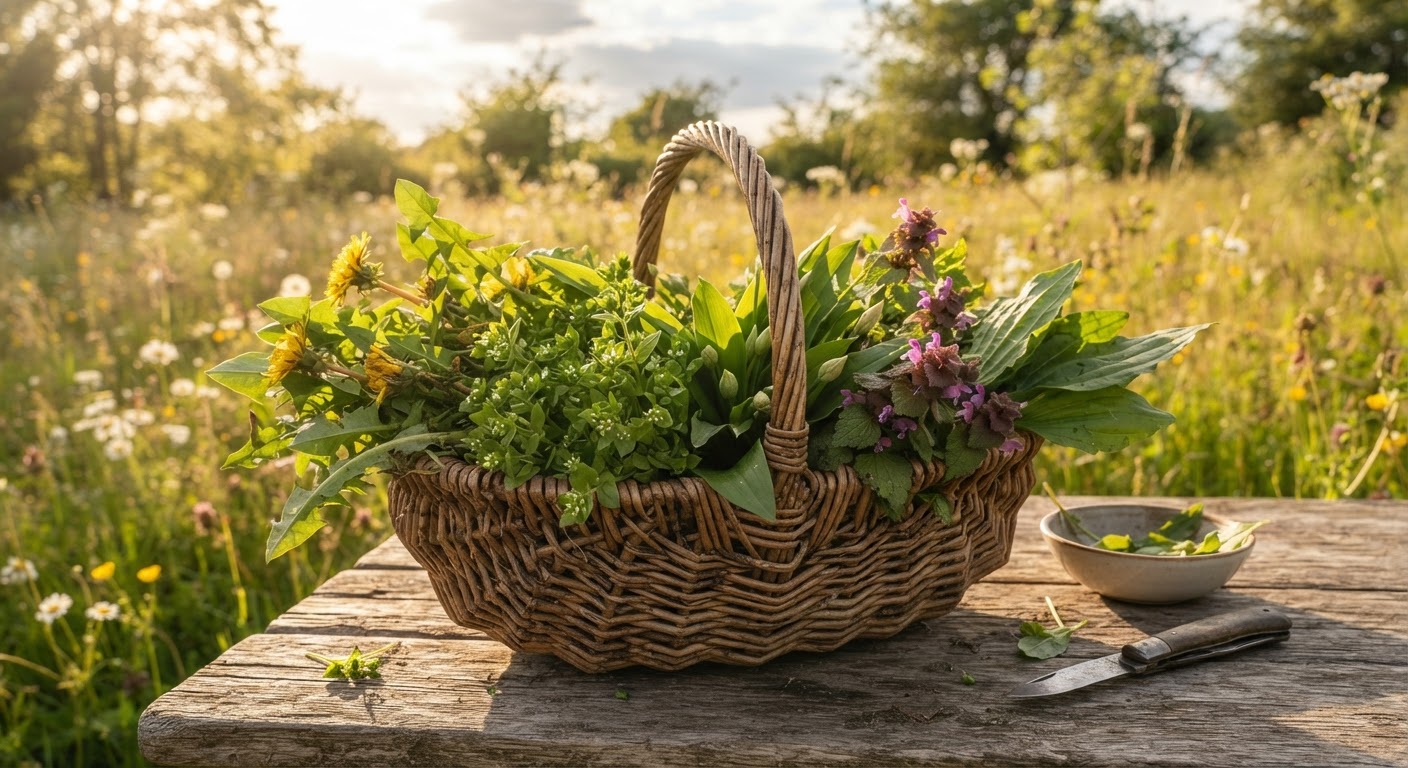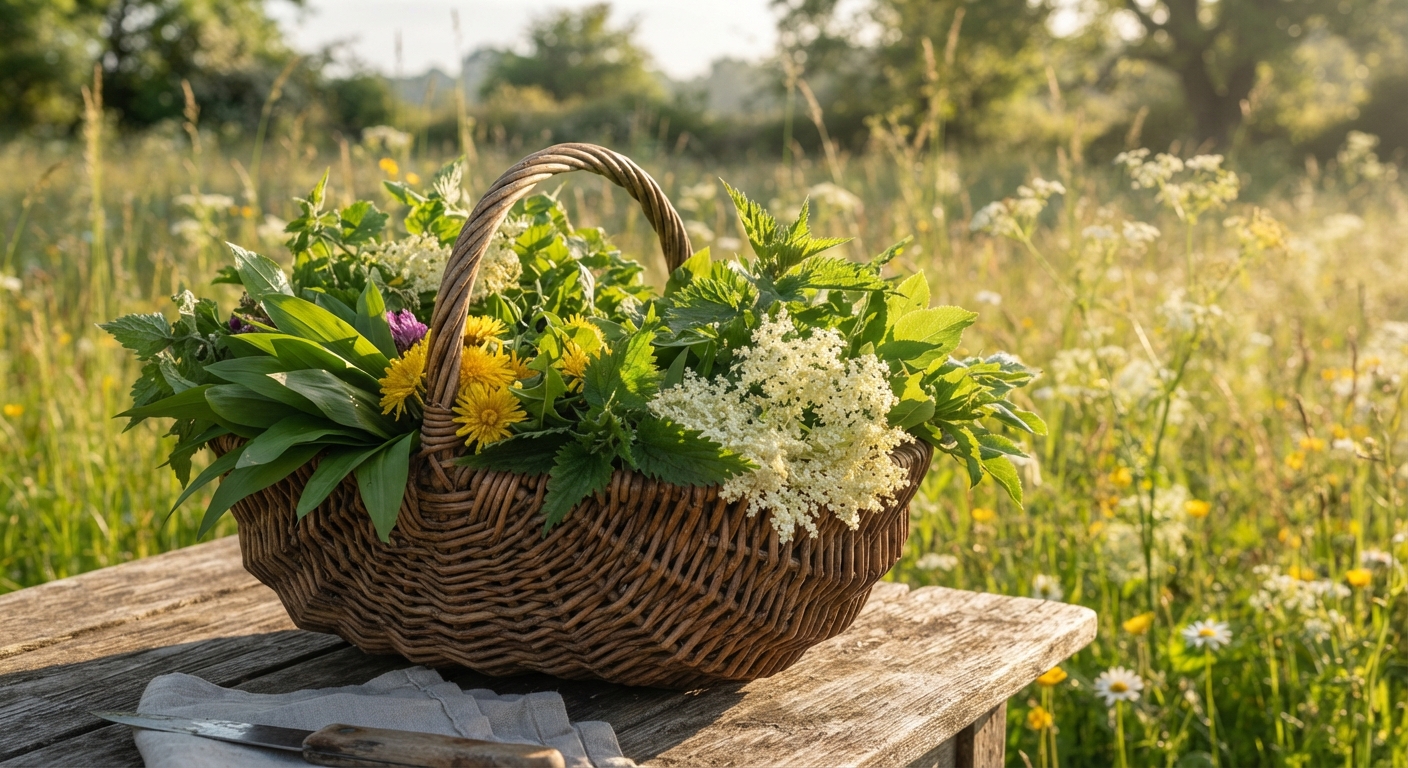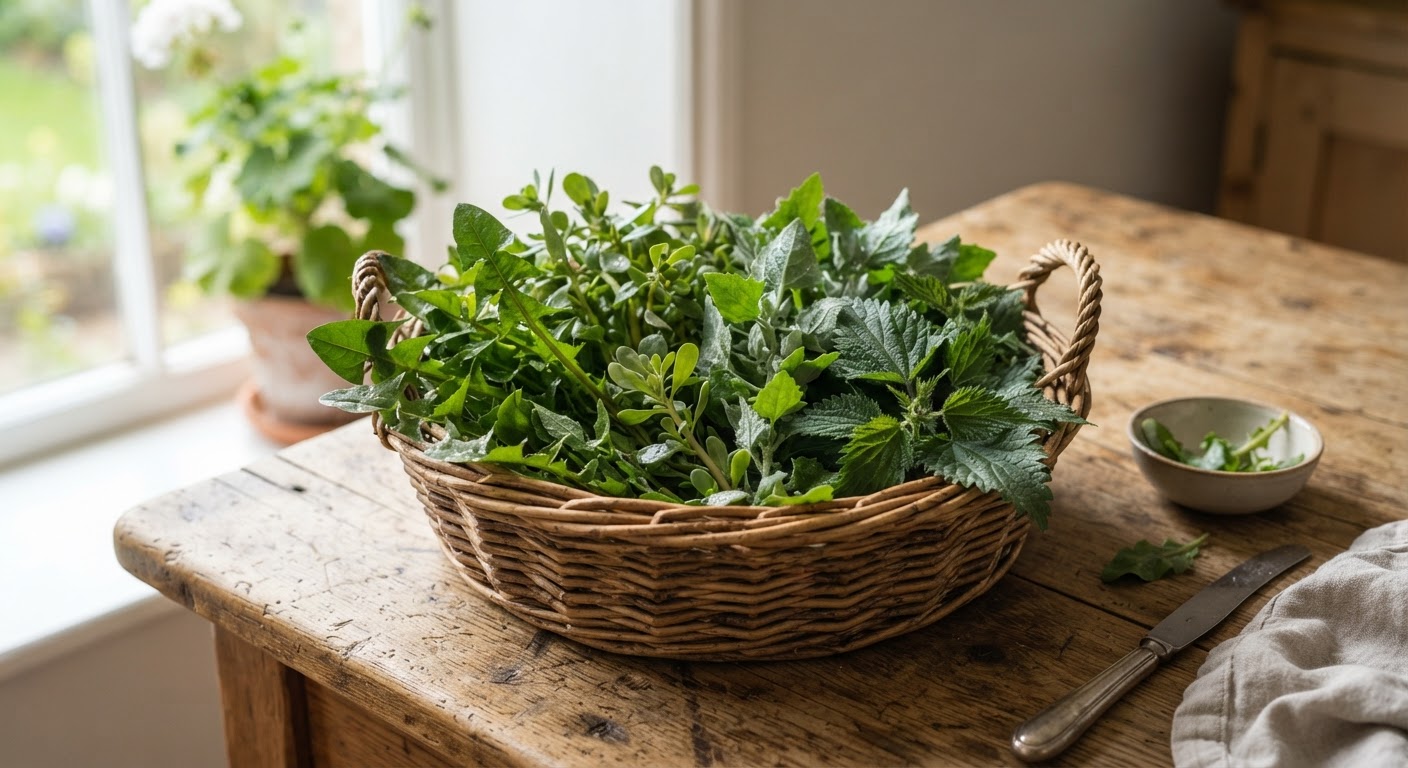
Ask ten people what “foraging” looks like and nine of them will describe mushrooms or berries. The basket in their head is full of chanterelles and blackberries. Nobody pictures a bag of greens. That blind spot is precisely why wild vegetables are the best place to start — and why so many beginners walk right past the easiest free food growing under their feet.
Here’s the thing I’ve learned from years of taking people out on their first forage: wild vegetables are the most beginner-forgiving category of wild food there is. They’re abundant. They regrow fast. Most of the common ones have no deadly lookalikes. And when you do make a mistake, a bitter leaf is a lot less dangerous than a misidentified mushroom. You get immediate feedback — taste, texture, smell — that mushrooms and berries simply don’t give you until it’s too late.
This guide is the one I wish someone had handed me. It’s not a giant list of fifty species you’ll forget by next week. It’s a working system: five vegetables to learn first, a field-to-table process you can repeat forever, a season calendar, and the small habits that separate people who actually eat wild greens from people who just read about them.
Why Wild Vegetables Are the Smartest First Forage
Mushrooms get the glory because they’re mysterious. Berries get the glory because they’re sweet. Vegetables get neither, and that’s a gift to you.
Think about what makes a food safe to forage. You want something common, easy to identify, and free of dangerous doubles. Wild greens tick every box. Dandelion grows on every lawn in North America and looks like nothing else. Purslane is a succulent with a shape no toxic plant imitates well. Lamb’s quarters is the mildest green you’ll ever eat and grows in the cracks of parking lots.
Compare that to mushrooms, where a single wrong ID can kill you, or to berries, where red fruit all starts to look the same after an hour in the field. Vegetables sit in the sweet spot: high abundance, low risk, fast learning curve. That’s the real reason to start here — not because greens are humble, but because they let you build identification skill on safe ground before you graduate to anything riskier.
There’s a nutritional bonus most people don’t expect. Wild greens are routinely more nutrient-dense than the cultivated lettuce and spinach they replace. Purslane contains more omega-3s than any leafy vegetable you can buy. Dandelion leaves pack more iron and calcium than spinach. Lamb’s quarters outpaces cultivated spinach on several key minerals. You’re not just getting free food — you’re often getting better food than what’s in the produce aisle, harvested minutes before it hits the pan.
The Core Five — Wild Vegetables Worth Learning First
Don’t try to learn twenty greens at once. Learn five, and learn them cold. These are the five I teach every beginner, chosen because each has a distinctive, hard-to-miss feature and none has a deadly lookalike in most of North America.
| Vegetable | Part to Eat | Flavor Profile | Unmistakable ID Marker | Lookalike Warning |
|---|---|---|---|---|
| Dandelion | Leaves, flowers, roots | Bitter, peppery | Single flower per hollow stem, jagged “lion’s tooth” leaves | None serious; chicory is edible too |
| Purslane | Leaves, stems, seeds | Mild, lemony, succulent | Thick reddish stems, fleshy paddle-shaped leaves | Spurge has milky white sap — purslane never does |
| Lamb’s Quarters | Leaves, young stems, seeds | Mild, spinach-like | Powdery white coating on young leaves, goosefoot leaf shape | None serious; related to edible quinoa |
| Stinging Nettle | Young leaves and tops | Rich, spinach-like when cooked | Tiny stinging hairs, deeply serrated leaves | Dead nettle is harmless (square stems) |
| Wood Sorrel | Leaves, flowers, seed pods | Sour, lemony, tangy | Three heart-shaped leaflets, sour taste | None; clover is edible too |
Dandelion is the classic first plant because you already know it. Every part is usable, and the bitterness (which mellows when cooked or picked young) is a built-in safety check — nothing else looks like a dandelion’s toothy leaves and hollow flower stalk.
Purslane is the beginner’s favorite because it’s delicious and unmistakable. Look for the fleshy, almost rubbery leaves and the red-tinged stems sprawling flat across dry garden soil. The one rule that matters: if you break the stem and white sap comes out, it’s spurge, not purslane. Purslane’s sap is clear.
Lamb’s quarters is what you cook when you want people to forget they’re eating a “weed.” It tastes so much like spinach that most people can’t tell the difference. Find it in disturbed soil and garden beds, recognizable by the powdery white dust on the youngest leaves.
Stinging nettle is the exception to “no defenses” — it stings on contact. But that sting is also its gift: it makes nettle one of the easiest plants to positively identify, and cooking destroys the sting entirely. Wear gloves, harvest the young tops in spring, and you’ve got one of the most nutritious greens on the planet.
Wood sorrel is your trail snack. The three heart-shaped leaflets look like clover, but the instant sour-lemon taste settles it in half a second. Eat it raw in small amounts — it’s high in oxalic acid, so treat it as a garnish, not a main course.
From Field to Table — The Step-by-Step Process
The difference between a forager and someone who just likes the idea of foraging is a repeatable process. Here’s the exact sequence I use, from the moment I spot a plant to the moment it hits my plate.
Step 1: Positively Identify — No “Probably” Allowed
The 100% rule is non-negotiable: if you can’t identify it with complete confidence, you don’t eat it. “I’m 90% sure” means you’re 100% unsure, just with extra confidence.
Use the three-feature check. A single trait isn’t enough. Confirm at least three independent features — leaf shape, stem structure, flower, smell, taste, growth habit, habitat. Dandelion passes because the jagged leaves, hollow stem, single flower, and milky (but harmless) sap all agree. If two features point one way and a third points another, you walk away.
Cross-reference with a regional field guide, not a single blog post. Apps help, but a physical guide written for your specific region catches the lookalikes a generic app might miss.
Step 2: Harvest at the Right Time, in the Right Place
Where you pick matters as much as what you pick. Three rules govern every harvest:
- Never harvest within 50 feet of a road. Plants absorb exhaust residue and roadside runoff.
- Never harvest from sprayed areas. Lawns with perfect weed-free stripes have been treated. Wild greens love the messy, unsprayed edges — that’s where you want them.
- Take young growth, and take less than a third. Young leaves are more tender and less bitter. Leaving most of the plant guarantees it comes back next season.
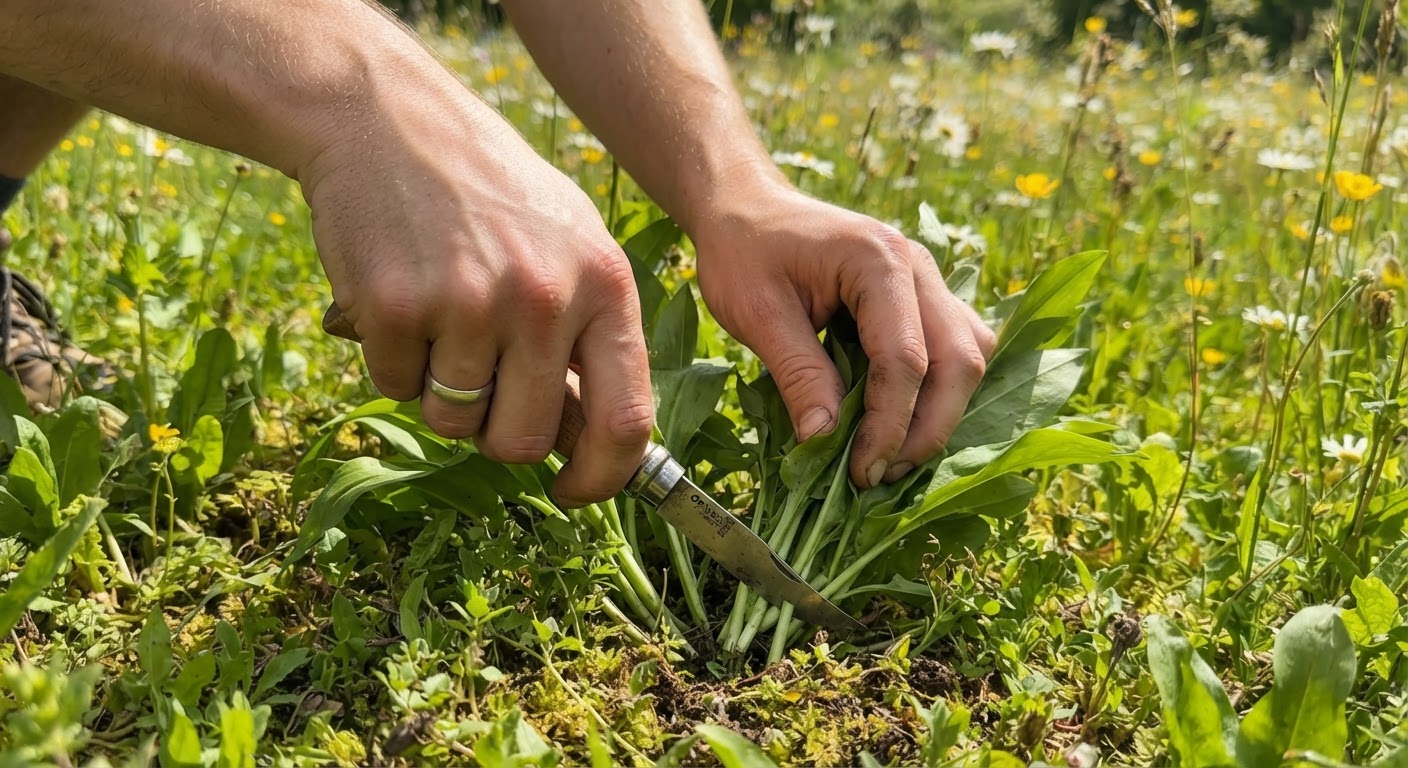
Pick greens in the morning when they’re hydrated and crisp. Harvest cleanly at the base of the leaf or stem with scissors or a sharp knife rather than yanking, which damages roots and brings up dirt.
Step 3: Clean Like It Actually Matters
Wild greens carry more than grocery greens do — grit, aphids, tiny spiders, and the occasional slug. A quick rinse isn’t enough.
Dunk the harvest in a large bowl of cold water and swish vigorously. Lift the greens out (don’t pour, which dumps the settled grit back on top), then repeat with fresh water until the bowl runs clear. A salad spinner finishes the job. For dandelion and other deeply-ribbed leaves, split the leaf and rinse the crevice where dirt hides.
Inspect every leaf under good light. You’re not just washing — you’re doing a final identity and quality check. Anything bug-eaten, yellowed, or questionable gets tossed.
Step 4: Cook It Well — Wild Greens Deserve Technique
This is where beginners give up and where I win them back. Wild greens are often more bitter and tougher than cultivated ones, and the fix is almost always in how you cook them.
| Cooking Method | Best For | What It Does | Quick Guide |
|---|---|---|---|
| Blanching | Dandelion, older nettle | Removes bitterness and sting | 30–60 seconds in boiling water, then ice bath |
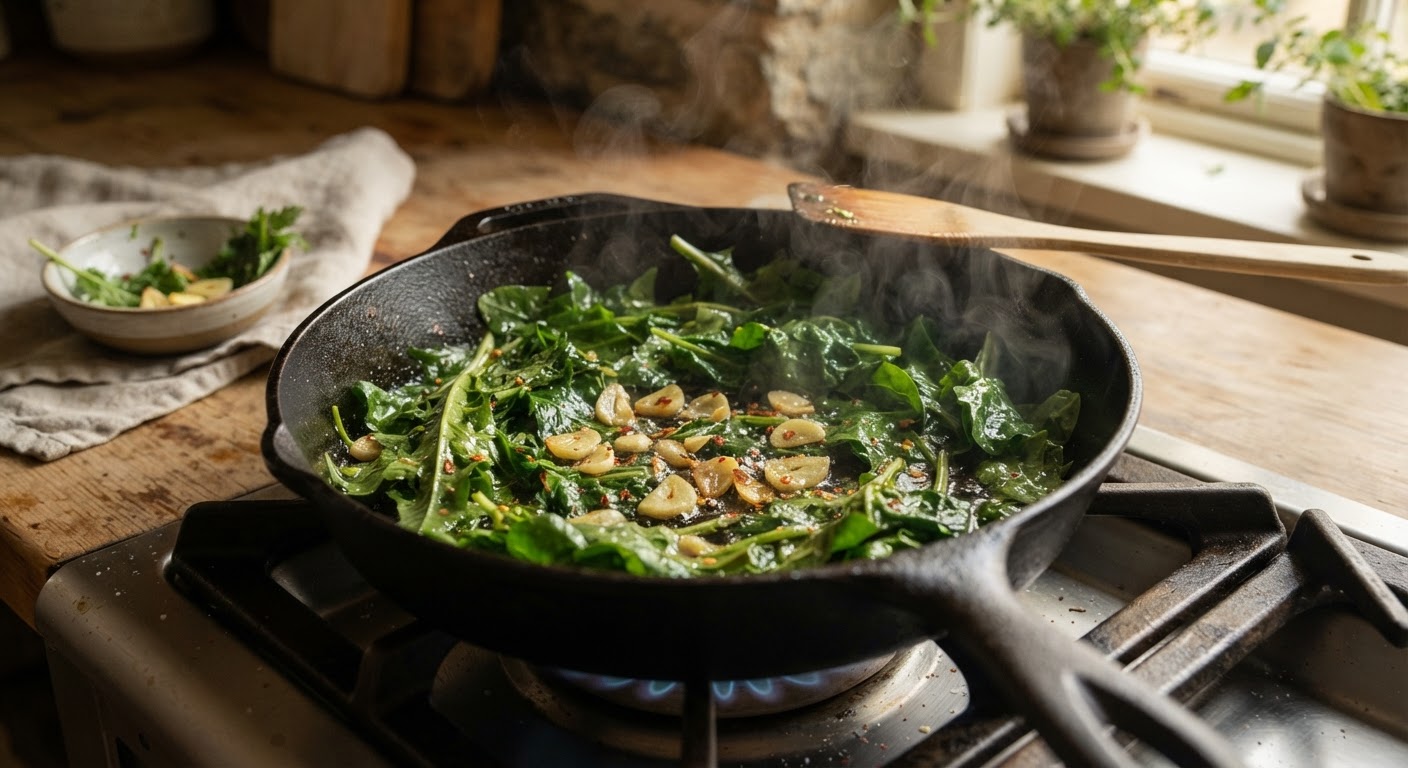
| Sautéing | Lamb’s quarters, purslane, nettle | Adds richness, wilts tough leaves | Hot pan, oil, garlic, 2–3 minutes |
| Raw (young) | Wood sorrel, young purslane | Preserves crispness and nutrients | Dress lightly, serve immediately |
| Soups & stews | Nettle, lamb’s quarters | Softens texture, stretches flavor | Add in the last 5 minutes |
| Pesto | Nettle, lamb’s quarters | Masks bitterness, freezes well | Blanch, blend with nuts, oil, garlic |
The blanching trick is the single most useful thing in this whole guide. A 30-second dip in boiling water followed by an ice bath turns bitter, tough dandelion into a mild, tender green that even picky eaters enjoy. Nettle’s sting disappears the instant it hits boiling water. If a wild green tastes too harsh, you probably skipped this step.
A Season-by-Season Harvest Calendar
Wild vegetables aren’t always there — they arrive and vanish on a schedule. Here’s when to look for each of the Core Five across a typical North American season.
| Vegetable | Spring | Summer | Fall | Winter | Notes |
|---|---|---|---|---|---|
| Dandelion | Best (young, tender) | Good (bitter) | Good | Limited | Young spring leaves are mildest |
| Purslane | — | Best | Good | — | Thrives in summer heat |
| Lamb’s Quarters | Good | Best | Good | — | Young plants all season long |
| Stinging Nettle | Best (young tops) | Fair (tough) | Good (new growth) | — | Only harvest before it flowers |
| Wood Sorrel | Best | Good | Good | Limited | Sour year-round where green |
The pattern to remember: spring is the prime harvest season for greens. Plants push out tender, mild new growth before they flower. As summer heat arrives, leaves turn tougher and more bitter, and nettle becomes fibrous and should be left alone once it flowers. A second, gentler harvest window often opens in early fall when cooler weather triggers fresh growth.
Pro Tips from Years of Picking Greens
These are the small habits that took me years to absorb, compressed into a list:
- Taste as you go, a tiny bit at a time. A nibble of a positively identified leaf tells you more about bitterness and quality than any description. Spit it out if anything’s off.
- Carry a dedicated foraging bag, not a plastic one. Cloth or woven bags let greens breathe and don’t trap moisture, which turns your harvest to mush.
- Keep a harvest notebook. Note the plant, location, date, and what the growth stage looked like. Next year you’ll know exactly when and where to return — this is how you build a personal calendar that beats any book.
- Learn one plant per week, not five per afternoon. Depth beats breadth. A plant you know cold is worth ten you sort-of recognize.
- Cook wild greens the same day. They wilt fast. If you must store them, wrap them in a damp cloth in the fridge and use within 24 hours.
- Start in your own backyard. Dandelion, purslane, and lamb’s quarters are probably already there. Learning on plants you can revisit daily beats any field trip.
- Never harvest everything. The old rule holds: take a third, leave two-thirds, and the patch is still there next season — for you and for the wildlife.
Wild Vegetable Questions, Answered
Rather than a formal FAQ, here are the questions people actually ask me on their first forage, answered the way I’d answer over coffee.
“How do I know a green is safe to eat if I’m brand new?” You don’t, until you’ve confirmed it three ways. Learn the Core Five one at a time, check three features on every plant, and cross-reference a regional guide. Start with dandelion — you already know it, and nothing dangerous looks like it.
“Do wild greens actually taste good, or just ‘edible’?” Some genuinely taste great — purslane is a favorite even among non-foragers, and lamb’s quarters is a dead ringer for spinach. Dandelion and nettle need the blanch-and-sauté treatment to shine. Bitter is a feature you learn to cook around, not a flaw.
“What’s the one mistake beginners always make?” Harvesting from sprayed or roadside areas. The plant might be perfectly edible, but the location has contaminated it. When in doubt about a lawn, skip it.
“Can I eat wild greens raw?” Some, yes — young purslane and wood sorrel are excellent raw. But dandelion, nettle, and lamb’s quarters are far better cooked, and nettle must be cooked (or dried) to neutralize the sting. When in doubt, cook it.
“How much can I safely harvest?” Take young growth and no more than a third of any single plant or patch. This keeps the plant healthy and leaves plenty for wildlife and other foragers.
“Is foraging wild vegetables even worth the effort?” If you enjoy it, absolutely — and “worth it” is the wrong frame. Think of it less as grocery shopping and more as a skill that pays you back in better food, time outdoors, and a real sense of place. The first time you sauté a pan of greens you picked ten minutes earlier, the math stops mattering.
Your First Week, Step by Step
If you read nothing else, here’s the whole system in miniature. Do this in order and you’ll be eating wild vegetables within days, not months.
- This week: learn dandelion completely — leaves, stem, flower, habitat, the whole plant. Confirm it three ways in your own yard or a park.
- Harvest carefully: pick young leaves from an unsprayed area at least 50 feet from any road, taking less than a third of the plant.
- Clean thoroughly: dunk and swish in cold water, change the water, spin dry, inspect every leaf.
- Cook with the blanch trick: 30–60 seconds in boiling water, ice bath, then sauté with garlic and oil.
- Add one plant a week: purslane next, then lamb’s quarters, then nettle (with gloves), then wood sorrel as a trail nibble.
- Log it: write down what you picked, where, and when. That notebook becomes your personal field guide.
By the time you’ve cycled through the Core Five, you’ll have built the single most important foraging skill there is — the confidence that comes from positively identifying, harvesting, and cooking real plants with your own hands. Everything else in foraging gets easier from there.
Wild vegetables won’t impress anyone at a dinner party the way a basket of chanterelles would. But they’ll feed you more often, more safely, and more cheaply than any other wild food. The greens are already growing. All you have to do is learn to see them.