Edible Wild Plants: The Complete Year-Round Foraging Guide
A friend of mine spent an entire April filling her freezer with dandelion greens and stinging nettle. Then June arrived, the nettles went coarse, the dandelions turned bitter, and she looked around and said, “Well, I guess foraging season is over.”
That’s the single biggest misconception people carry into the woods. Foraging doesn’t have a season. It has four of them. The plants rotate, but the supply never actually stops — the dandelion of spring becomes the purslane of summer, which becomes the acorn of autumn, which becomes the burdock root of winter. If you only know the spring greens, you’re eating from a twelve-month pantry and using about eight weeks of it.
This guide is the deep dive. Not a list of fifty species to memorize by tomorrow, and not a ten-minute skim. It’s the full picture: what’s actually in season month by month, how to identify plants without guessing, and how to move what you pick from the field to your plate. Read it once to get the map, then keep it around as a reference you come back to.
Why Most Foragers Quit After One Season
Before we get to the plants, it’s worth understanding the trap, because most people fall into it without noticing.
Beginner foraging content leans hard on spring. And for good reason — spring is the easiest entry point. Tender greens, obvious flowers, everything at its most forgiving. But it creates a distorted mental model: wild food equals young spring leaves, and when those pass, the whole hobby seems to end.
The reality is that every season trades one set of plant parts for another. Spring gives you leaves and shoots. Summer gives you fleshy greens, berries, and seed heads. Autumn gives you nuts, roots, and late fruit. Winter gives you roots, hardy greens, and evergreen needles. A forager who understands this never runs out of material — they just switch targets.
That rotation is the backbone of everything that follows. Learn the seasons, and you’ll always know where to look and what you’re looking for.
The Four-Season Framework: What’s Edible, When
Here’s the working system. Don’t try to memorize it all at once — instead, notice the pattern: each season has a signature plant part you’re hunting for.
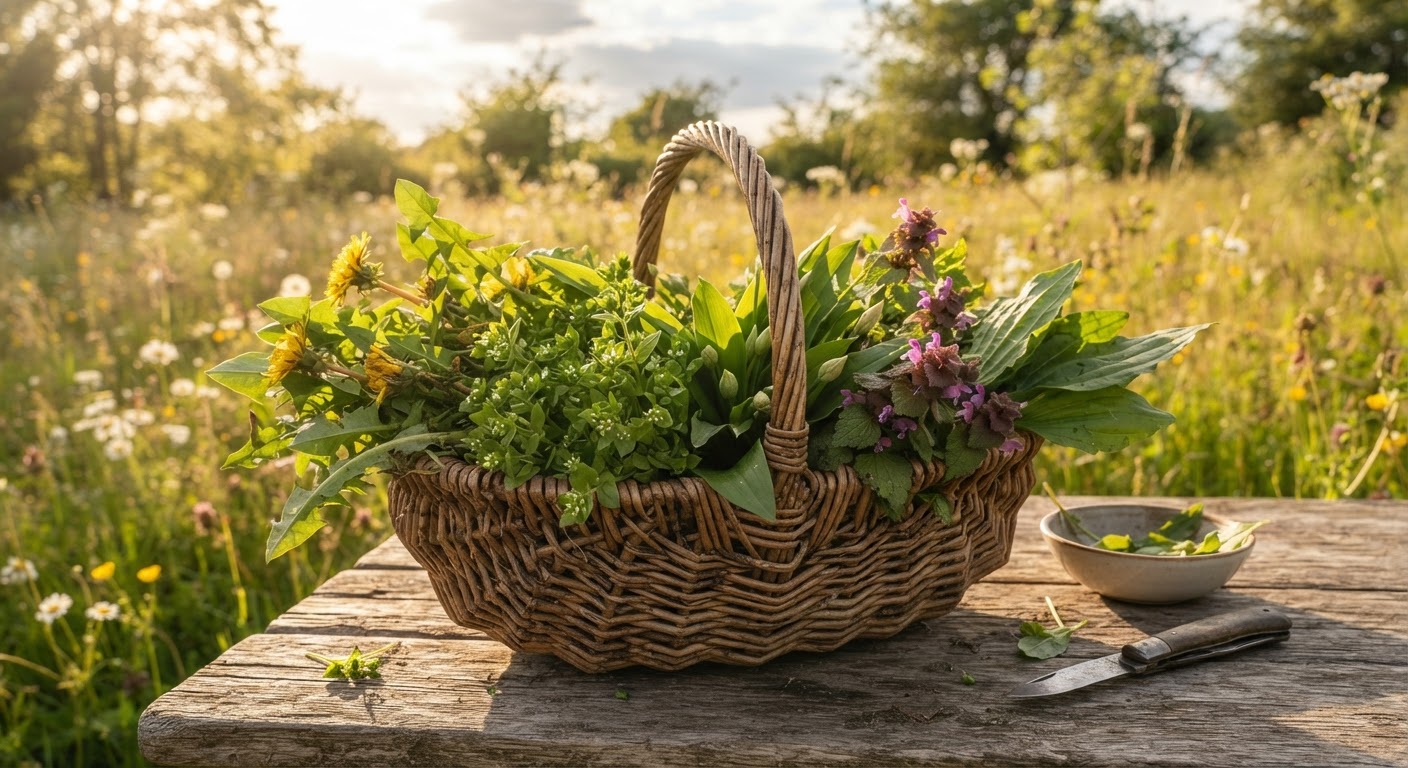
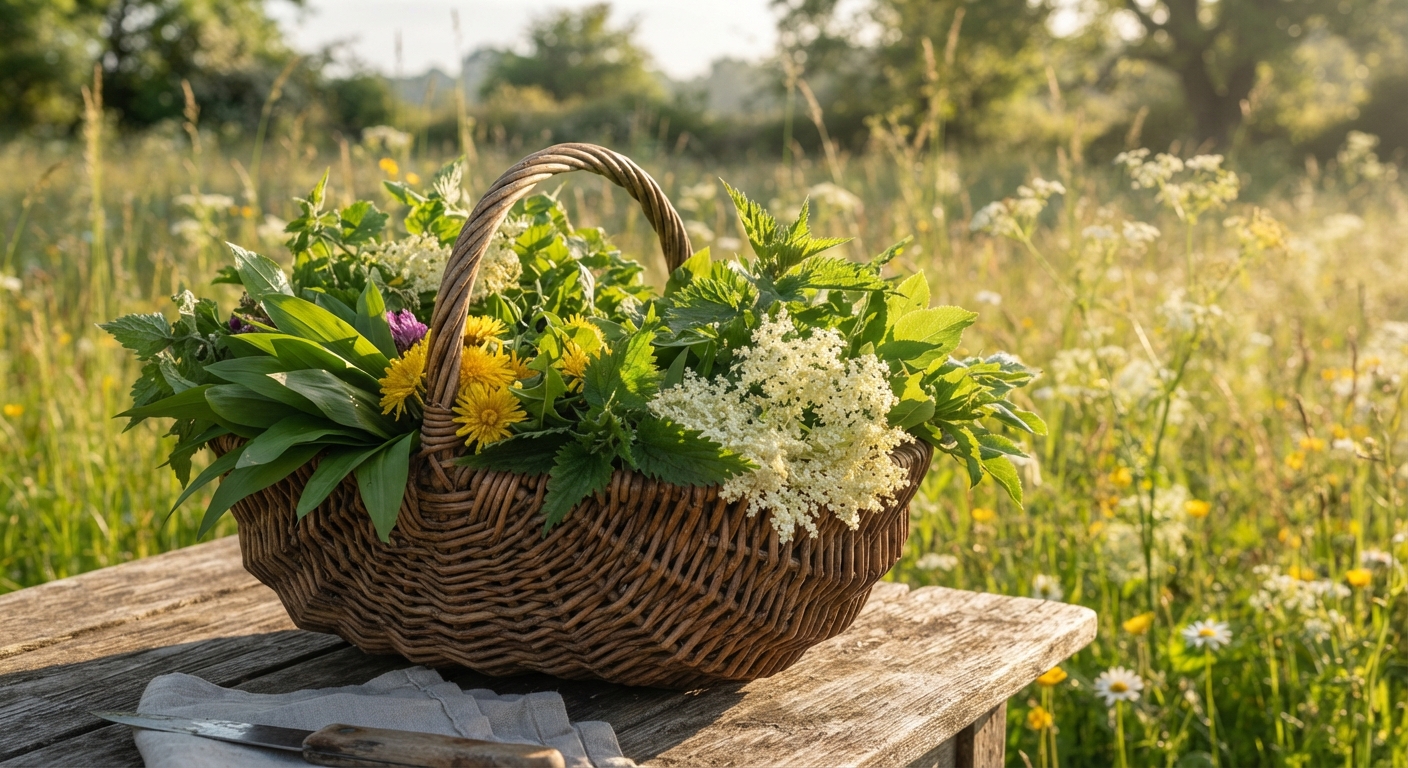
Spring is leaf and shoot season. Plants are pushing up fresh growth, and that young tissue is the most tender and least bitter it will ever be. This is when you harvest dandelion greens, stinging nettle tops, chickweed, wild garlic, fiddleheads, and the first mushrooms like morels.
Summer is the fleshy and fruity season. The tender spring leaves have toughened, but now you get thick, succulent greens like purslane and lamb’s quarters, plus the first berries, edible flowers, and seed heads you can dry or winnow.
Autumn is the storage season. Trees and perennials are pulling energy back into their roots and seeds, which is exactly what you want — nuts like acorns, walnuts, and hickory, plus roots like burdock and dandelion, and late fruits like rose hips and elderberries.
Winter is the root and evergreen season. The above-ground menu shrinks, but it doesn’t vanish. Hardy greens like chickweed keep growing under snow, evergreen needles make tea, and roots that stored sugar all autumn are at their sweetest.
Here’s the same idea as a reference chart you can actually use in the field:
| Season | What You’re Hunting | Star Plants | Best Time to Harvest |
|---|---|---|---|
| Spring | Tender leaves & shoots | Dandelion, nettle, chickweed, wild garlic, fiddleheads, morels | Before flowers open; after last frost |
| Summer | Fleshy greens & fruit | Purslane, lamb’s quarters, amaranth, clover, blackberries, mulberries | Morning, before full heat |
| Autumn | Nuts, roots & late fruit | Acorns, walnuts, hickory, burdock, rose hips, elderberries | After first frost (sweetens roots & fruit) |
| Winter | Roots, hardy greens & needles | Burdock, dandelion root, chickweed, pine & spruce needles | Anytime ground isn’t frozen solid |
One caveat that trips up newcomers: this chart is for a temperate Northern Hemisphere climate. If you’re in the tropics or the Southern Hemisphere, shift it — your “winter” may not exist, and your spring comes in September. The pattern still holds; only the calendar moves.
How to Identify Edible Wild Plants Without Guessing
Now for the part people are actually nervous about. You can know exactly what’s in season and still freeze up the moment you’re standing over a plant, wondering if it’s dinner or a trip to the hospital.
The fix isn’t memorizing more species. It’s a repeatable method that forces you to confirm identity before you put anything in your mouth. I use a three-part check, and I won’t pick anything that can’t pass all three.
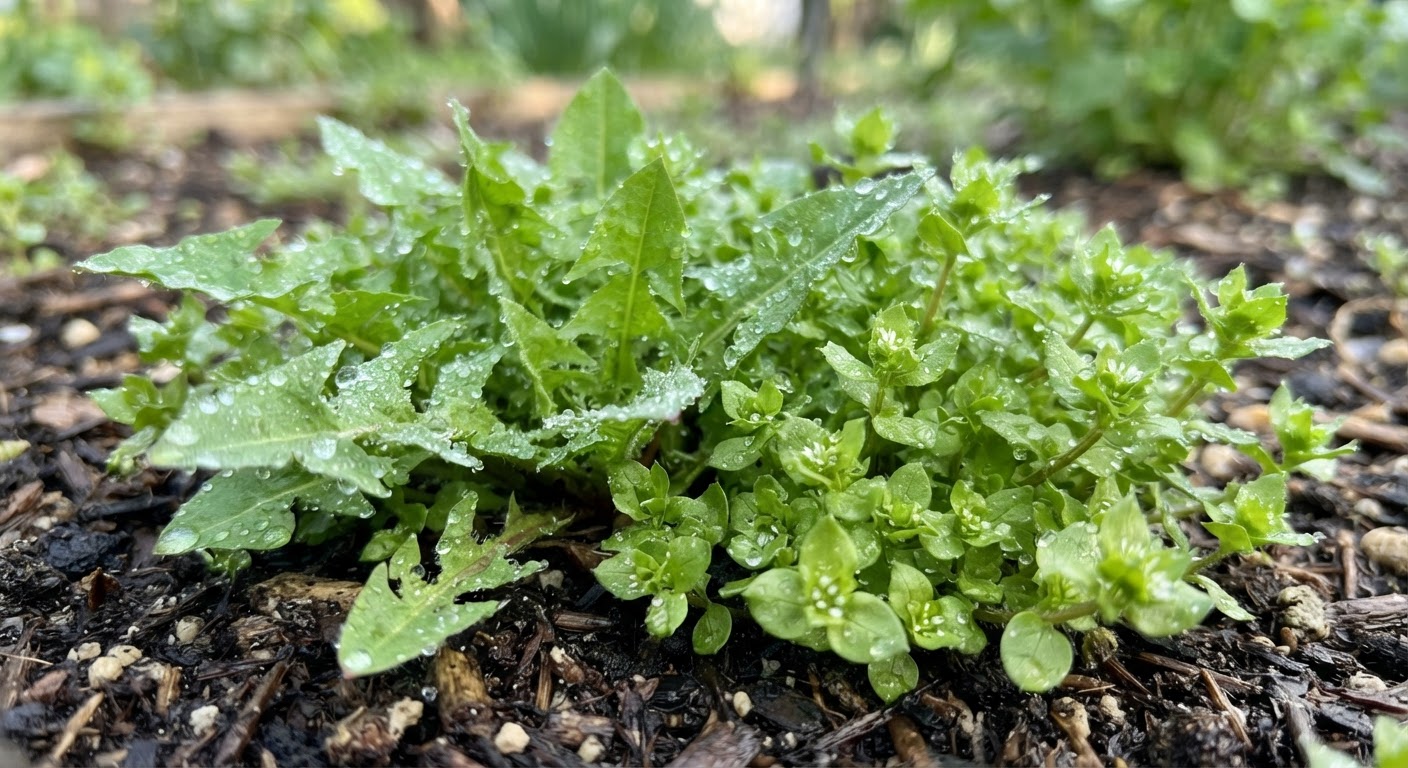
Part one: positive identification. You don’t identify a plant by what it kind of resembles — you identify it by matching every key feature to a description. For a dandelion, that means the hollow flower stem, the milky sap, the toothy leaves that point back toward the base, and the single flower per stem. If one feature doesn’t match, it’s not the plant.
Part two: the lookalike check. Every safe plant has a shortlist of dangerous twins. You have to know what those twins are before you harvest. If you can’t name the lookalike and tell me how it’s different, you don’t pick it. That single rule eliminates most foraging accidents.
Part three: the universal edibility test for unknowns. This is the slow, last-resort protocol — not a shortcut. You test a tiny amount on your skin, then lips, then tongue, then a small swallow, waiting hours between steps. You use this only when you’re in a genuine survival situation with a plant you can’t identify. In normal circumstances, if you can’t positively identify it, you leave it. The test exists to keep you alive in an emergency, not to make guessing safe.
Here’s a comparison table for the most common safe-toxic pairs — memorize the “don’t confuse with” column first:
| Safe Plant | Don’t Confuse With | The Key Difference |
|---|---|---|
| Dandelion | Groundsel, young hemlock | Dandelion leaves are hairless with backward-pointing teeth; groundsel is fuzzy, hemlock has purple blotches on a smooth stem |
| Wild garlic / field garlic | Lily-of-the-valley, death camas | Smells strongly of onion/garlic when crushed — the smell is your safety net |
| Chickweed | Spurge | Chickweed has a single line of hairs down the stem and snaps clean; spurge leaks milky sap |
| Elderberry | Water hemlock berries, pokeweed | Elderberry grows in flat-topped clusters of tiny berries; hemlock berries sit on umbrella-shaped stalks |
| Wild grape | Moonseed | Grape seeds are round and teardrop-shaped; moonseed has a single crescent-shaped seed |
The pattern to notice: in almost every case, the difference is a specific, checkable feature — a smell, a sap color, a stem detail. That’s what you train yourself to look for. Vague recognition is not identification.
Step-by-Step: From Field to Plate
Identification is half the job. The other half is everything that happens after you’ve confirmed the plant — and this is where beginners waste the most food by doing it wrong. Here’s the full pipeline, in order.
Step 1 — Harvest like you plan to come back
Cut, don’t yank. For leafy greens, snip the outer leaves and leave the growing crown intact so the plant keeps producing. For roots, dig only what you need and only from a healthy, abundant patch. For berries and nuts, take a fraction — leave the rest for wildlife and for the plant’s own reproduction. And never harvest from sprayed lawns, roadsides within fifty feet of traffic, or areas where dogs are walked regularly.
Step 2 — Field-clean as you go
Get the grit and bugs out while you’re still outside. Knock off soil, pick off damaged leaves, and drop your haul into a breathable basket or cloth bag — plastic bags trap moisture and wilt everything into mush. A quick shake or rinse at the source saves you an hour of tedious work at the sink.
Step 3 — Sort at home with a bright light
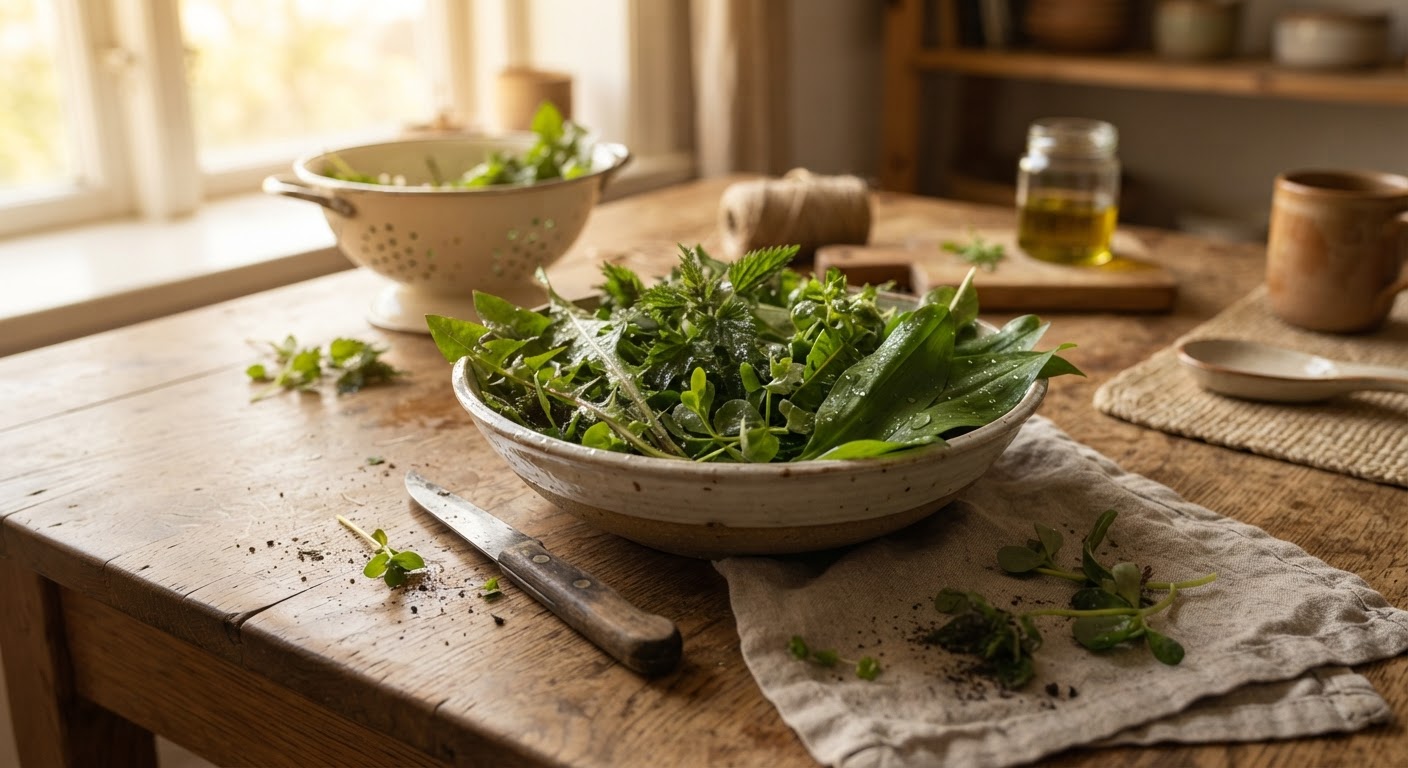
Spread everything on a clean counter under good light and go through it piece by piece. This is your second, unhurried identification pass. Anything you can’t confidently name now gets removed. If a handful of your haul has even one suspicious leaf in it, the whole handful goes — never sort by guesswork.
Step 4 — Clean properly, not aggressively
Different plants want different washing. Delicate greens like chickweed get a gentle swish in cold water. Gritty ones like purslane and lamb’s quarters get several changes of water with a little agitation. Roots get scrubbed with a brush. Dry greens well — a salad spinner is genuinely worth it — because wet greens spoil fast.
Step 5 — Store for the reality of your week
Leafy greens last three to five days in a damp paper towel inside a loosely closed container in the fridge. Roots last weeks in a cool, dark place, ideally packed in damp sand or sawdust. Nuts need to be dried thoroughly and kept in a cool, dry spot or they’ll mold within days.
Step 6 — Cook with a safety net, not a guess
Most wild greens improve with cooking, and many need it. Bitter greens mellow with blanching. Nettles lose their sting the instant they hit boiling water. Acorns need leaching before they’re edible. Here’s a quick reference for the plants you’re most likely to bring home:
| Plant | Part You Eat | Basic Prep |
|---|---|---|
| Dandelion | Young leaves, flowers, roots | Blanch leaves to cut bitterness; roast roots for a coffee substitute |
| Stinging nettle | Young tops | Blanch or steam to disarm the sting, then use like spinach |
| Purslane | Leaves and stems | Eat raw in salad or sauté quickly; mucilaginous, great in soups |
| Lamb’s quarters | Leaves and young stems | Cook like spinach; rinse well to remove the powdery coating |
| Acorns | Nuts | Shell, grind, and leach in water to remove tannins before using as flour |
| Burdock | First-year roots | Peel, then boil, roast, or stir-fry; harvest from young plants |
| Rose hips | Fruit | Remove seeds, then simmer for tea, syrup, or jelly |
Pro Tips From Years in the Field
A few things I wish someone had told me at the start, saved in one place.
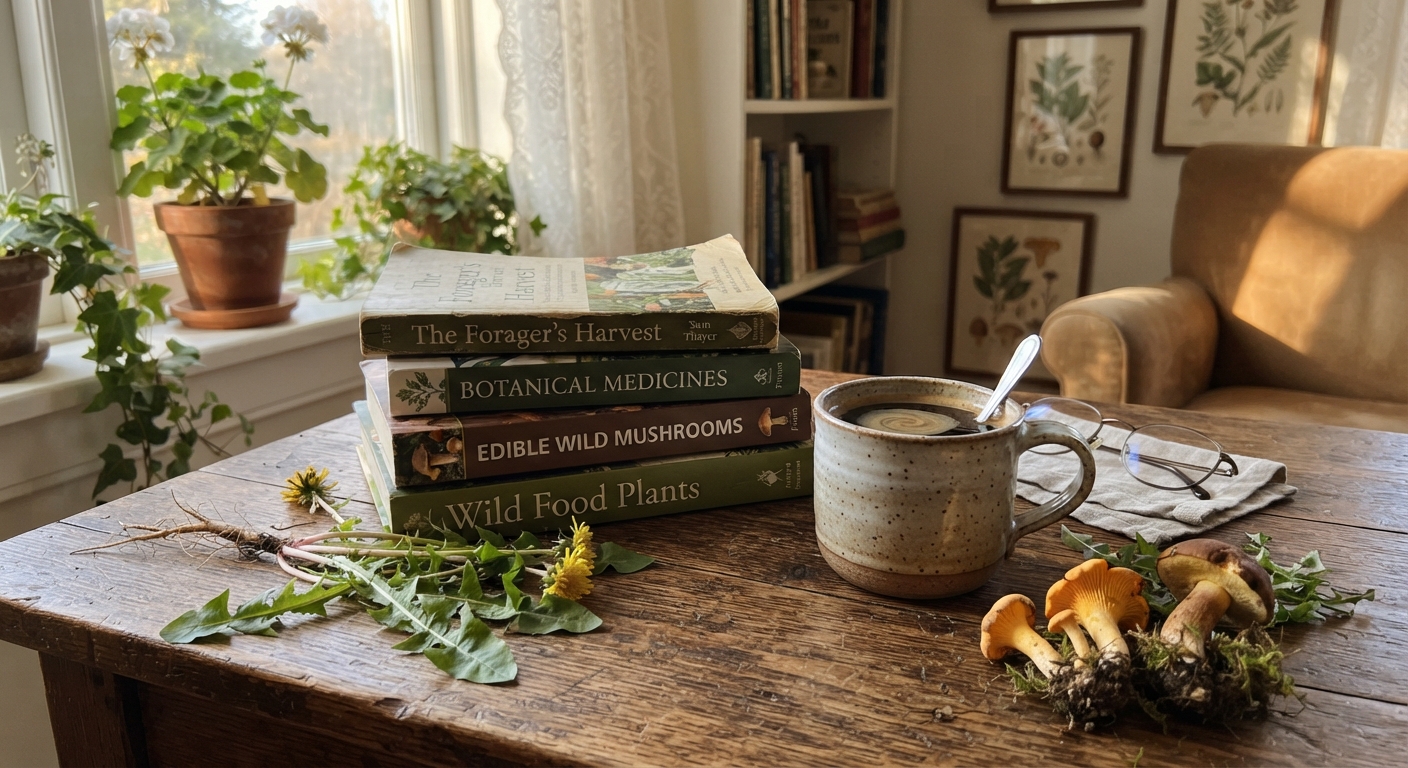
Keep a paper field guide, not just an app. Phone apps are great for a first guess, but they fail in poor light, in dead zones, and when your battery’s gone. A regional field guide with actual photographs — not just drawings — is the tool that has never let me down. Cross-reference the app’s guess with the book before you eat anything.
Start with three plants, and only three. Master dandelion, purslane, and chickweed until you could identify them blindfolded in winter. Three plants you know cold are worth more than fifty you sort of recognize. Confidence scales with depth, not breadth.
Learn the plant in every season. A dandelion in April looks nothing like a dandelion in September. If you only know the spring version, you’ll walk right past the autumn one — or worse, misidentify something else as it. Revisit your starter plants once a month and watch how they change.
Forage the same few spots repeatedly. Wild food isn’t evenly distributed. Once you find a good nettle patch or a productive oak, note it and return. Familiar territory is safer territory, because you learn exactly what grows there and what doesn’t.
Harvest early in the day. Greens are crispest and most hydrated in the morning before the sun stresses them. Berries are firmest then too. It also keeps you out of the midday heat, which is when you make the careless mistakes.
When in doubt, do the smell and snap tests. Crush a leaf and sniff — the onion smell saves you with wild garlic, and a bitter almond smell should make you walk away from a lot of things. Break the stem — milky sap and the way a stem snaps are two of the most reliable, instant identification clues in the field.
FAQ
Is it legal to forage wild edible plants? It depends entirely on where you are. On your own property, you’re fine. On public land, many parks prohibit or limit harvesting, and some require permits. On private land, you always need the landowner’s permission — taking plants without it is trespassing and, in some places, theft. Check your local rules before you pick, and never take rare or protected species.
How do I know a wild plant is actually safe to eat? By positive identification against a trusted source, not by guesswork. Match every identifying feature, rule out the known lookalikes, and only eat it once you’re certain. The universal edibility test is a survival tool of last resort, not a daily shortcut — in normal circumstances, “not sure” means “don’t eat it.”
What’s the easiest edible wild plant for a beginner? Dandelion. It’s everywhere, it’s unmistakable once you learn its features, and every part — leaf, flower, and root — is usable. Its only serious lookalikes are easy to rule out with the backward-pointing leaf teeth, hollow stem, and single flower per stalk.
Can I forage in winter? Yes. The menu changes, but it doesn’t close. Hardy greens like chickweed keep growing through cold weather, roots like burdock and dandelion store sugar and are at their best after frost, and evergreen needles make a vitamin-C-rich tea. Winter foraging is slower, but it’s real.
Should I wash wild plants differently than store-bought greens? Mostly, yes — wild plants carry more grit, more bugs, and more exposure than farmed greens. Use multiple changes of cold water, agitate grit-heavy plants like purslane, and dry everything thoroughly. Roots should always be scrubbed, and anything harvested near the ground deserves extra attention.
How much can I safely harvest from a patch? The common guideline is the “rule of thirds” — take no more than one-third of a patch, leaving the rest to regrow and reproduce. For slow-growing plants or anything that doesn’t reseed easily, take even less. Sustainable harvesting is what keeps your favorite spots productive year after year.
The Bottom Line
Foraging edible wild plants isn’t a seasonal hobby you pick up in April and forget by June. It’s a year-round skill that works the moment you stop asking “is it spring yet?” and start asking “what’s in season now?”
The path is simple, even if the details take a lifetime. Learn the seasons and what each one offers. Build a rock-solid identification method around positive ID, lookalike checks, and the discipline to walk away when you’re not sure. Then treat every plant you pick with care from the moment you cut it to the moment you cook it.
Start small — three plants, one familiar spot, a few careful harvests. Master the rotation, and the wild becomes less a place you visit for food and more a pantry you simply haven’t finished opening yet. The dandelions are already out there waiting. Go find the purslane, too.