Here’s the moment almost every new forager hits, and nobody warns you about it.
You spend three weeks learning dandelion. You can spot it in your sleep. You’ve got the toothed leaves, the hollow stem, the milky sap, the single yellow flower per stalk. You feel ready. So you walk outside, full of confidence, in the middle of January — and every dandelion you studied is a frozen brown smear.
The problem was never the plant. It was the timing.
Most “edible wild plants” lists dump fifty species on you with no sense of when any of them actually appear. But wild plants run on a strict calendar. Dandelion peaks in spring and early summer. Purslane shows up when it gets hot. Acorns only fall in autumn. If your list doesn’t respect that clock, you’ll spend half the year wandering around looking for plants that aren’t there — and walking straight past the ones that are.
This guide fixes that. Instead of one long undifferentiated list, I’ve organized 20+ common edible wild plants by the season they’re actually available, and paired each season with a practical skill to learn. You’ll also get a six-point identification check you can apply to any plant, a harvest calendar to pin up, and photos to anchor each step.
The one rule above everything below: never eat a wild plant you can’t identify with 100% confidence. A seasonal map shortens the learning curve. It doesn’t remove it. Cross-check everything against a regional field guide before it touches your mouth.
Why the “One Big List” Approach Keeps Failing You
Before we get to the plants, let’s name the real problem, because fixing the right problem is what makes the difference.
A flat list of 40 or 50 plants fails in three specific ways:
- It ignores season. You can’t find ramps in August or blackberries in March. Half the list is useless on any given day.
- It skips the “when” and the “where.” “Purslane: edible” tells you nothing. “Purslane: a low, red-stemmed succulent hugging warm, disturbed soil from June through September” actually helps you find it.
- It gives you no system. Memorizing plants one by one is slow and fragile. Learning a framework — a checklist you run on every plant you meet — scales forever.
So that’s how we’re going to work. You’ll learn plants grouped by season, but you’ll also learn a repeatable identification system and a simple harvest method that apply to everything, including plants that don’t make this list.
If you only remember one idea from this whole guide, make it this: learn the season first, the plant second. It’s the difference between a list that sits in a bookmark and one you actually use in the field.
Step 1: Build Your Seasonal Map Before You Memorize Anything
Start with a blank sheet (or a note on your phone) divided into four rows: spring, summer, fall, winter. This is your foraging calendar, and it’s more valuable than any single plant ID.
Here’s the shape of the year, in broad strokes:
- Spring (March–May): The greens season. Dandelion, nettle, chickweed, garlic mustard, ramps. Tender, mild, abundant. The easiest season to start in.
- Summer (June–August): The berry and heat-lover season. Blackberries, raspberries, purslane, lamb’s quarters, daylily. High reward, a bit more walking.
- Fall (September–November): The nut, root, and late-fruit season. Acorns, walnuts, hickory, burdock root, late apples and rose hips.
- Winter (December–February): The survivor season. Cattail roots, pine needles, rose hips, chickweed, evergreen plants. Thin pickings, but not nothing.
Your first real task is to learn what’s available in the season you’re in right now. If it’s August, don’t start with dandelion. Start with purslane and blackberries, because that’s what’s actually growing at your feet this week. Success in foraging is mostly about showing up at the right time.
Step 2: Learn the Six-Point Identification Check
This is the single most important tool you’ll take from this guide. Run it on every plant before you even consider eating it. No exceptions, even for the “easy” ones.
The six points are a safety net. If any one of them doesn’t match, you stop and don’t eat. Here’s the table:
| # | Check | What you’re looking for | Why it matters |
|---|---|---|---|
| 1 | Leaf shape & arrangement | Exact shape, edge (smooth/toothed/lobed), and how leaves attach (opposite, alternate, basal rosette) | The fastest broad sort — kills most wrong guesses instantly |
| 2 | Stem & sap | Hollow or solid? Square or round? Milky sap when broken? Hairs or smooth? | Some lookalikes differ only here (e.g., dandelion’s hollow, milky stem vs. lookalikes) |
| 3 | Flower | Color, petal count, and arrangement (single head vs. cluster/umbel) | The most reliable identifier, but only present part of the year |
| 4 | Smell | Crush a leaf and smell it. Onion/garlic smell = allium family | Smell is a strong signal and often overlooked by beginners |
| 5 | Habitat & location | Sun or shade? Wet or dry? Lawn, forest, or disturbed soil? | Plants grow where they grow; a plant in the “wrong” place is a warning |
| 6 | Season | Is it the right time of year for this plant? | Confirms you’re not forcing a match onto the wrong species |
The goal isn’t to become a botanist. It’s to build a habit of looking carefully before you touch. Most foraging mistakes come from grabbing first and checking later. Flip that order and you’ve already removed most of the risk.
A practical tip: photograph every plant with your phone before you pick it, and photograph it from three angles — the whole plant, a close-up of the leaf, and a close-up of the stem. If you’re unsure, you have something to compare against a field guide later, without having already eaten it.
Step 3: Spring — Start With the Greens
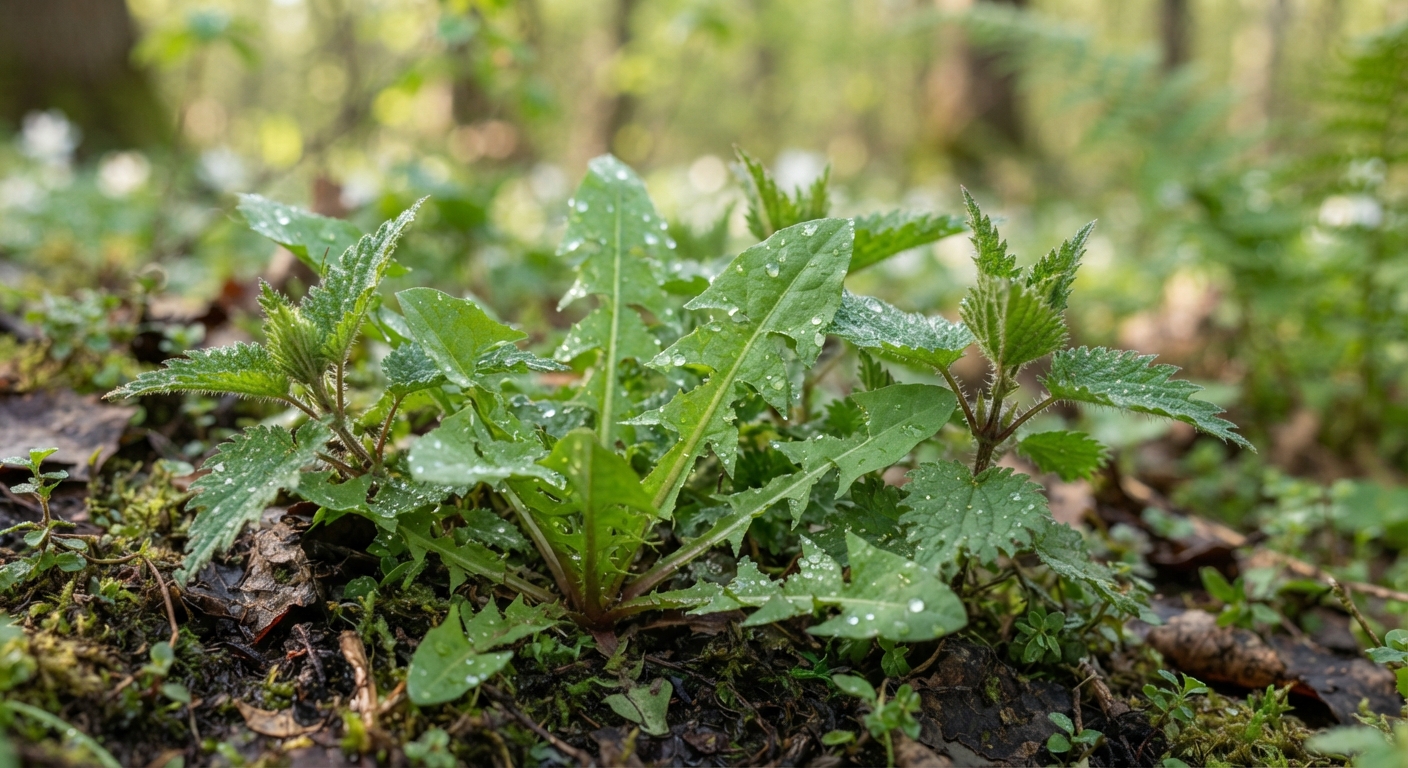
Spring is the friendliest season to begin, and the reason is simple: the plants are big, obvious, and tender, and the identification signals (fresh flowers, new growth) are at their clearest.
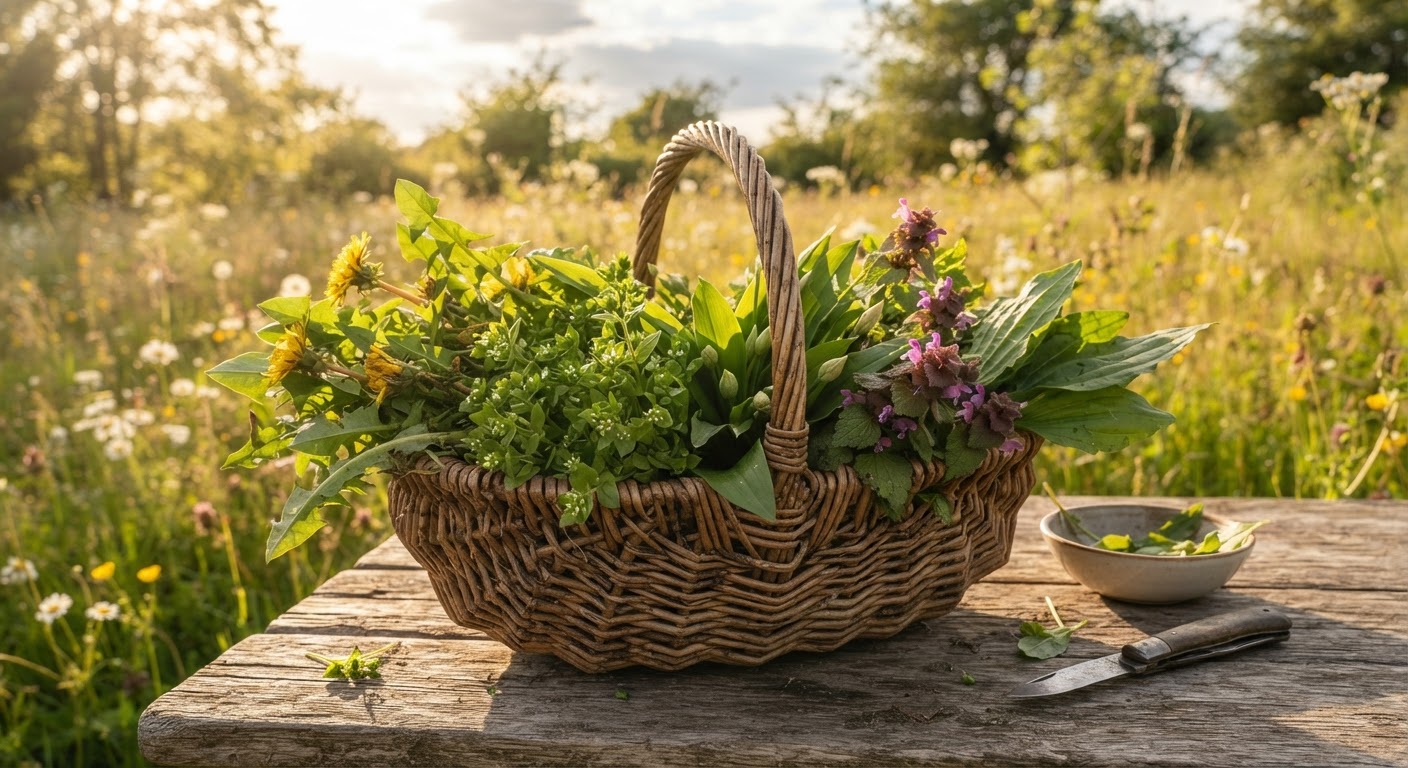
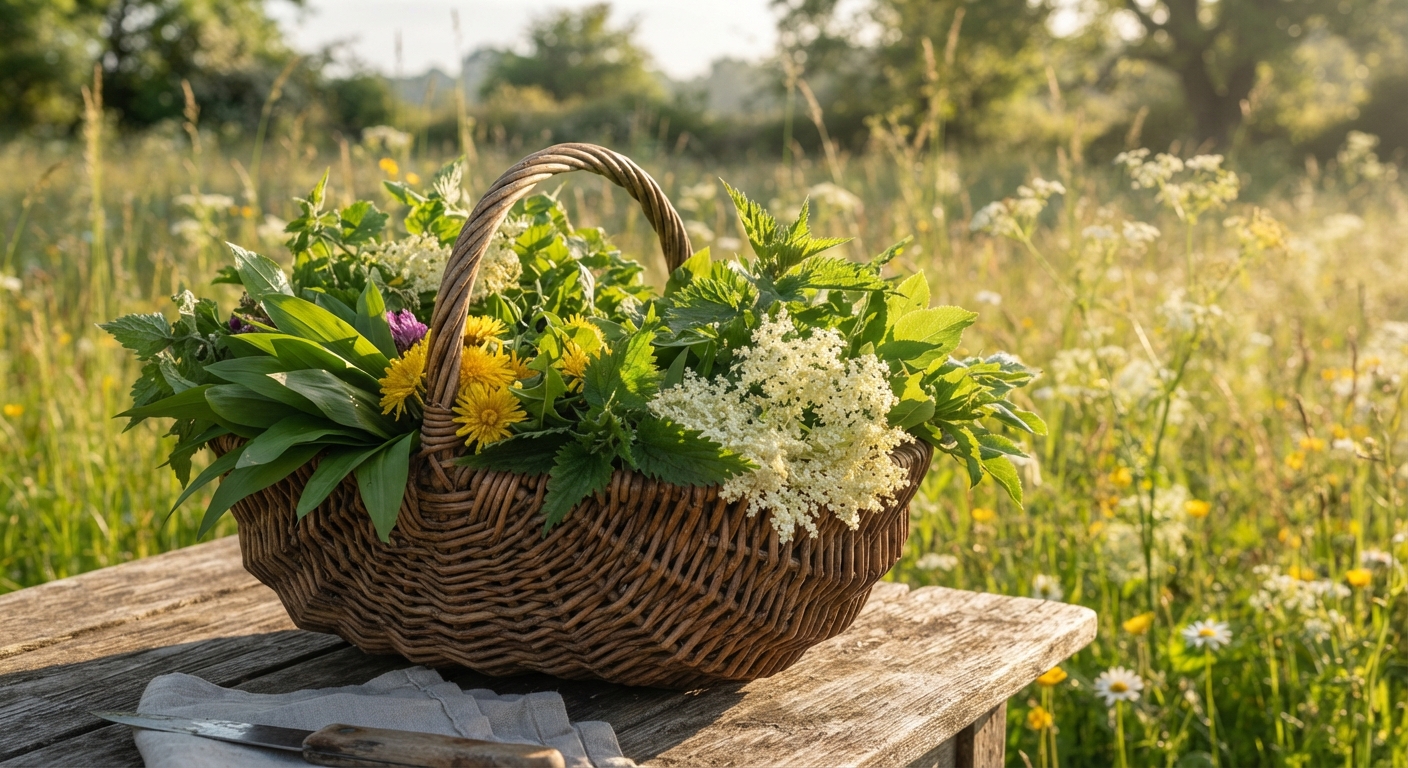
Dandelion (Taraxacum officinale) is the classic first plant. Look for a basal rosette of deeply toothed leaves (the “lion’s tooth”), a single yellow flower per hollow stalk, and milky white sap when you break the stem. Every part is edible: young leaves in salad, flowers for fritters or wine, roots roasted for a coffee substitute. Pick the young leaves in early spring before the flowers open — that’s when they’re least bitter.
Stinging nettle (Urtica dioica) looks intimidating but is one of the most nutritious greens you can find. It grows in moist, rich soil, often near water or old farmyards, with opposite, serrated, heart-shaped leaves and tiny stinging hairs. The sting disappears completely when cooked. Harvest only the top few inches of young growth (before it flowers), using gloves, and blanch it for a minute or two. It turns into something close to spinach.
Chickweed (Stellaria media) is the mildest of the spring greens — soft, grassy, and almost sweet. It forms low mats with tiny, star-shaped white flowers and a single line of fine hairs running down one side of the stem (a key tell). It’s perfect raw in salads or as a gentle cooked green.
Garlic mustard (Alliaria petiolata) is an invasive you can eat with a clear conscience — the more you pull, the better for the native plants. Crush a leaf and it smells unmistakably of garlic. Young leaves work raw or cooked; the roots taste like mild horseradish.
A spring beginner should master two or three of these well rather than ten shallowly. Dandelion and nettle alone will feed you for a month.
Step 4: Summer — Berries and the Heat-Lovers
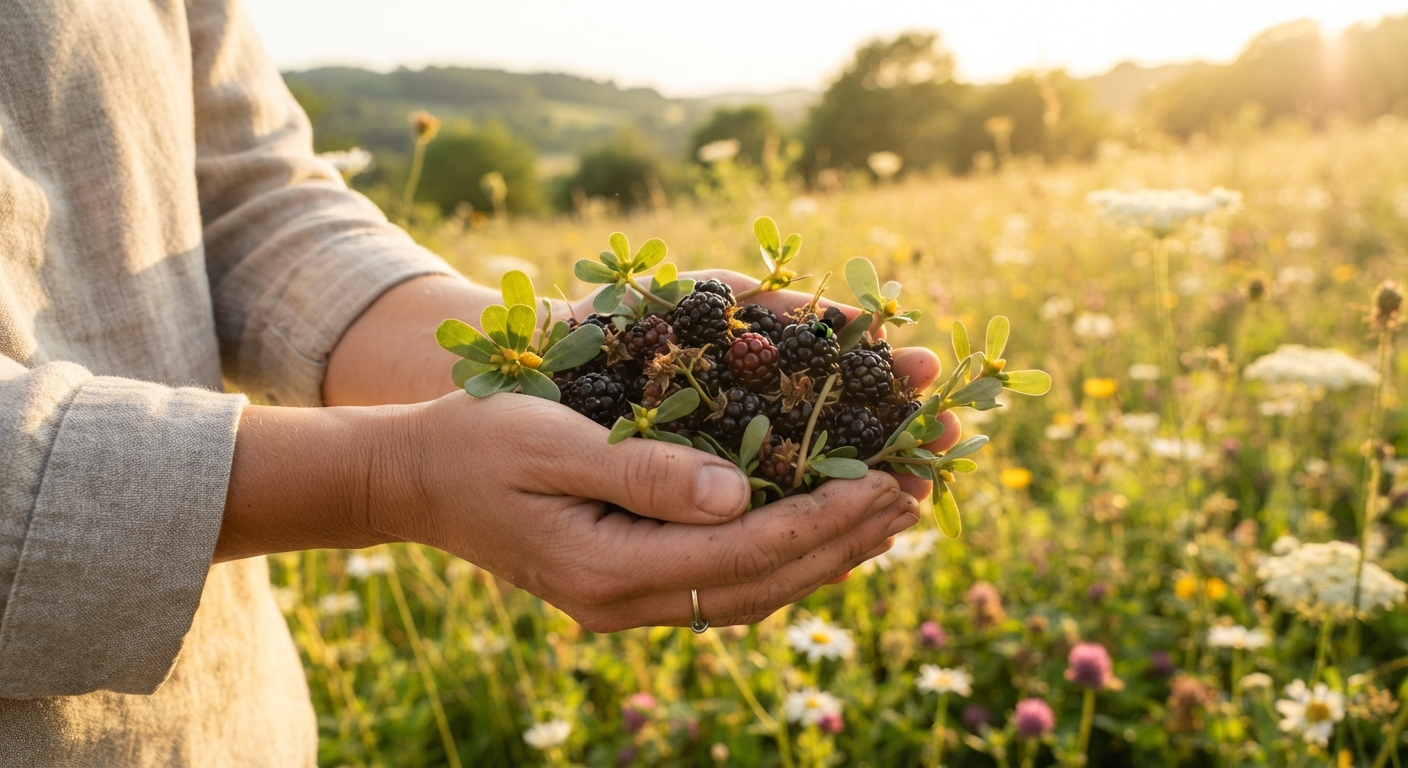
By summer, the greens get tougher and more bitter, and the calendar hands you the highest-reward plants of the year: berries.
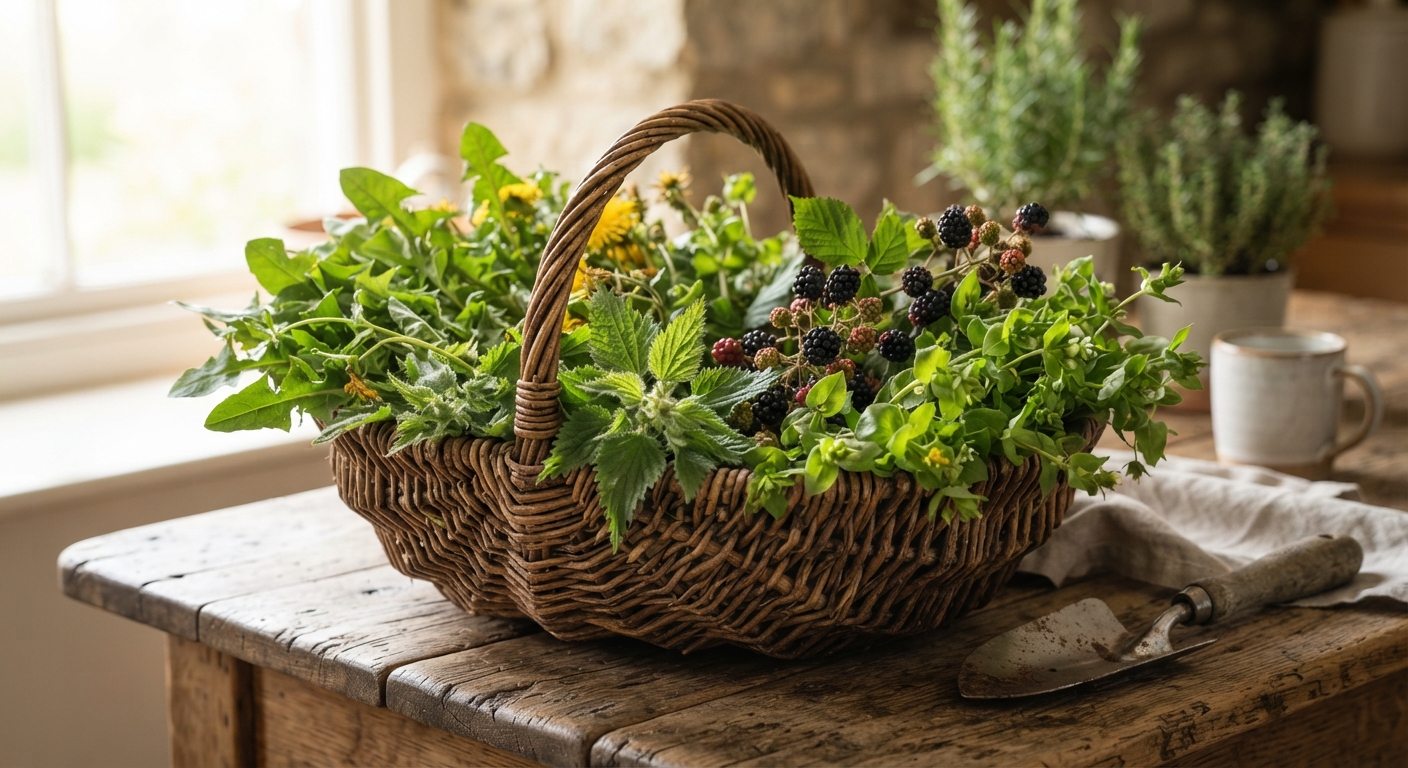
Wild blackberries and raspberries (Rubus spp.) are the safest berries for a beginner, because almost nothing in North America or temperate Europe looks like a raspberry that will hurt you. Look for thorny canes with compound leaves and the classic aggregate berry (a cluster of tiny drupelets) that pulls free leaving a hollow core (raspberry) or stays whole (blackberry). If it looks like a raspberry and grows on a thorny cane, you’re almost certainly fine — but still run your six-point check.
Purslane (Portulaca oleracea) is the summer green you should know. It’s a low, sprawling succulent with thick, fleshy, reddish stems and paddle-shaped leaves, hugging hot, disturbed ground — driveways, garden beds, cracks in pavement. It has a mild, slightly lemony flavor and a pleasant crunch, and it’s unusually rich in omega-3s. The one lookalike to rule out is spurge, which grows the same way but exudes a white milky sap when you break the stem. Purslane’s sap is clear. Milky sap = don’t eat.
Lamb’s quarters (Chenopodium album) is the “wild spinach” of summer, growing tall in disturbed soil with diamond-shaped leaves dusted in a fine, mealy white powder on the underside. Use the young leaves as you would spinach, raw or cooked.
Daylily (Hemerocallis) is more of a treat than a staple — the unopened flower buds and open flowers are edible and slightly sweet, tasting a bit like sweet lettuce or a mild squash. But note the caution: daylily is not the same as true lily, and some people experience digestive upset. Go slow, and skip it entirely if you have any doubt.
Summer’s lesson is reward plus caution: the stakes feel higher (berries, flowers), but the same six-point check keeps you safe.
Step 5: Fall — Nuts, Roots, and Late Fruit
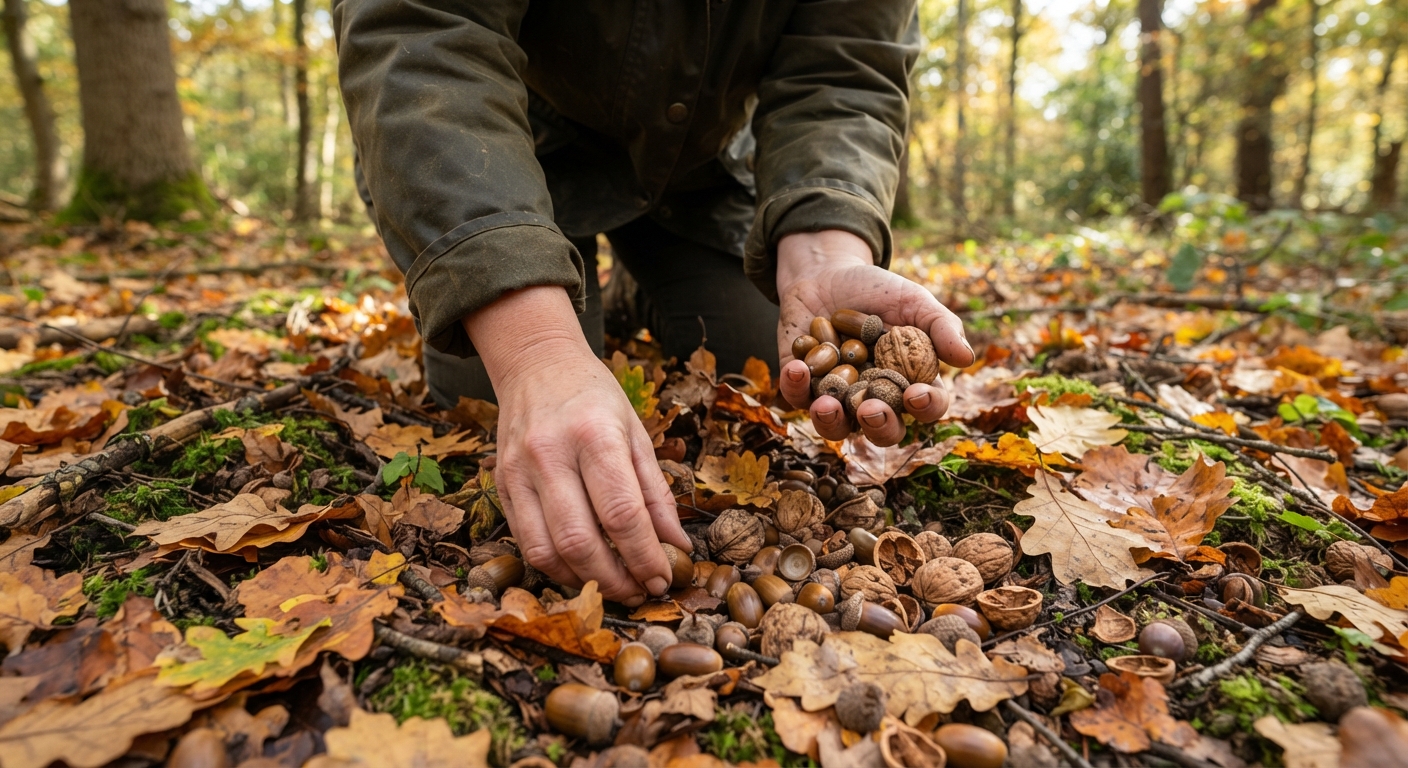
Autumn shifts the menu from greens and berries to stored energy — nuts, roots, and the last of the fruit.
Acorns (from white oak, Quercus alba) are the big one, and also the one with a process attached. Raw acorns are loaded with bitter tannins that will make your mouth pucker and can upset your stomach in quantity. The fix is leaching: shell them, grind or chop them, and soak them in repeated changes of cold water (or run cold water through them) until the water runs clear and the bitterness is gone. Then dry and use as a flour or a nutty grain. White oak acorns are sweeter than red oak and need less leaching.
Black walnuts (Juglans nigra) and hickory nuts (Carya spp.) are rich, oily, and worth the work of cracking. Collect them as soon as they fall, remove the husk (wear gloves for black walnut — it stains), and dry the nuts for storage.
Burdock root (Arctium spp.) is the fall and early-spring root crop. The first-year plant puts down a long taproot that’s edible and tastes like a mild, earthy artichoke heart. Dig it, scrub it, peel it, and cook it — boiled, stir-fried, or roasted. The Japanese cultivate a close relative as gobo, so it’s a genuinely pleasant vegetable, not a survival novelty.
Rose hips (Rosa spp.) are the bright red or orange fruits left behind after wild rose petals fall. They’re tart and extremely high in vitamin C — a classic winter tea ingredient. Snip off the stem and blossom ends, split them, and scoop out the irritating inner hairs before using.
Fall’s lesson is processing. The plants of autumn are less “pick and eat” and more “collect, clean, and prepare.” That’s not a drawback — it’s where real food knowledge lives.
Step 6: Winter — The Survivors
Winter is thin, but it isn’t empty, and knowing a few evergreen and root plants turns a dead season into a working one.
Cattail (Typha spp.) is the closest thing to a year-round food you’ll find. In winter, its starchy rhizomes (underground stems) are at their peak. Dig them from the mud, scrub them, and work the starch out in water to separate it from the fibers. The young shoots and green flower spikes are spring and summer food, but the root is the winter staple. Cattails grow in wetlands and ditches — only harvest from clean, unpolluted water.
Pine needles (from true pines, Pinus) make a surprisingly good tea. Steep a small handful of fresh green needles in hot water for a warm, citrusy, vitamin-C-rich drink. Stick to true pines (needles in bundles of two, three, or five) and avoid yew, which is highly toxic and has flat, single needles and red berries.
Chickweed and dandelion can keep producing through a mild winter in many regions, especially in sheltered or southern spots. If your area doesn’t freeze hard, keep an eye on the same patches you picked in spring.
Rose hips hang on the bushes well into winter, so the fall crop often lasts until the birds get to it.
Winter’s lesson is reliable standbys. You won’t fill a basket the way you would in June, but you’ll have a hot pine tea and a starch source if you know where to look.
Step 7: Harvest, Clean, and Prepare Without Ruining It
You’ve identified the plant and confirmed it’s the right season. Now the last mile — getting it from the ground to the plate.
Harvest sustainably. Take only what you need, and never more than about a third of any one patch. Leave enough for the plant to recover and for wildlife. For roots and whole plants, take a few from scattered spots rather than clearing a single area.
Pick clean. Forage well away from roads, sprayed lawns, dog-walking paths, and the bases of old painted buildings — lead and chemical residue accumulate in these spots. If you’re picking cattail, only harvest from clean, flowing water.
Clean thoroughly. Wild food carries dirt, grit, and the occasional insect. Rinse greens in several changes of cold water and spin or pat them dry. Soak berries briefly and drain. Scrub roots before peeling.
Cook when in doubt. Heat neutralizes many of the compounds that make some wild greens bitter, tough, or mildly irritating — nettle’s sting being the clearest example. If a green is new to you, blanch or sauté it the first time rather than eating a big raw bowl.
Introduce new plants one at a time. Eat a small amount of any new wild plant and wait a day before having more. This catches rare individual sensitivities before they become a bigger problem.
Here’s the full season calendar to pin up or screenshot:
| Season | Peak plants | What to learn this season | Easiest first pick |
|---|---|---|---|
| Spring | Dandelion, nettle, chickweed, garlic mustard, ramps | Leaf ID, the six-point check | Dandelion |
| Summer | Blackberries, raspberries, purslane, lamb’s quarters, daylily | Berry ID, lookalike awareness (spurge) | Blackberries |
| Fall | Acorns, black walnuts, hickory, burdock root, rose hips | Processing (leaching, cracking, drying) | Rose hips |
| Winter | Cattail root, pine needles, rose hips, hardy chickweed | Standbys and stored foods | Pine needle tea |
Pro Tips From Years in the Field
A few things I wish someone had told me at the start:
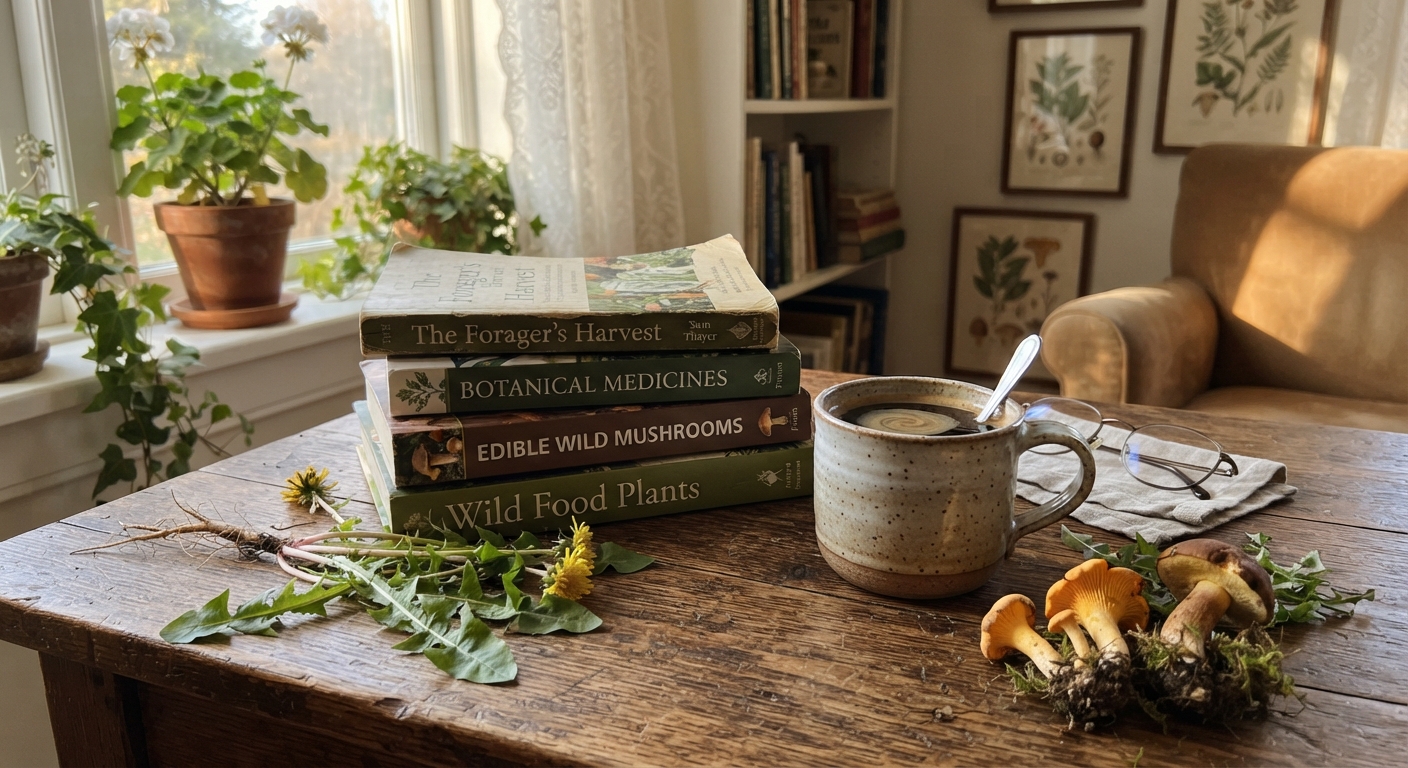
Carry a small field guide, not just your phone. Batteries die, service drops, and a phone screen is hard to read in bright sun. A pocket regional guide is the single best piece of foraging gear you can buy.
Learn one plant a week, not ten a day. Depth beats breadth. If you deeply learn 20 plants over a season, you’ll know more than 90% of foragers — and you’ll actually use what you know.
Revisit the same spots across the year. The single fastest way to understand seasonality is to watch one patch change month by month. The dandelion spot, the blackberry bramble, the oak tree — check them in March, June, and October and you’ll feel the calendar instead of memorizing it.
Trust your doubt. If part of you says “I’m not sure this is right,” that part is doing its job. The cost of not eating a plant is zero. The cost of eating the wrong one isn’t. When in doubt, photograph it and walk away — the plant will be there tomorrow.
Take a class or walk with someone experienced, once. You can learn a lot solo, but one afternoon with a knowledgeable forager will correct a dozen small misunderstandings you didn’t know you had. It’s the best return on time in this whole hobby.
Questions Beginners Actually Ask
How many plants do I need to know before I start foraging? Three, learned well. Dandelion, nettle, and one berry (blackberry or raspberry) will cover most of the year and build the habits you need. Grow from there.
Can I forage in my own backyard or just parks? Yes to both, with caution. Your backyard is often the safest starting point if it’s untreated. For parks, check local rules first — many prohibit harvesting, and you should never take from conservation areas or private land without permission.
Is it safe to eat wild plants raw? Sometimes, but cooking is the safer default. Some greens (like nettle) must be cooked, others are better for it, and heat reduces both bitterness and the chance of irritation. Eat new plants cooked first.
What’s the one plant I should never mess with? Water hemlock and poison hemlock top the list — both are deadly and both can be mistaken for wild carrot or parsley by a careless eye. This is exactly why the six-point check and a field guide matter. If a plant looks like a wild carrot but you’re not 100% certain, leave it.
Do I need a license to forage? It varies by country, state, and land type. On your own property, no. On public or private land, you often need permission, and some places require permits. Check local regulations before you harvest anywhere that isn’t yours.
What’s the best season for a total beginner? Spring. The greens are big, obvious, and forgiving, and the identification signals are clearest. If you’re starting in another season, begin with whatever’s abundant right now — that’s the whole point of the seasonal map.
The Bottom Line
Learning edible wild plants isn’t about memorizing a long list. It’s about learning a rhythm — which plants show up when, where they grow, and how to look at them carefully enough to be sure.
Start with the season you’re in. Pick two or three plants. Run the six-point check on every single one, photograph everything you’re unsure about, and cook new greens the first time. Master those before you add more.
Get the timing right, and the list stops being a pile of abstract names. It becomes a calendar — and every month has something growing, if you know when to look.
Never eat a wild plant you can’t identify with 100% confidence. Everything in this guide shortens the path to that confidence; nothing replaces it.