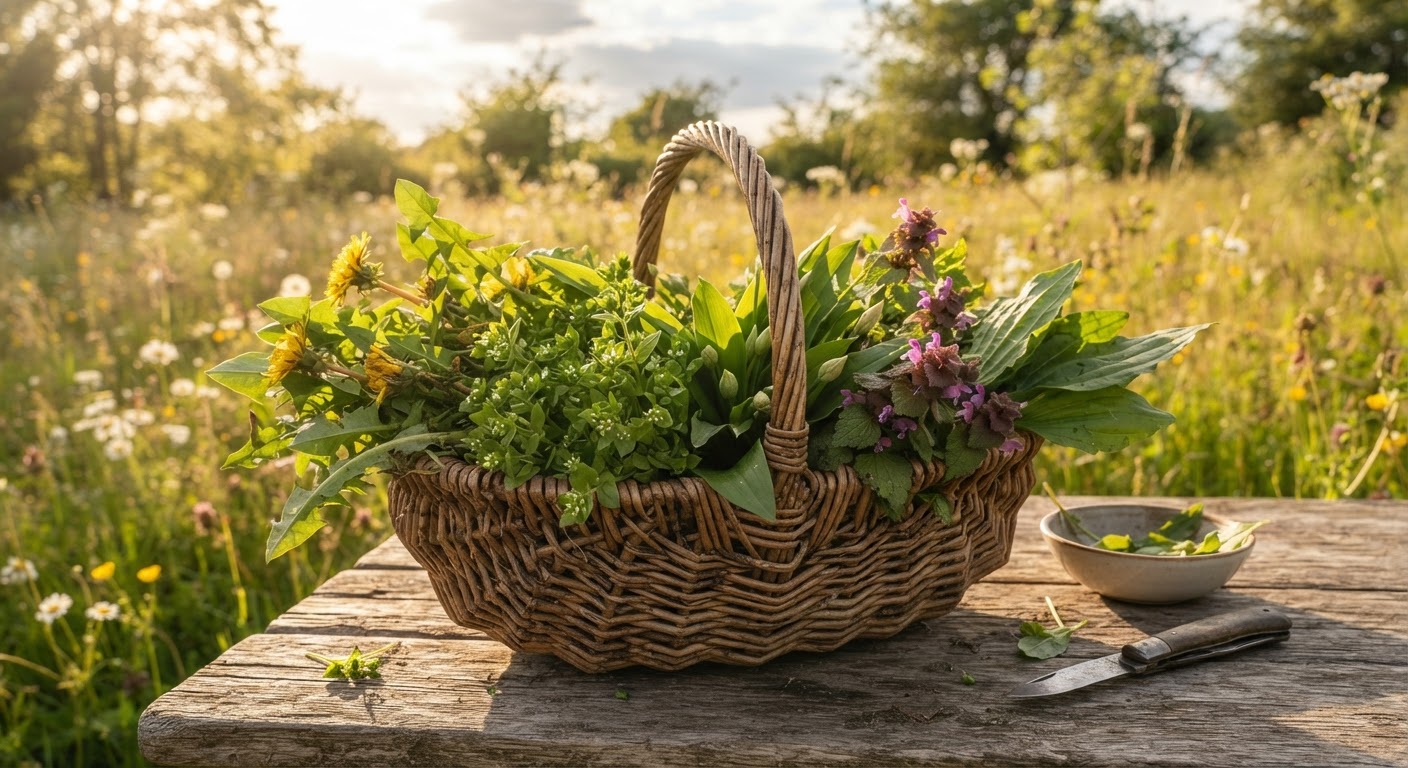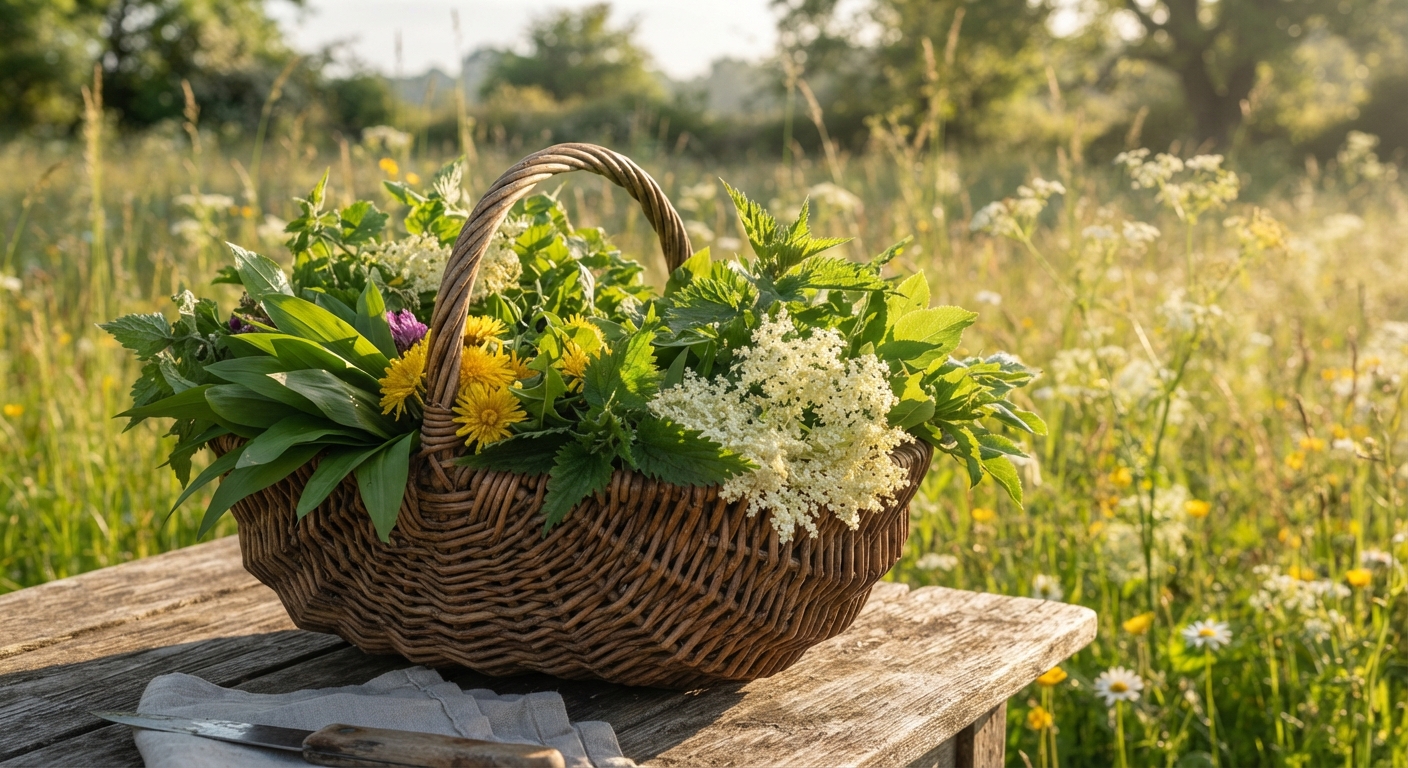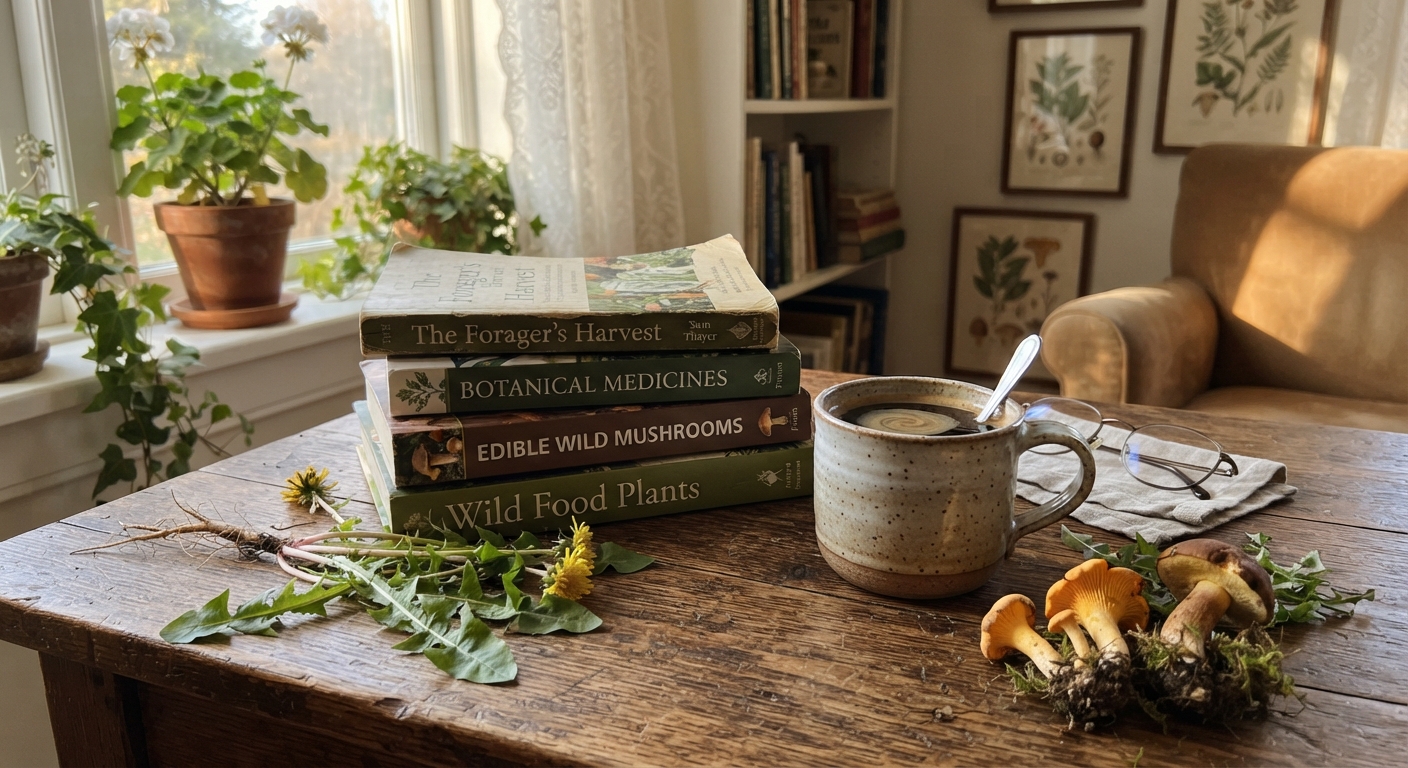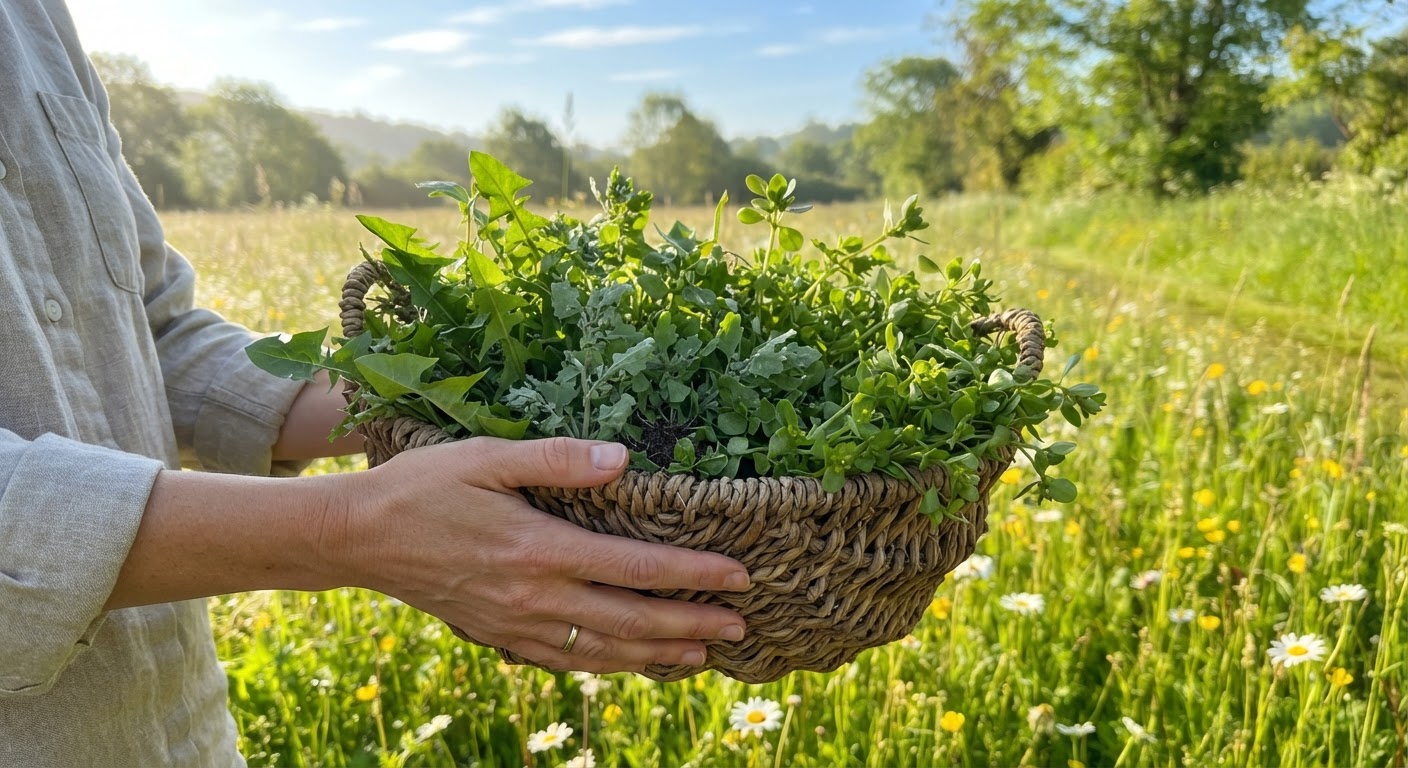
The first person I ever taught to forage was a neighbor who’d just spent forty dollars on a “wild food survival kit” — a book, a whistle, and a magnifying glass, all in a camo pouch. By the end of our first walk she’d eaten dandelion greens from her own front lawn. The kit never left the box. The point isn’t that the kit was useless. The point is that she already lived on top of dinner and didn’t know it, and the only thing standing between her and that meal was a process she didn’t have.
That’s what this walkthrough is. Not another list of fifty plants to memorize, but a process — seven steps you can follow in order, starting today, that take you from “I can’t tell a dandelion from a fern” to a plate of food you found yourself. It’s written for the absolute beginner, the person who wants to try this but keeps putting it off because it feels like too much to learn.
I’ve taught this same seven-step sequence enough times to know exactly where people stall. So let’s fix those stalls before you hit them.
Why Most Beginners Quit Before Their First Meal
Foraging has a retention problem, and it has nothing to do with the plants. Most people quit in the first two weeks for one of three reasons — and each one is preventable.
The first is overload. They buy a field guide with six hundred species in it, open it to a random page, and their brain quietly files the whole thing under “impossible.” The second is the wrong first target. They set out to find “something edible” instead of one specific plant, which is like walking into a grocery store without a shopping list and calling it a survival exercise. The third is fear of the mistake. They read one horror story about a poisonous lookalike, decide the risk isn’t worth it, and never pick a single leaf.
All three have the same cure: shrink the problem. Pick one plant you can identify with total certainty, learn its one dangerous lookalike, and repeat until the habit sticks. Everything in this walkthrough is built to shrink the problem at every turn. Start small, stay small, and confidence compounds.
Step 1 — Fix Your Eyes First: Learning to See Plants
Before you identify anything, you have to notice that there’s something to identify. Most people suffer from a mild, entirely normal case of plant blindness — the grass, the weeds, the green blur at the edge of the sidewalk all merge into “background.” Foraging doesn’t start with a book. It starts with your eyes.
Try this today, no equipment needed: walk one city block and count how many different plants you can spot growing in cracks, lawns, and fence lines. Not names — just distinct shapes. The jagged-leaf one, the rosette one, the tiny heart-shaped one, the one with red stems. You’ll be surprised how many there are once you look. That number is your real starting inventory, and it’s almost always bigger than people expect.
This step matters because it rewires how you move through the world. A forager doesn’t walk past a vacant lot; they scan it the way a birdwatcher scans a tree line. You can build that habit in about a week of short, deliberate walks, long before you put a name to a single plant. The names come next, and they come faster once your eyes are already doing the work.
Step 2 — Pick a Starter Three, Not a Starter Forty
Now that you’re noticing plants, choose three to learn cold. Not forty. Three. The reason is simple: three plants is a number you can actually hold in your head on a walk, and it covers most of the beginner-friendly food you’ll actually find.
The starter three I give every student, and the ones I’ll assume for the rest of this guide:
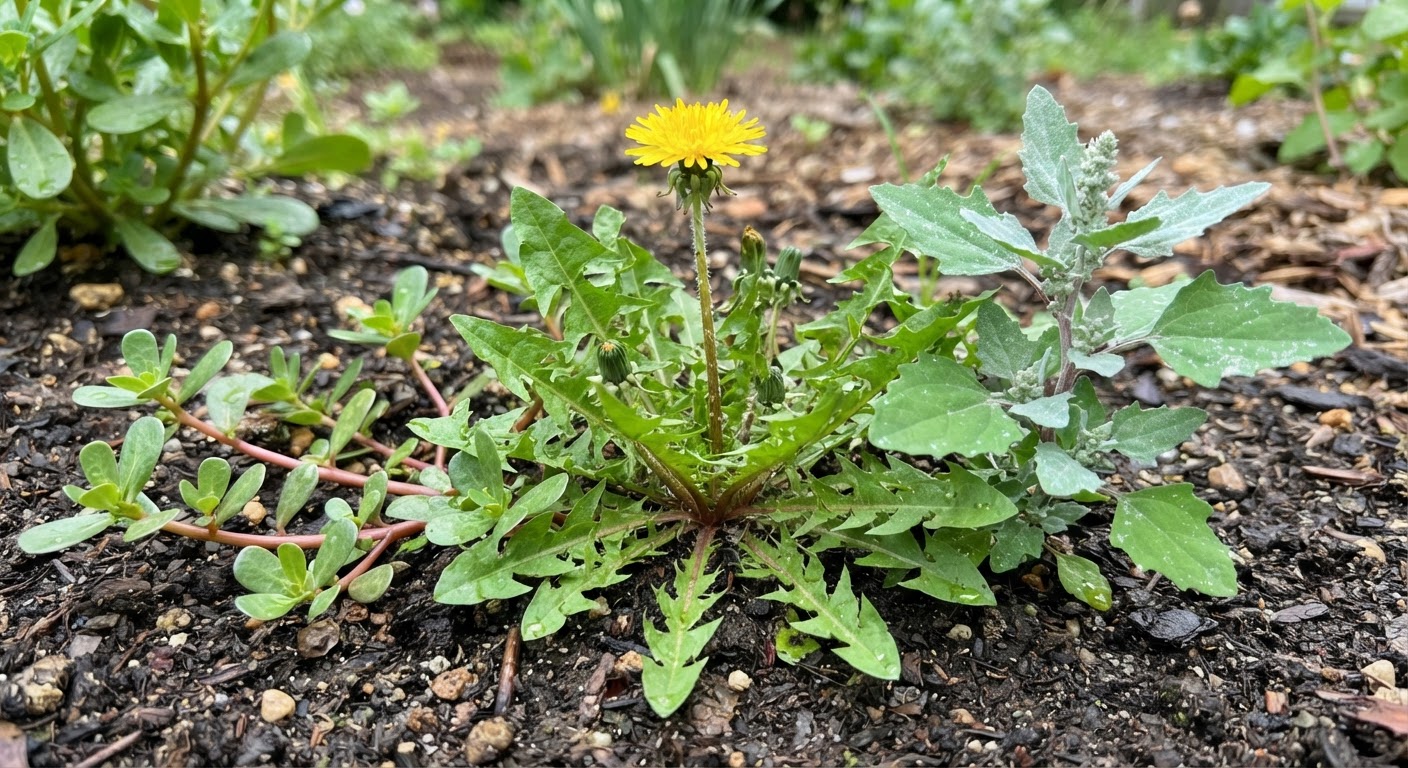
- Dandelion — the jagged, backward-pointing leaves with milky white sap and a single yellow flower. The gateway plant. Young leaves are a genuinely good, if bitter, green.
- Lamb’s quarters — the diamond-shaped leaves with a white, powdery coating that looks like flour. “Wild spinach,” and the most forgiving cooked green there is.
- Purslane — thick, rubbery paddle leaves on reddish stems, sprawling flat. Crunchy, lemony, and excellent raw.
These three have a few things in common that make them ideal. They grow almost everywhere. Each has one unmistakable “tell.” And none of them has a deadly lookalike — the worst-case mix-ups are unpleasant, not dangerous, provided you check the tell.
Here’s the whole starter three in one table. Read the “Tell” column first; it’s the feature you’ll actually use in the field.
| Plant | The one tell | Lookalike to rule out | Best part | Harvest window | Best quick prep |
|---|---|---|---|---|---|
| Dandelion | Jagged leaf lobes + milky white sap | Chicory (smooth, less jagged leaves; also edible) | Young leaves | Early spring–fall | Sauté or blanch to tame bitterness |
| Lamb’s quarters | White mealy coating on new leaves | Orache (also edible, duller leaves) | Leaves | Spring–early summer | Cook like spinach |
| Purslane | Thick paddle leaves + clear sap | Spotted spurge (milky sap, toxic) | Leaves and stems | Summer | Raw in salad |
Notice the pattern in that “Lookalike” column: two of the three “lookalikes” are themselves edible. That’s the nice thing about the starter three — the margin for error is wide. The only one that demands real attention is purslane versus spotted spurge, and that’s a one-second check: break a stem. Clear sap is purslane. Milky sap is spurge, and you leave it alone.
Step 3 — Assemble the Four-Piece Kit
You don’t need a camo pouch or a forty-dollar survival bundle. You need four things, and you probably own three of them already.
- A small basket or cloth bag. Something breathable so greens don’t steam and wilt on the walk home. Plastic bags turn a crisp harvest into mush in twenty minutes.
- A sharp pair of scissors or a folding knife. Clean cuts heal faster and keep you from yanking up whole plants — roots and all — by accident.
- Gloves. Thin garden gloves are plenty. You’ll want them for anything prickly, and they keep your hands clean when you’re poking through disturbed soil.
- A field guide — digital is fine. A regional guide with clear photos beats a six-hundred-species encyclopedia every time. Your phone’s camera roll is a perfectly good supplement: photograph the plant, the stem, and the leaf underside before you pick, and you have a record to double-check at home.
That’s the entire kit. If you want to be fancy, add a water bottle and a roll of paper towels to keep greens from bruising. But if you have a basket, something sharp, gloves, and a way to check your ID, you are fully equipped to do everything in this guide.
Step 4 — The Three-Part Confidence Check
This is the step that separates people who eat wild food from people who just read about it. Every plant, every single time, gets the same three-part check before it goes in the basket. If any part fails, it stays on the ground.
Part one — the features. Match at least three independent traits, not one. Leaf shape, stem texture, flower color, growth habit, sap, smell. One matching feature is a guess. Three agreeing features is an identification.
Part two — the habitat. Does the plant belong where you found it? Nettles live on damp woodland edges; purslane sprawls in dry, sunny, disturbed soil. A plant in the “wrong” place should make you pause and re-check — habitat is evidence, and mismatches are warnings.
Part three — the lookalike. Before you confirm your plant, you confirm it isn’t the dangerous one that shares its shape. For purslane, that’s the clear-sap test against spurge. For anything with an umbrella-shaped flower cluster or ferny leaves, the rule is different: skip the entire family for your first season. You’re not in a hurry.
Here’s the walk-away test, which is the emotional half of the same skill. When in doubt, this table is the whole decision:
| Situation | What your gut says | The right move |
|---|---|---|
| One feature matches, two are fuzzy | “Close enough, probably” | Walk away. Pick it next time. |
| It looks right but it’s in a sprayed lawn | “It’s probably fine” | Walk away. Location wins over ID. |
| You’re 90% sure | “I’ll just take a little” | Walk away. 90% isn’t an ID. |
| You’ve confirmed it three times and it still feels off | “But the book says…” | Walk away. Trust the unease. |
| All three checks agree, plant is textbook | “This is it” | Harvest — and re-check at home. |
The walk-away test exists because the cost of being wrong about a plant is permanently higher than the cost of leaving dinner behind. There is always another patch, another season, another plant. Walk away freely and often; it’s the single most professional habit a forager can have.
Step 5 — Harvest Like Someone Who Plans to Come Back
You’ve passed the check. Now the actual harvest — and there’s a right way to do it that beginners almost never get taught.
First, take young growth and take it lightly. The growing tip, the newest leaves, the tender tops. Older leaves are tougher and more bitter, and the young growth is what the plant is actively producing — so taking a little from many plants beats stripping one bare. A good rule of thumb: leave at least two-thirds of any plant, and the patch recovers fine.
Second, cut, don’t rip. A clean scissor cut above a leaf node lets the plant keep growing. Yanking a whole plant up by the roots ends its season and yours.
Third, harvest high and clean. Stay above the “traffic line” — away from roads, away from dog-walk strips, away from anything downhill of a farm field or septic system. An unsprayed backyard, a clean community garden, a fallow field set back from the road: these are your spots. A perfectly weed-free, chemical-smelling lawn is a chemistry experiment, not a salad bar.
Fourth, sort as you go. Keep a “sure” pile and a “maybe” pile from the very first plant. The maybe pile gets re-checked at home under good light, and if it doesn’t clear the three-part check again, it goes to compost — never to the pan.
Step 6 — Bring It Home: Clean, Sort, Store
The walk isn’t over at the front door. What you do in the first ten minutes home determines whether you eat well or eat grit.
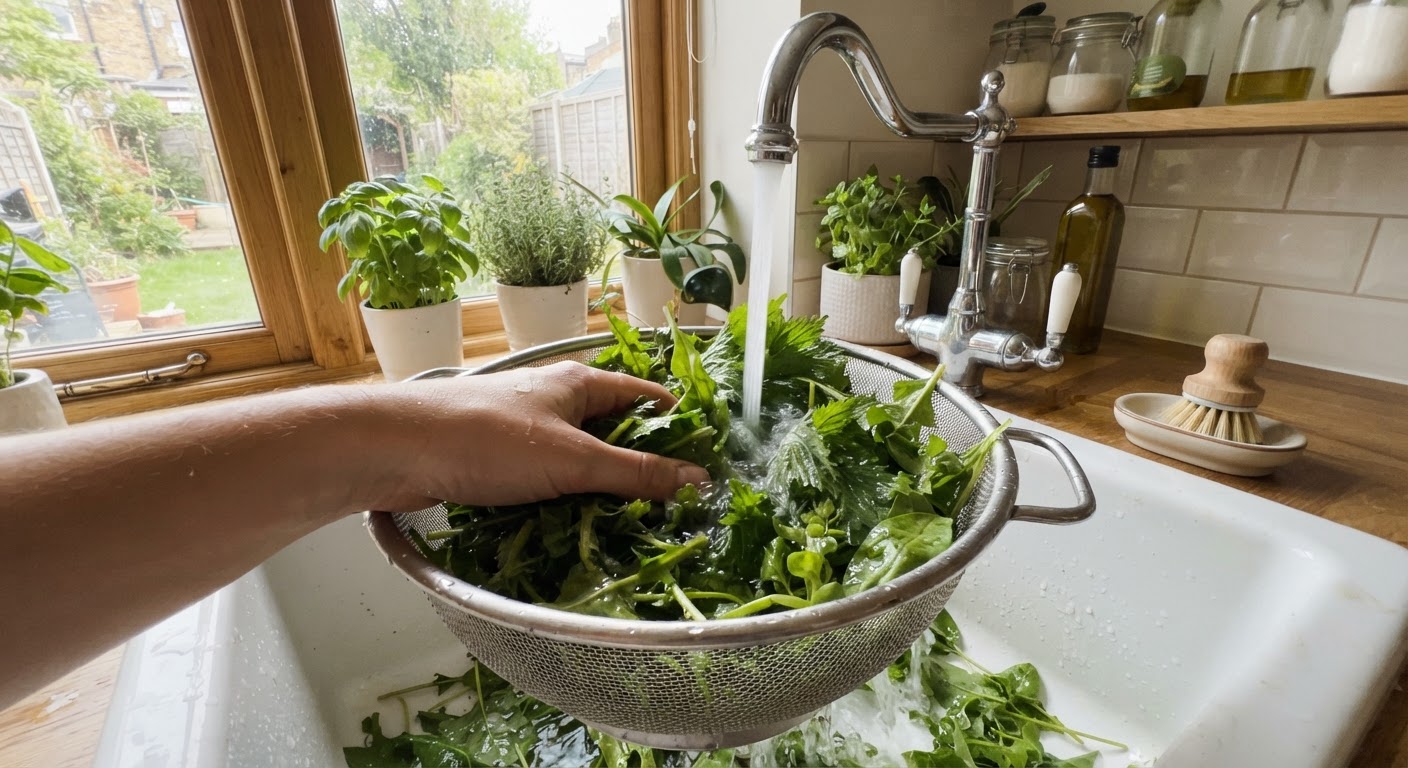
Clean in two passes. First rinse in cold water with a splash of vinegar to knock off insects and surface debris. Swish, don’t soak — soaking leaches flavor out of tender greens. Second rinse in clean cold water, then spin or pat dry. Wet greens in the fridge turn slimy fast; dry them reasonably well and store them in a loose bag or a damp-paper-towel-lined container.
Do the re-check. Spread everything out and run the three-part confidence check one more time under bright light, with your field guide open. This is the step that catches the one plant you misread in the field. It’s normal to pull a leaf or two out here — that’s the system working, not failing.
Know the shelf life. Most wild greens are best within two to three days. Some, like purslane, are hardier; others, like chickweed, wilt quickly. Harvest what you’ll actually eat that week, and you’ll rarely have to think about storage at all.
Step 7 — Cook With a Safety Net
The final step is where the confidence check meets the stove. Wild greens reward a little technique, and the technique is forgiving.
The default move for almost any wild green: a quick blanch or a hot sauté with fat, salt, and acid. Heat softens texture, tames bitterness, and — for stinging nettle — disarms the sting entirely. Salt and a splash of vinegar or lemon brighten the mineral, sometimes bitter flavor that store-bought lettuce never has. A knob of butter, a clove of garlic, and a pinch of salt turn a fistful of lamb’s quarters into something better than most grocery spinach.
For raw greens like purslane, chickweed, and young dandelion, the rule is simple: taste a tiny amount first, then decide how much to use. Wild plants vary by season and soil, so a nibble is always smarter than a commitment.
And the one non-negotiable: never eat anything you haven’t confidently identified, no matter how it’s cooked. Heat neutralizes some things and nothing else — it will not turn a poisonous plant into food. The safety net isn’t the stove. The safety net is the three-part check you ran in Step 4 and repeated in Step 6.
Pro Tips From a Foraging Mentor
A few habits I pass along because they’ve saved me and my students more than once:
- Learn the “spray smell.” Treated lawns and fields often carry a faint chemical note or look unnaturally uniform. Both are red flags. Too clean is a warning, not a feature.
- The tender-tip test. Pinch the growing tip. Crisp and snapping means harvest. Fibrous and stringy means the plant has bolted — leave it and move on.
- Bitter is a feature, not a failure. Wild greens are more mineral and bitter than store lettuce, and that’s the point. Blanch, salt, and pair with fat and acid to tame it into something interesting.
- Start where you already are. The best first forage is your own unsprayed yard or a nearby park, not a three-hour drive to wilderness. Short, frequent, local trips beat one epic expedition every time.
- Go early and after rain. Morning greens are crisper and less stressed; a recent rain washes the dust off and leaves everything looking cleaner and tasting brighter.
- Take a photo before you pick. A picture of the plant in place, plus a stem and leaf-underside shot, is a free second opinion you can carry home.
Quick Answers to the Questions Newbies Actually Ask
1. Is foraging edible wild plants actually safe for a total beginner? Yes — if you stay inside the guardrails. The starter three have no deadly lookalikes, and the worst common mistakes taste bad rather than hurt you. The danger zone is anything ferny or umbrella-flowered, which you simply skip for your first season. Follow the three-part check and you’ll be fine.
2. What’s the single best plant to start with? Dandelion. It’s everywhere, it’s genuinely hard to misidentify once you know the jagged leaves and milky sap, and the young leaves are legitimately good to eat. Lamb’s quarters is a close second for pure volume.
3. Do I need to cook wild greens, or can I eat them raw? It depends on the plant. Purslane, chickweed, and young dandelion are fine raw. Tougher or higher-oxalate greens — nettle, dock, mature dandelion — are better cooked, and nettle must be cooked to be safe to handle.
4. How do I know a plant hasn’t been sprayed? Treat every unknown spot as suspect. Avoid lawns and roadsides that look treated or carry a chemical smell, harvest away from traffic, and prefer clean flowing water for anything aquatic. When in doubt, move to a cleaner spot — there’s always another.
5. What if I’m only 90% sure a plant is edible? Then it isn’t, and you walk away. Identification is a yes/no state, not a percentage. The walk-away test exists exactly for this moment. Come back when you’re certain.
6. When is the best season to begin? Spring, no contest — wild greens are young, tender, and least bitter, and the greatest number of species are in their edible window. Early morning after a rain is the ideal hour.
The Bottom Line
Edible wild plants aren’t a mystery you unlock with a bigger book or a more expensive kit. They’re a skill you build with a small, repeatable process — and you can run the whole thing this week. Fix your eyes. Pick three plants and learn their tells. Carry four simple things. Check every plant three ways, and walk away without regret whenever it doesn’t clear. Then harvest light, clean carefully, and cook with fat, salt, and a little acid.
Do those seven steps once, and the second time is easier. Do them for a month, and you’ll never look at a vacant lot or a front lawn the same way again. The greens were already growing under your feet the whole time — you just needed the walkthrough. Now you have it. 🦎