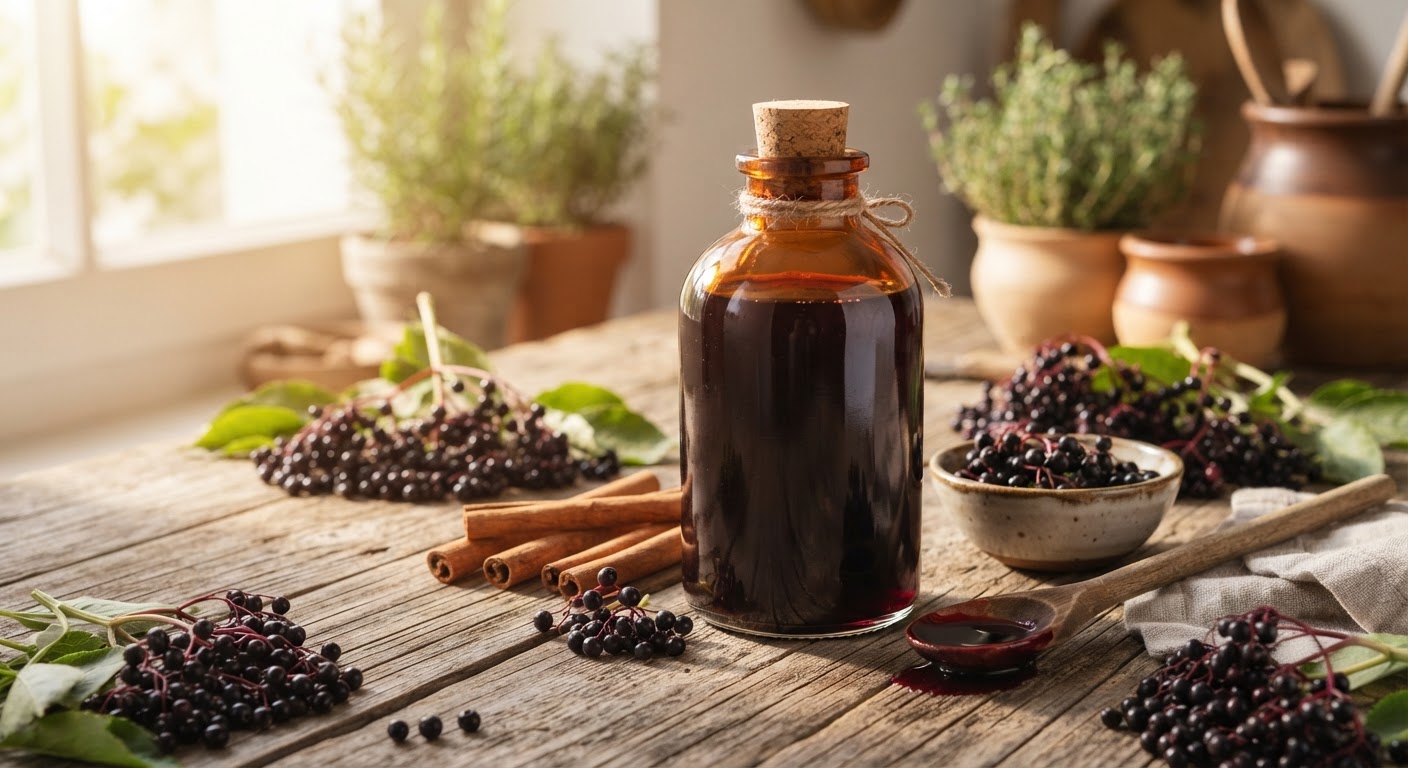
The first time I made elderberry syrup, I burned it. Not slightly — I mean burned. The pot was a sticky black crater, my kitchen smelled like scorched jam for three days, and I stood there wondering why I hadn’t just bought the $15 bottle at the health food store.
That was six years ago. Today, I make a batch every autumn from elderberries I forage myself, and I haven’t burned a single pot since. The difference between my first disaster and the rich, velvety syrup I now keep in my fridge year-round comes down to a handful of simple techniques that almost nobody puts in their recipe posts.
Elderberry syrup sits at a strange intersection of folk medicine and modern science. Your grandmother probably swore by it, and your doctor might roll their eyes at it — but a growing body of research suggests both of them have a point. Studies on Sambucus nigra (European black elderberry) have shown measurable antiviral activity against influenza strains, and one oft-cited randomized controlled trial found that elderberry syrup shortened flu symptoms by an average of four days compared to placebo.
None of that matters if you make the syrup wrong, though. Raw elderberries contain cyanogenic glycosides — compounds that can release cyanide when metabolized. They also contain lectins that can cause gastrointestinal distress. Cooking neutralizes both, but only if you do it properly.
Let’s walk through everything you need to know, from sourcing the berries to bottling the finished syrup, with no guesswork and no burned pots.
Why Make Elderberry Syrup Instead of Buying It?
You can walk into any Whole Foods and grab a bottle of Sambucol or Gaia Herbs elderberry syrup for somewhere between $12 and $25. So why bother making your own?
Cost. A pound of dried elderberries costs roughly $15 to $20 online and makes about 48 ounces of finished syrup. That’s four 12-ounce bottles, which would run you close to $60 to $100 in a store. If you forage your own, the math gets even better — essentially free, minus the sugar, ginger, and cinnamon.
Ingredient control. Commercial syrups rely on preservatives like potassium sorbate or citric acid to achieve shelf stability. Some use less-than-ideal sweeteners — glucose syrup, high-fructose corn syrup, or excessive honey that’s been heated past the point of retaining any enzymatic benefit. When you make it yourself, you decide what goes in.
Potency. Most store-bought syrups are diluted to hit a palatable price point. A homemade batch, especially one you’ve cooked down to concentrate, will typically deliver more elderberry per spoonful than a commercial equivalent.
Seasonal ritual. There’s something grounding about making your own medicine. Foraging the berries in late summer, simmering them while the first autumn chill sets in, filling small glass bottles to give to friends — it connects you to a tradition that predates pharmacies by centuries.
Sourcing Elderberries: Fresh, Dried, or Foraged
Fresh Elderberries
Elderberries ripen from late July through September across most of North America and Europe, depending on your climate zone. Sambucus nigra (European black elder) and Sambucus canadensis (American elder) are the two species most commonly used for syrup. Both work well.
If you’re buying fresh elderberries, look for clusters of deep purple-black berries that are plump, firm, and free of mold. Avoid any clusters with green or red berries mixed in — unripe elderberries contain higher concentrations of the problematic compounds mentioned earlier, and while cooking neutralizes most of them, starting with fully ripe fruit is the safer baseline.
Fresh elderberries are highly perishable. Strip them from the stems within 24 hours of harvest or purchase, and refrigerate them if you’re not cooking immediately. They’ll keep for about three days refrigerated.
Dried Elderberries
This is what most home cooks use, and for good reason. Dried elderberries are available year-round from herbal suppliers like Mountain Rose Herbs, Frontier Co-op, and Starwest Botanicals. They store indefinitely in an airtight container away from light and heat.
One pound of dried elderberries yields approximately four to five batches of syrup using the recipe below. At roughly $16 per pound, that’s about $3.50 per batch in berry cost.
Dried elderberries are also a safer starting point for beginners. The drying process significantly degrades cyanogenic glycosides, adding an extra safety margin before cooking even begins.
Foraging Your Own
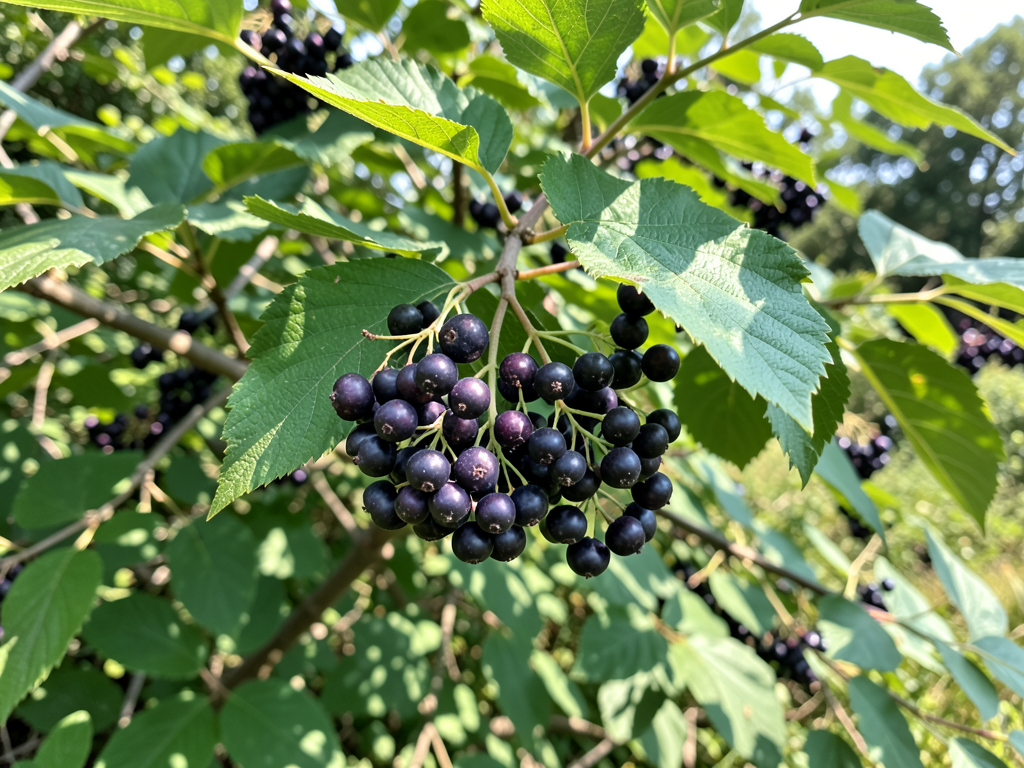
In much of North America, elderberries grow wild along roadsides, field edges, stream banks, and disturbed areas. The shrubs reach 5 to 12 feet tall with compound leaves and large, flat-topped clusters of tiny white flowers in early summer that become drooping clusters of dark purple berries by late summer.
Foraging elderberries comes with a critical safety rule: correct identification is non-negotiable.
Sambucus species have compound leaves with 5 to 11 serrated leaflets, a woody stem with raised lenticels (corky bumps on the bark), and the distinctive umbrella-like flower clusters. Several toxic lookalikes exist, including:
- Pokeweed (Phytolacca americana): Produces dark purple berries but lacks the compound leaves and woody stem. Pokeweed is a herbaceous plant that dies back in winter, never forming a shrub. Its berries grow on a distinctive magenta stem.
- Water hemlock (Cicuta species): Has compound leaves with finer leaflets and white flower clusters that are more dome-shaped than flat. Extremely toxic.
- Devil’s walking stick (Aralia spinosa): A spiny shrub with similar compound leaves but enormous terminal flower clusters.
If you’re new to foraging, take someone experienced with you, or cross-reference at least two reliable field guides. Never harvest elderberries with any trace of red or green on the cluster. The ripe ones detach easily when you run your fingers down the stem.
Elderberry Syrup Recipe
Ingredients
| Ingredient | Amount | Notes |
|---|---|---|
| Dried elderberries | 1 cup (about 4 oz / 115 g) | Or 2 cups fresh, destemmed |
| Water | 4 cups (32 fl oz / 950 ml) | Filtered preferred |
| Fresh ginger | 2-inch knob, sliced thin | Peel optional if organic |
| Cinnamon stick | 1 whole stick | Ceylon or cassia both fine |
| Whole cloves | 4-5 cloves | Optional but traditional |
| Raw honey | 1 cup (12 oz / 340 g) | Local if possible; sub maple syrup for vegan |
| Optional: rosehips | 2 tbsp dried | Adds vitamin C and tartness |
| Optional: echinacea | 1 tbsp dried root | Boosts immune-supporting profile |
Makes approximately 16 to 20 fluid ounces of finished syrup.
Equipment
- Medium saucepan (2 to 3 quart)
- Fine-mesh strainer or cheesecloth
- Large bowl
- Glass bottles or mason jars for storage (sterilized)
- Funnel (optional but helpful)
Step-by-Step Instructions
1. Combine the dry ingredients. Add dried elderberries, sliced ginger, cinnamon stick, cloves, and any optional herbs to your saucepan. If using fresh elderberries, first strip them from the stems using a fork — this is tedious but necessary, as stems and leaves contain higher concentrations of toxins.
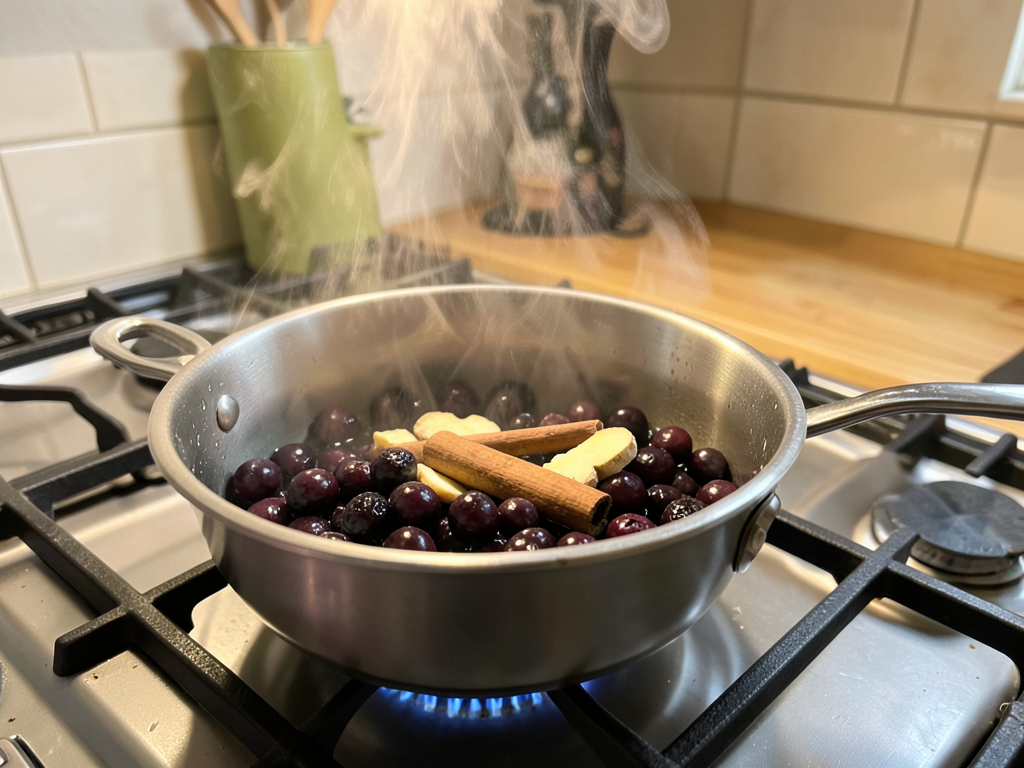
2. Add water and bring to a boil. Pour in 4 cups of water. Bring the pot to a rolling boil over high heat, then immediately reduce to a gentle simmer. You’re aiming for steady bubbles but nothing violent — vigorous boiling can degrade some of the beneficial compounds and create a mess.
3. Simmer uncovered for 45 to 60 minutes. This is the step I ruined my first time. The liquid needs to reduce by roughly half, from 4 cups down to about 2 cups. Stir occasionally and keep an eye on the water level. If it runs dry, you’ll have a scorched pot and a ruined batch. If you’re nervous, set a timer for 20-minute intervals to check.
The liquid will turn a deep, opaque purple-black — almost ink-like. The kitchen will smell like spiced berries and earth. This is correct.
4. Mash the berries. Once reduced by half, remove the pot from heat. Using a potato masher or the back of a wooden spoon, gently press the berries against the side of the pot to release any remaining juice and pulp. Don’t pulverize them into paste; you want to extract flavor and color, not create sediment.
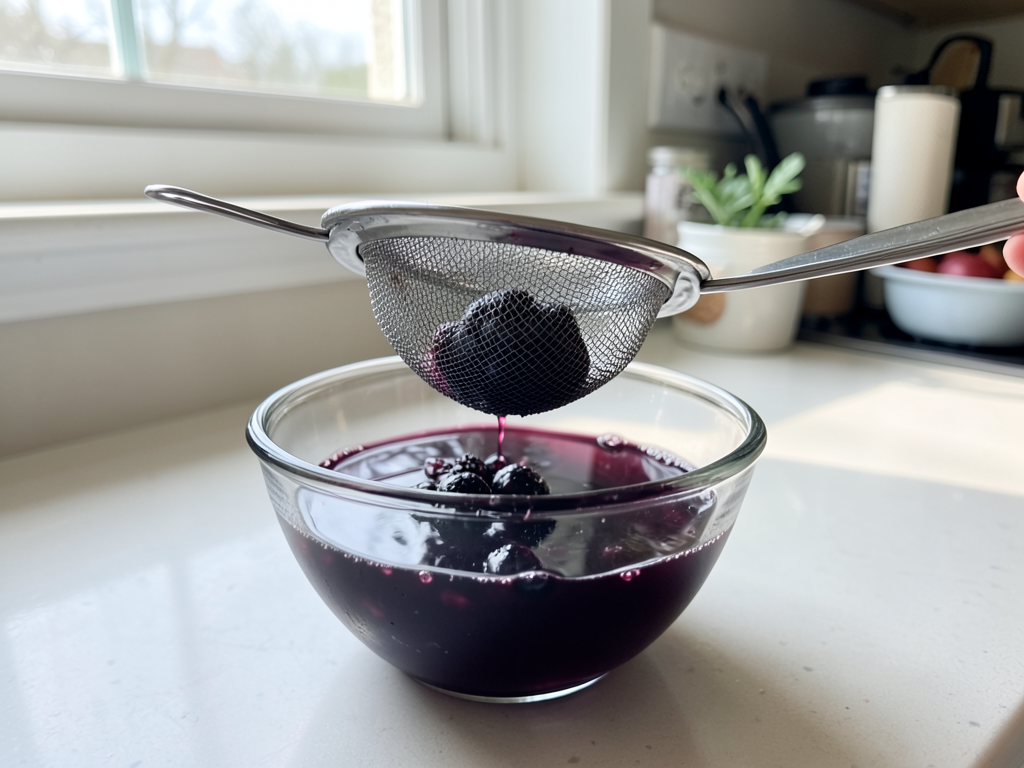
5. Strain the liquid. Place your fine-mesh strainer over a large bowl. If you have cheesecloth, line the strainer with it for a clearer syrup — but this isn’t strictly necessary. Pour the entire contents of the pot through the strainer. Let it drain naturally for 5 to 10 minutes. Resist the urge to press the pulp through the strainer; that will push fine sediment into your syrup.
Discard the solids (or compost them).
6. Cool before adding honey. This is the second mistake beginners make, and it matters. Adding honey to liquid hotter than about 110°F (43°C) destroys the enzymes and delicate aromatic compounds that make raw honey valuable beyond its sweetness. Let the strained liquid cool until you can comfortably hold a finger in it — warm but not hot, roughly 100°F to 110°F.
7. Stir in the honey. Add 1 cup of raw honey and stir until completely dissolved. Taste it. If you prefer a sweeter syrup, add more honey in quarter-cup increments. If you want a thinner syrup (for kids who might balk at the viscosity), add a splash of filtered water.
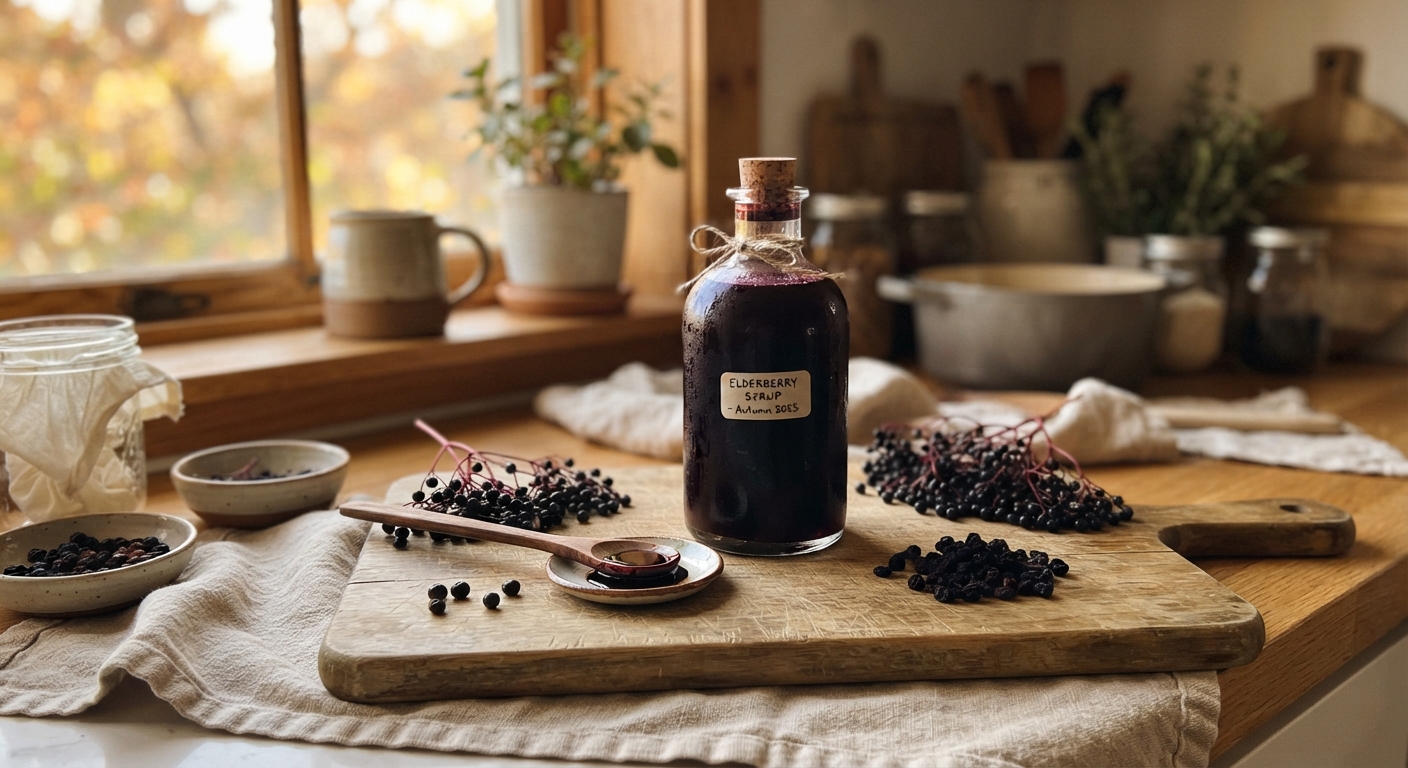
8. Bottle and label. Pour the finished syrup into sterilized glass bottles using a funnel if you have one. Label with the date and contents. The syrup will keep for 2 to 3 months refrigerated in an airtight container. For longer storage, see the freezing tips below.
Image Showcase: The Elderberry Journey
Foraging ripe elderberries from wild shrubs in late summer.
A pot of elderberries, ginger, and cinnamon simmering on the stove.
The deep purple liquid straining through a fine mesh into a glass bowl.
Dosage Guidelines
There’s no standardized clinical dose for elderberry syrup — most recommendations come from traditional use and the limited studies available. That said, here’s the consensus among herbalists and the dosages used in published trials:
| User | Preventative (Daily) | Acute / Sick (3-4x Daily) |
|---|---|---|
| Adults | 1 tbsp (15 ml) | 2 tbsp (30 ml) |
| Children 6-12 | 1 tsp (5 ml) | 2 tsp (10 ml) |
| Children 2-5 | ½ tsp (2.5 ml) | 1 tsp (5 ml) |
| Under 2 | Not recommended | Not recommended |
The trial by Zakay-Rones et al. (2004) that showed a four-day reduction in flu duration used 15 ml (1 tablespoon) four times daily for adults for five days. This is more aggressive than most home dosing, so adjust to your comfort level.
Important: Honey should not be given to infants under 12 months due to the risk of infant botulism. If you need an elderberry preparation for a baby under 1 year, substitute maple syrup or glycerin for the honey and consult a pediatrician.
Storage and Shelf Life
Homemade elderberry syrup lacks the preservatives that give commercial products a one-year shelf life at room temperature. Here’s what to expect:
- Refrigerated: 2 to 3 months in a sealed glass bottle. Watch for mold (fuzzy spots on the surface), off smells, or fermentation (bubbles or a sour, wine-like odor). If you see any of these, discard the batch.
- Frozen: Up to 12 months. Pour into ice cube trays for single-dose portions, then transfer frozen cubes to a freezer bag. Each cube is roughly one tablespoon — thaw one or two as needed.
- Shelf-stable canning: If you’re experienced with water-bath canning, you can process half-pint jars for 10 minutes. This requires adding acid (lemon juice) and using tested canning procedures. If you’re not familiar with canning safety, stick to refrigeration or freezing.
- Alcohol-preserved: Adding 20% brandy or vodka by volume extends refrigerator shelf life to 6+ months. This makes a perfectly good “adult” syrup, but skip it for children’s batches.
Frequently Asked Questions
Is elderberry syrup safe during pregnancy?
The short answer: we don’t have enough data. No studies have specifically examined elderberry consumption during pregnancy, and most herbalists recommend avoiding it in the first trimester out of an abundance of caution. In the second and third trimesters, occasional use at standard doses is generally considered low-risk by many midwives and herbal practitioners, but this is a conversation to have with your healthcare provider — not something to crowdsource from a blog.
Can I use frozen elderberries?
Yes. Frozen elderberries work perfectly, and freezing actually helps break down cell walls, which can improve extraction. Thaw them first and drain excess liquid if needed, then proceed with the recipe as written. If you foraged a large quantity in season and froze them, you’re in great shape.
What does elderberry syrup taste like?
Earthy, tart, and sweet — think somewhere between a reduced blueberry compote and a spiced mulled wine, minus the alcohol. The ginger adds warmth, the cinnamon rounds out the berry flavor, and the honey provides a floral finish. Most kids genuinely like it, which is half the battle with any home remedy.
Can elderberry syrup prevent colds and flu?
The evidence is mixed and modest. Some studies show a statistically significant reduction in cold duration and severity, particularly for air travelers (Tiralongo et al., 2016). Other reviews have found insufficient evidence to make strong claims. What the data consistently suggests is that elderberry is supportive — useful as part of an immune-supporting strategy that includes sleep, nutrition, hydration, and hand washing — but not a magic bullet. I keep it in my fridge year-round because it’s delicious and harmless at recommended doses. I do not use it as a replacement for flu shots or medical care.
Why did my syrup turn out thin and watery?
You didn’t reduce the liquid enough during simmering. If it’s already bottled, you can pour it back into a saucepan and simmer for another 15 to 20 minutes to concentrate. Just be careful not to burn it this time around.
Can I use other sweeteners?
Absolutely. Maple syrup (grade B for stronger flavor) works beautifully and produces a vegan syrup. Agave nectar, coconut sugar dissolved in warm water, or vegetable glycerin (for a low-glycemic version) are all viable substitutes. Each will change the flavor profile slightly — experiment to find what you like.
What the Science Says: A Quick Look at the Research
If you’re the type who wants data with your folk medicine, here’s what the published literature actually says about elderberry:
Zakay-Rones et al. (2004) — A randomized, double-blind, placebo-controlled study of 60 influenza patients in Norway. The elderberry group recovered an average of 4 days faster and used significantly less rescue medication. This is the study most frequently cited in support of elderberry, though the sample size was small and the study was partially industry-funded.
Tiralongo et al. (2016) — A randomized, double-blind, placebo-controlled trial of 312 economy-class passengers on long-haul flights. The elderberry group experienced colds that were, on average, 2 days shorter and notably less severe. Interestingly, the placebo group didn’t get more colds — they just got worse ones.
Hawkins et al. (2019) — A meta-analysis of five randomized controlled trials covering 936 participants concluded that elderberry supplementation substantially reduced upper respiratory symptoms. The authors cautioned that more large-scale, independent trials are needed before elderberry can be formally recommended as evidence-based medicine.
In vitro studies — Multiple laboratory studies have demonstrated that elderberry extracts inhibit the replication of influenza A and B viruses and certain strains of the common cold coronavirus. These findings are promising but cannot be directly extrapolated to what happens inside a human body.
The bottom line: the evidence is suggestive, not conclusive. Elderberry appears to modulate the immune response and may shorten the duration of respiratory illness. It does not appear to prevent infection. Use it as a supportive measure, not a primary treatment.
Common Mistakes to Avoid
Skipping the cooking step. Raw elderberries, leaves, stems, and unripe berries all contain cyanogenic glycosides. Heat neutralizes these compounds. Elderberry syrup is not a raw food. The simmering step is non-negotiable.
Burning the syrup. Set timers. Check the pot. Don’t walk away for an hour and hope for the best. Reduced elderberry liquid scorches quickly once the water level gets low.
Adding honey too hot. Honey heated above 110°F to 118°F begins to lose its beneficial enzymes. Let the liquid cool first.
Using metal containers for storage. Elderberry syrup is acidic (pH typically around 4.0 to 4.5). Store it in glass, not reactive metal containers, to avoid leaching and off-flavors.
Skipping the label. Homemade syrup in an unlabeled jar in the fridge will eventually be mistaken for something else — or forgotten entirely. Write the date on the bottle. Your future self will thank you.
Overconfidence in shelf life. Homemade elderberry syrup is not shelf-stable at room temperature. It goes in the fridge. If it smells fermented, fizzy, or funky, throw it out.
Variations Worth Trying
Elderberry Fire Cider. Replace half the water with raw apple cider vinegar, add horseradish, garlic, onion, turmeric, and cayenne, and skip the honey until after straining. This is a potent, spicy, vinegar-based immune tonic. Not for the faint of heart, but beloved by herbalists.
Elderberry Rosehip Syrup. Add 3 tablespoons of dried rosehips to the simmering pot. Rosehips are packed with vitamin C and add a pleasant tartness that balances the elderberry’s earthy notes.
Elderberry Ginger Shot. Reduce the honey to ¼ cup for a concentrated, less-sweet syrup that you take by the shot rather than the spoonful. Great for mornings when you feel something coming on.
Elderberry Gummies. Once your syrup is finished, combine 1 cup of syrup with 3 tablespoons of unflavored gelatin in a saucepan over low heat. Stir until dissolved, pour into silicone molds, and refrigerate for 2 hours. Kids love these.
Final Thoughts
Elderberry syrup is one of those rare things that’s genuinely easy to make, backed by at least some scientific evidence, and legitimately useful to have around. It costs a fraction of what you’d pay at the store, tastes fantastic, and gives you something to do with all those elderberries if you forage them yourself.
The recipe above is the one I’ve settled on after years of trial and error — strong enough to notice, sweet enough that my kids willingly take it, and simple enough that I can make a batch on a weekday evening without resenting the process.
Make a batch in September. Put it in a nice bottle. Give one to your mother-in-law and keep the rest in your fridge. When February rolls around and everyone around you is miserable, you’ll be glad you did.
Disclaimer: This article is for informational purposes only and does not constitute medical advice. Elderberry has documented interactions with certain immunosuppressive medications and may not be appropriate for people with autoimmune conditions. Consult your healthcare provider before using elderberry syrup as a medicinal preparation, especially if you are pregnant, nursing, taking prescription medications, or managing a chronic health condition.